I was browsing facebook marketplace one afternoon and I stumbled on an arcade machine for sale. It looked pretty dirty and looked to have been left out in the elements for a while but the seller only wanted $100 for it. At this price, I couldn’t help but to ask about the condition of the electronics. I got a classic response saying “It worked last time I played it”. After asking some more, I was told he was getting rid of it because “his wife want him to”. This sounds like the deal of a lifetime, preying on the newlywed husbands with stubborn wifes.
Retrieval
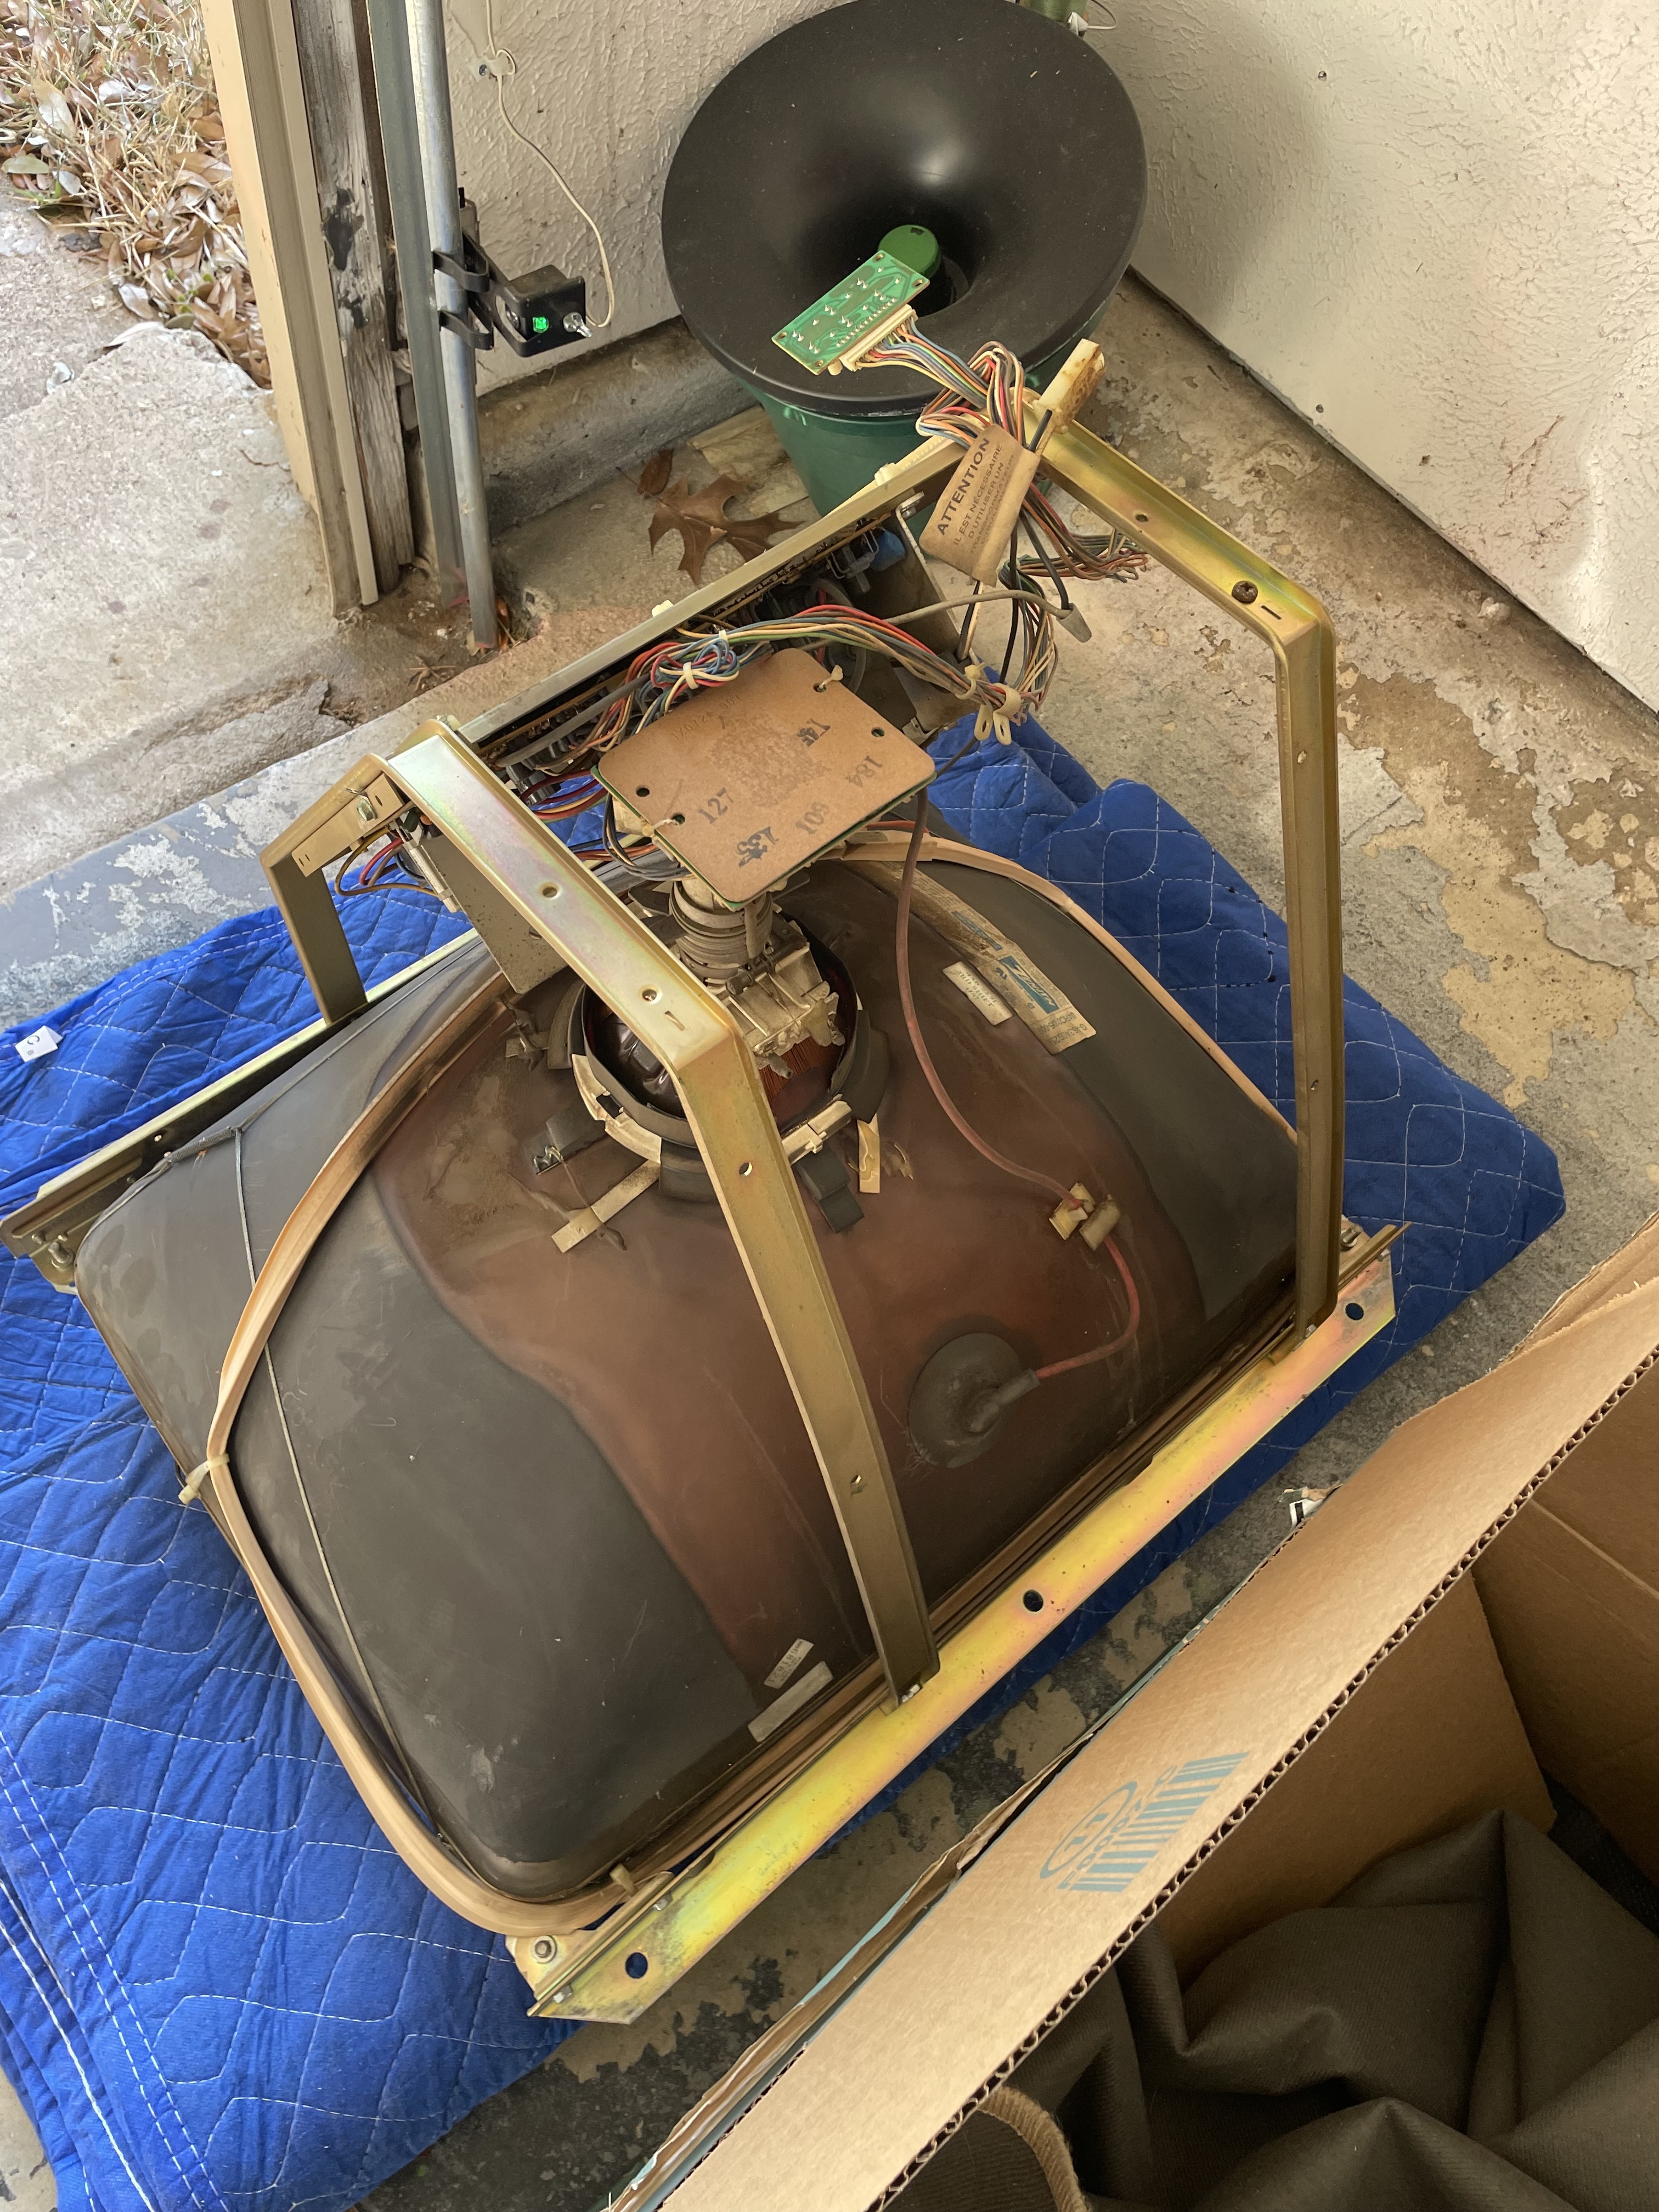
The seller was located an hour away, and I left immediately knowing I would get back home at dark if I left any later. I was lucky the seller had some muscles because there was no way I would be able to load the cabinet into my truck by myself. I also got really lucky I did not shatter the CRT or the cover glass loading and unloading.
The seller said something about needing a 15-20 A outlet or else it would blow a breaker. I was not entirely familiar with CRT power draw, but I figured it shouldn’t be an issue.
Assessment

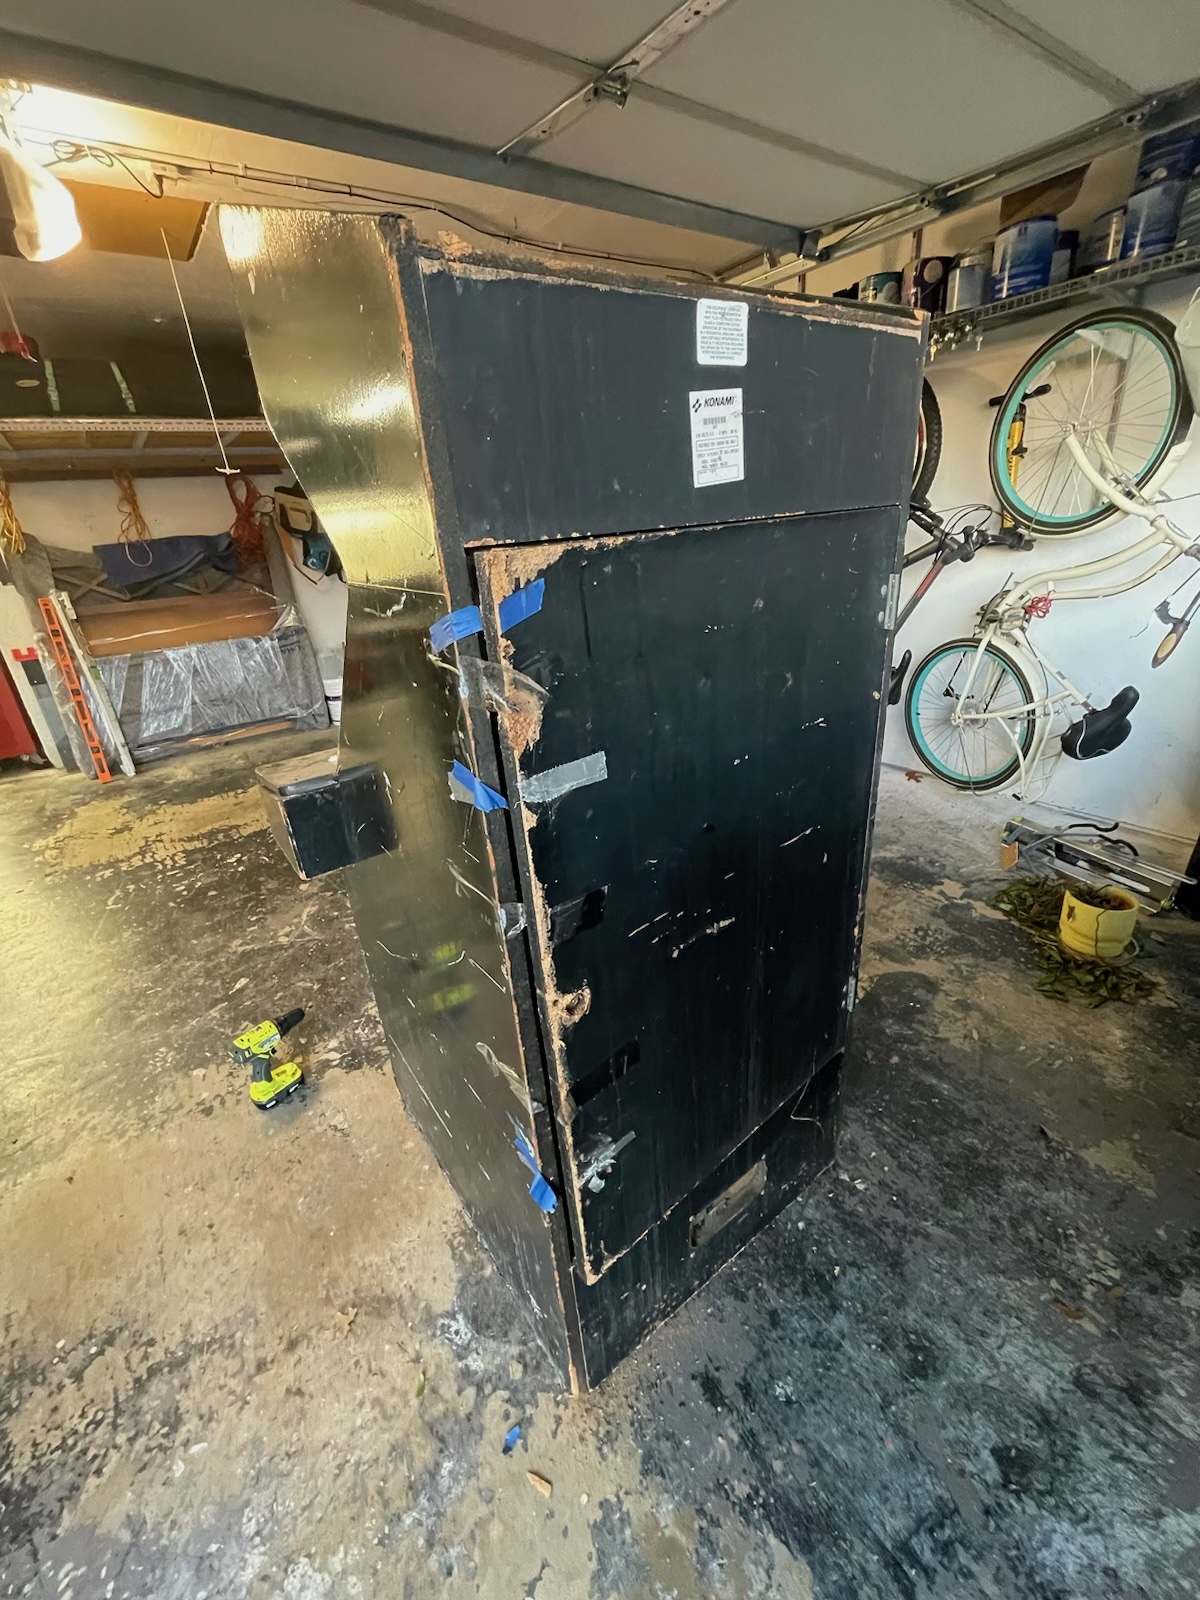
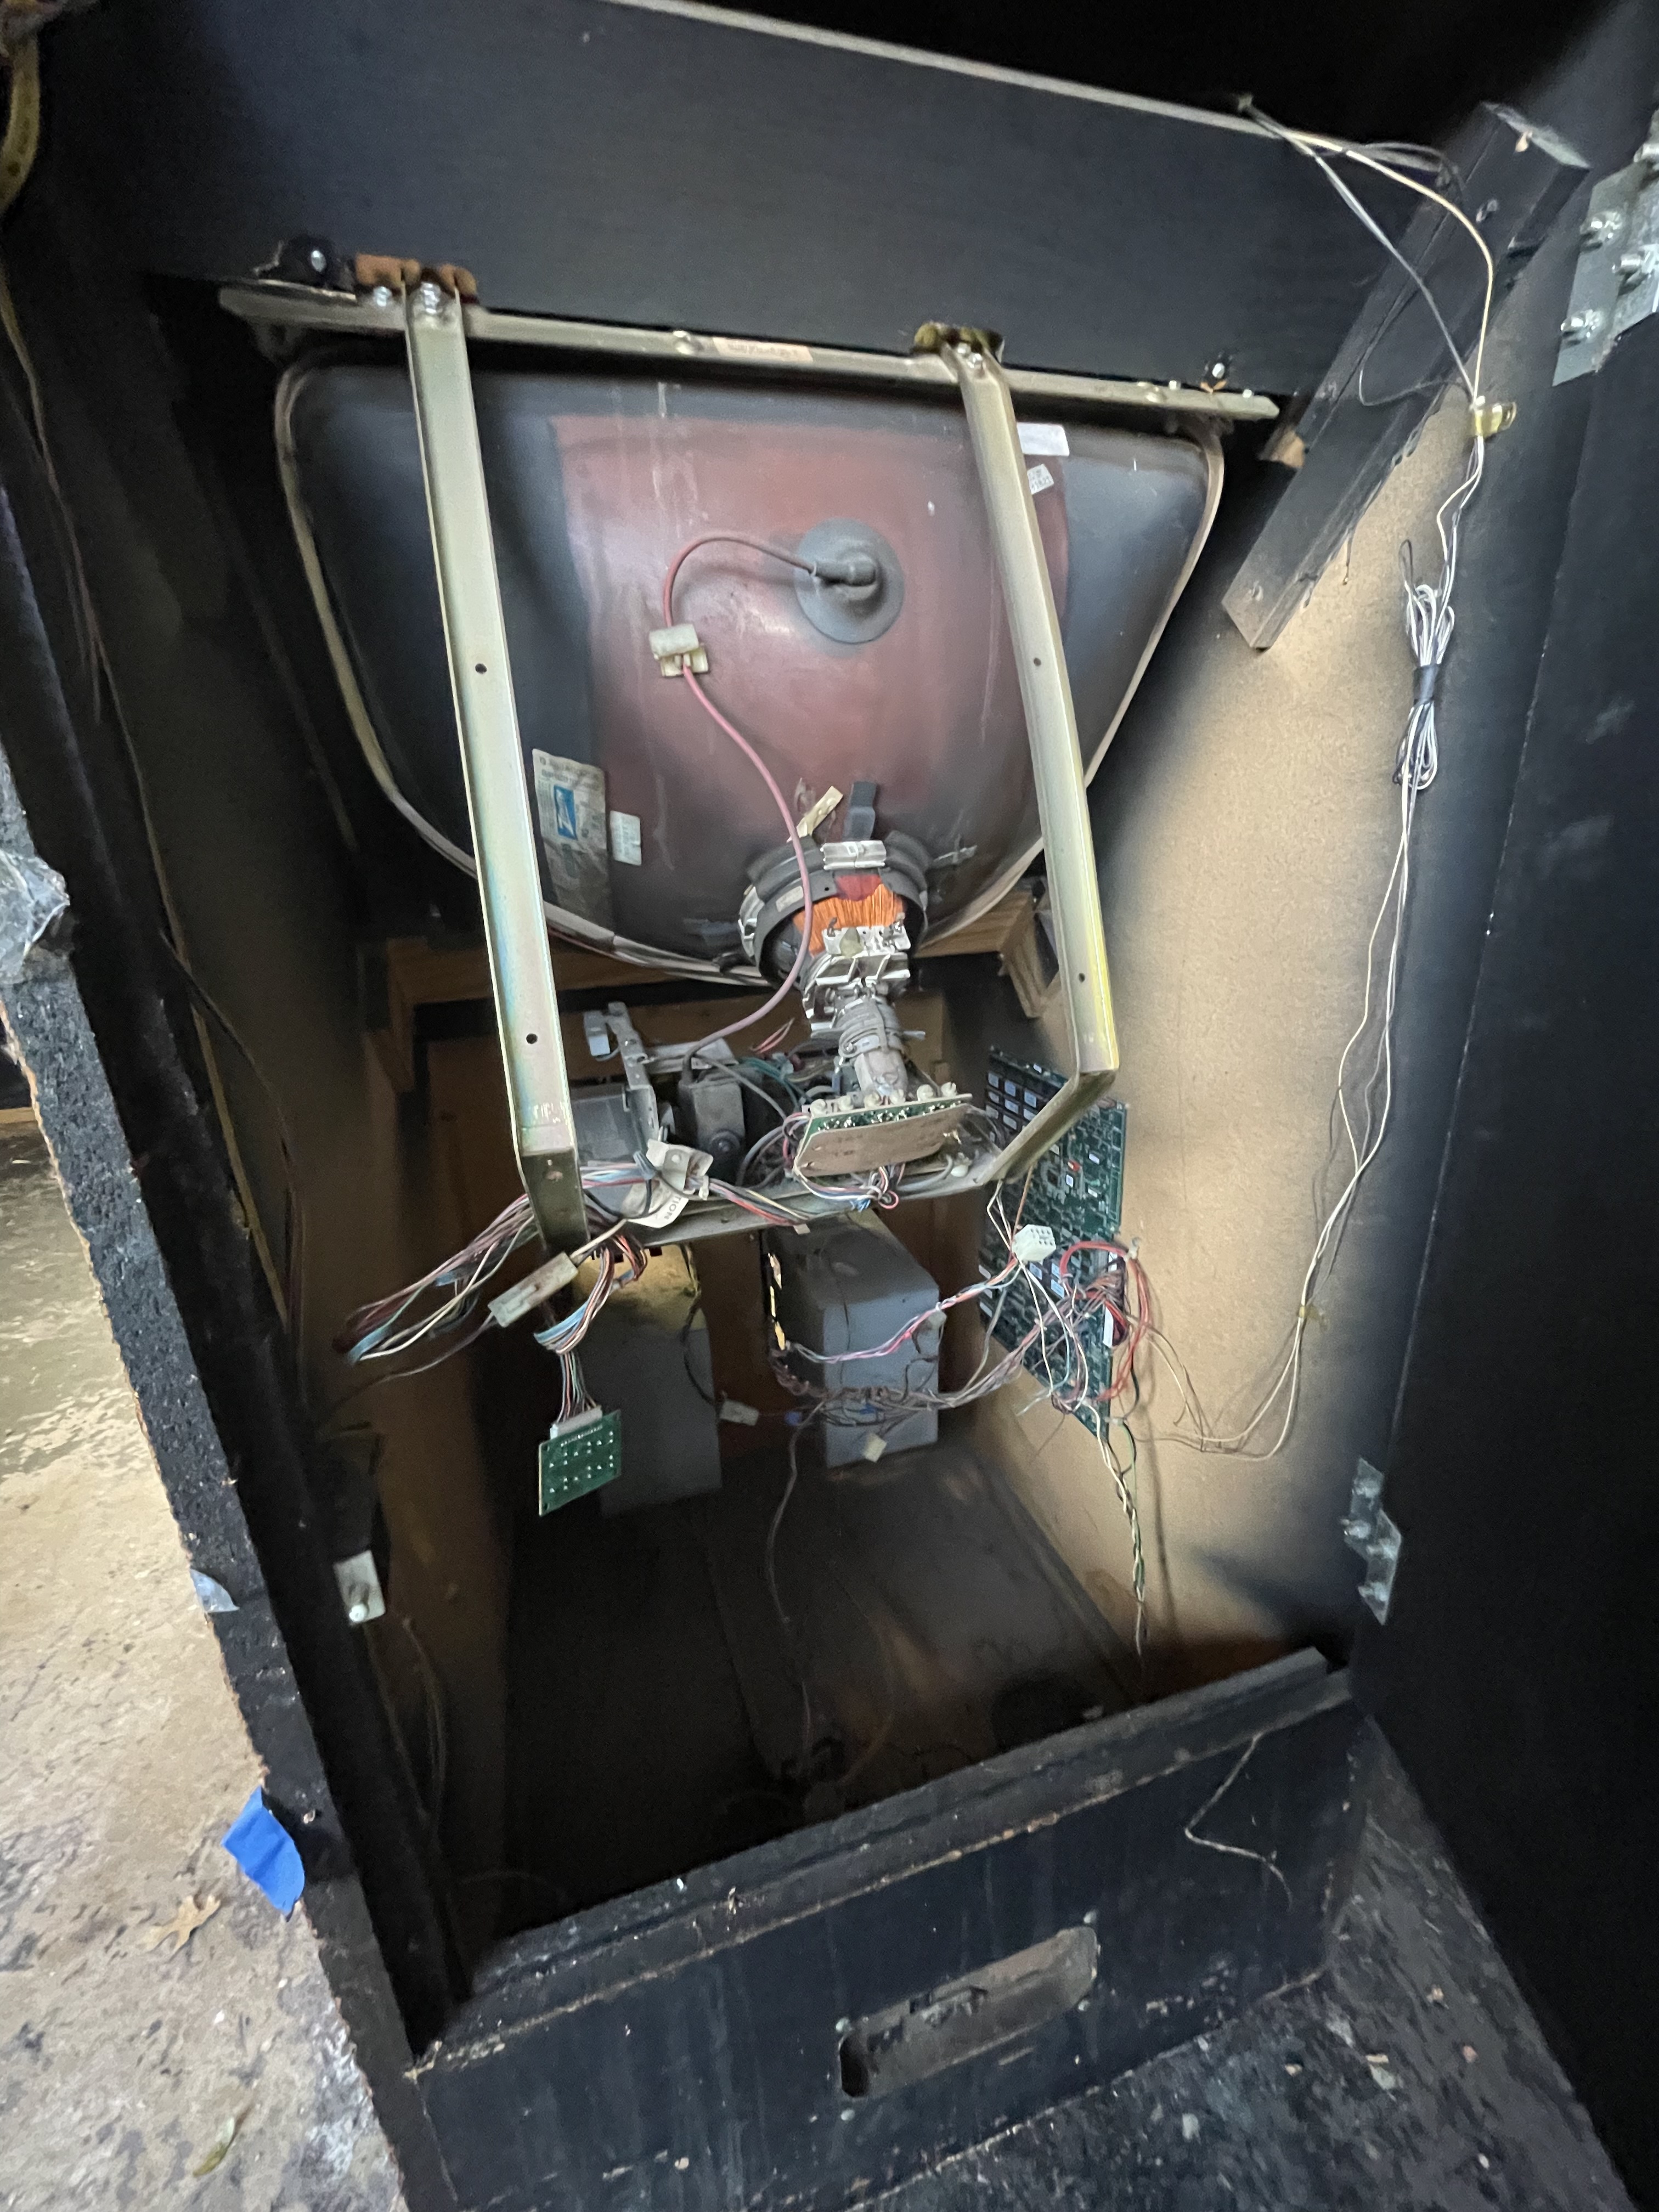
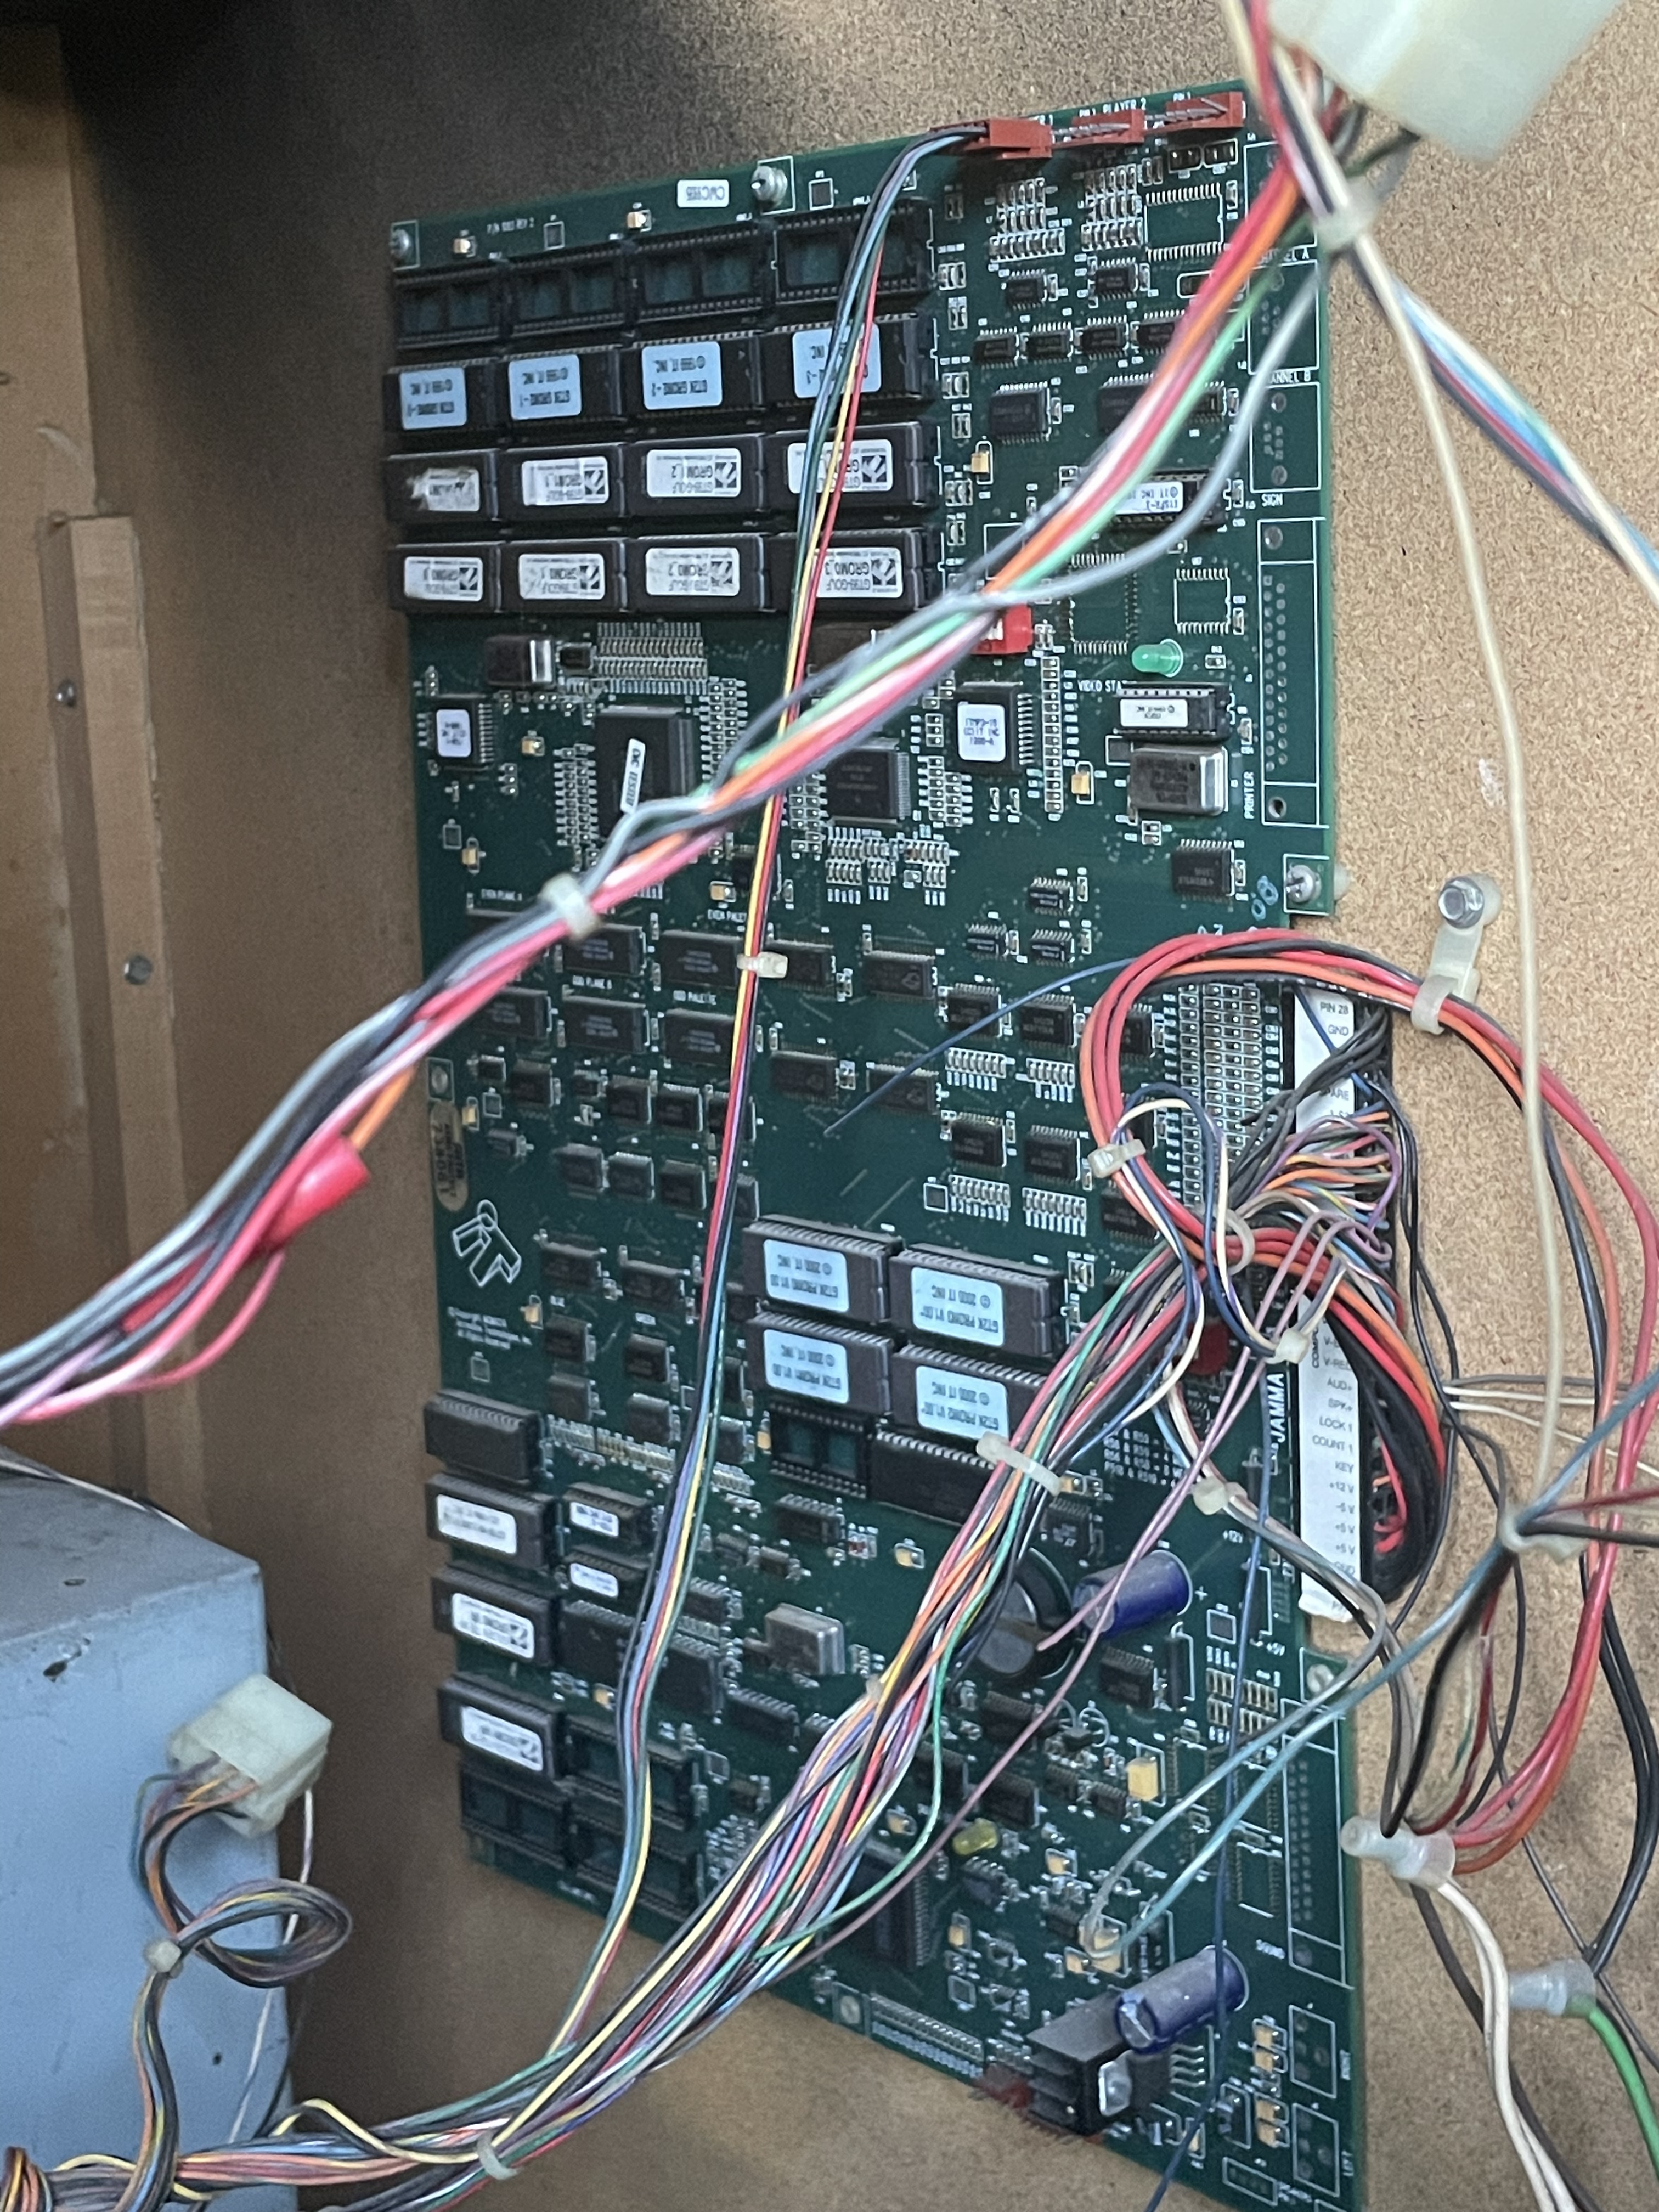
I got it home, opened it up, and took a look around the inside to see what I was working with. The motherboard seemed okay. The wiring looked pretty dodgy but looked complete. There was a lot of dust but there was an extra marquee for a “Golden Tee '99” which was neat, I wonder if it ever had that motherboard in it. It had two quarter token panels for a total of three quarter slots. Two of them were jammed stuck with coins. The backside had a label on it stating it was a Konami style cabinet which originally housed the game “Vendetta”. I have never heard of it, but I am happy I got Golden Tee since Vendetta did not look as entertaining. Interestingly, it also states it only need 2 amps… What is even neater is that this cabinet was designed to have a very wide control board suitable for 4 players (which is awesome because it means I could, hypothetically, put an NBA Jam motherboard and controls in it!)
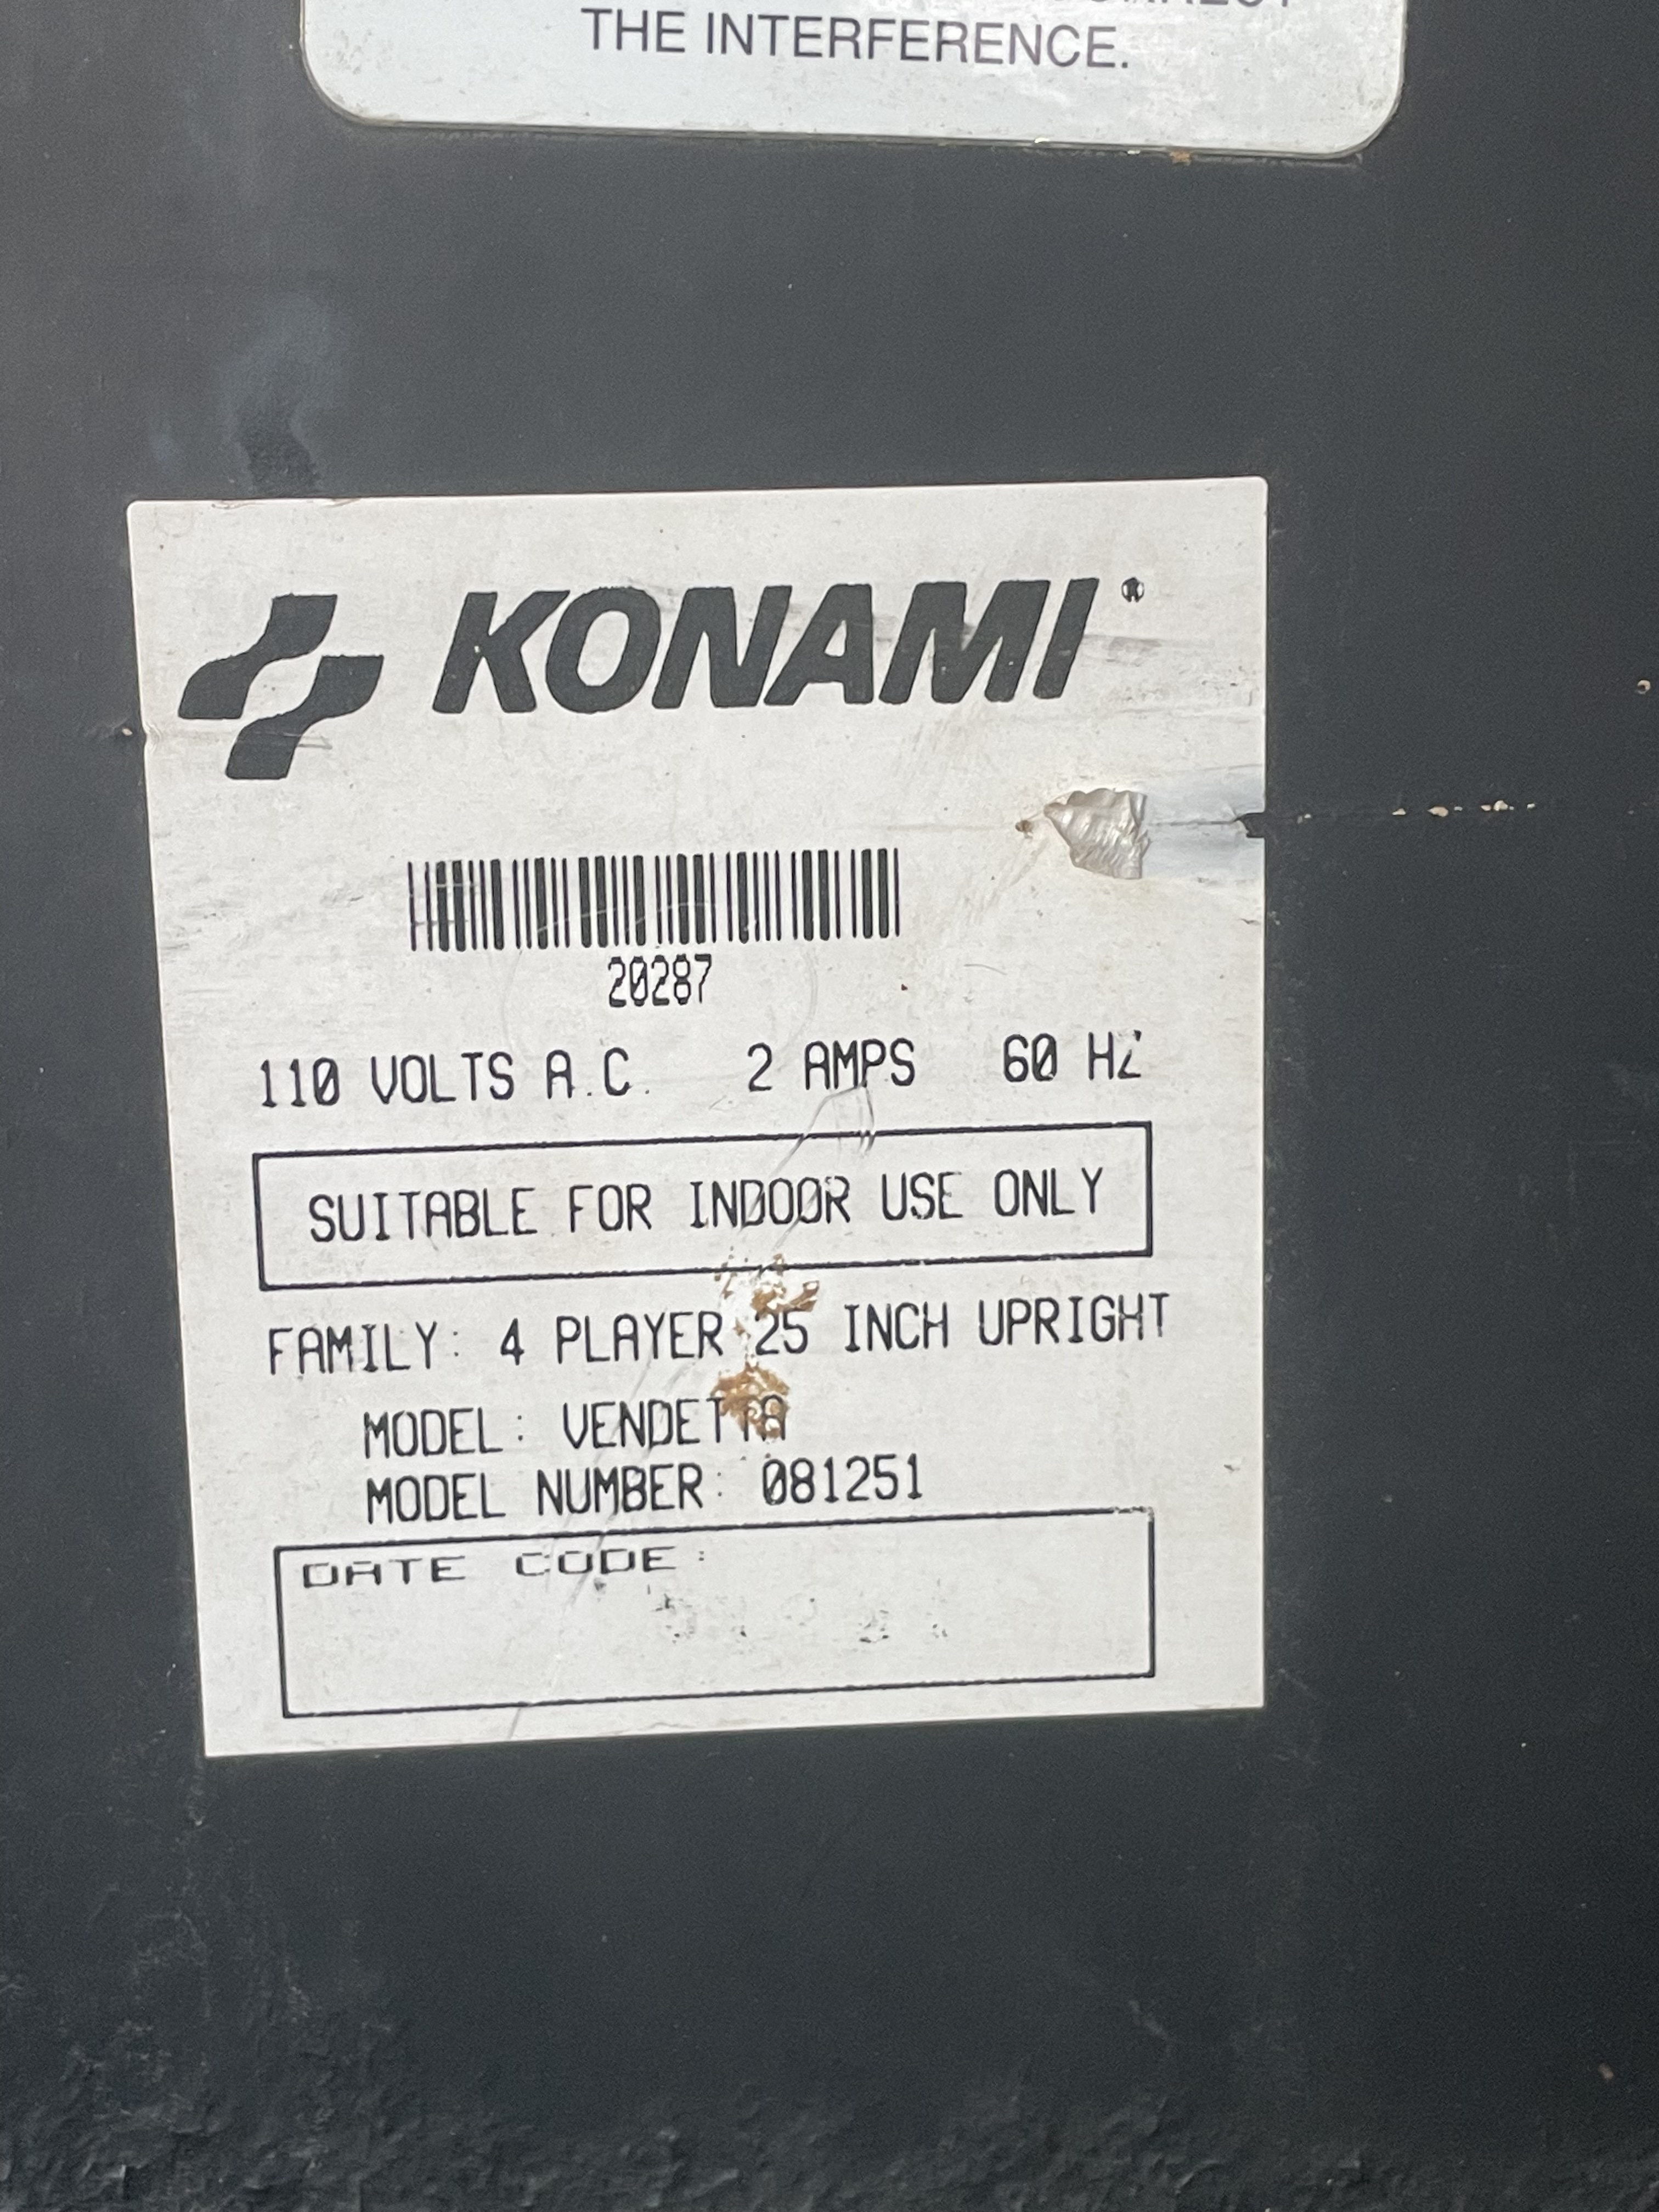
2 amps … I don’t know what the seller was talking about
I didn’t see any corrosion or outstanding electrical issues, so I plugged it in and flipped the power switch, and to my surprise, it fired right up!
Teardown
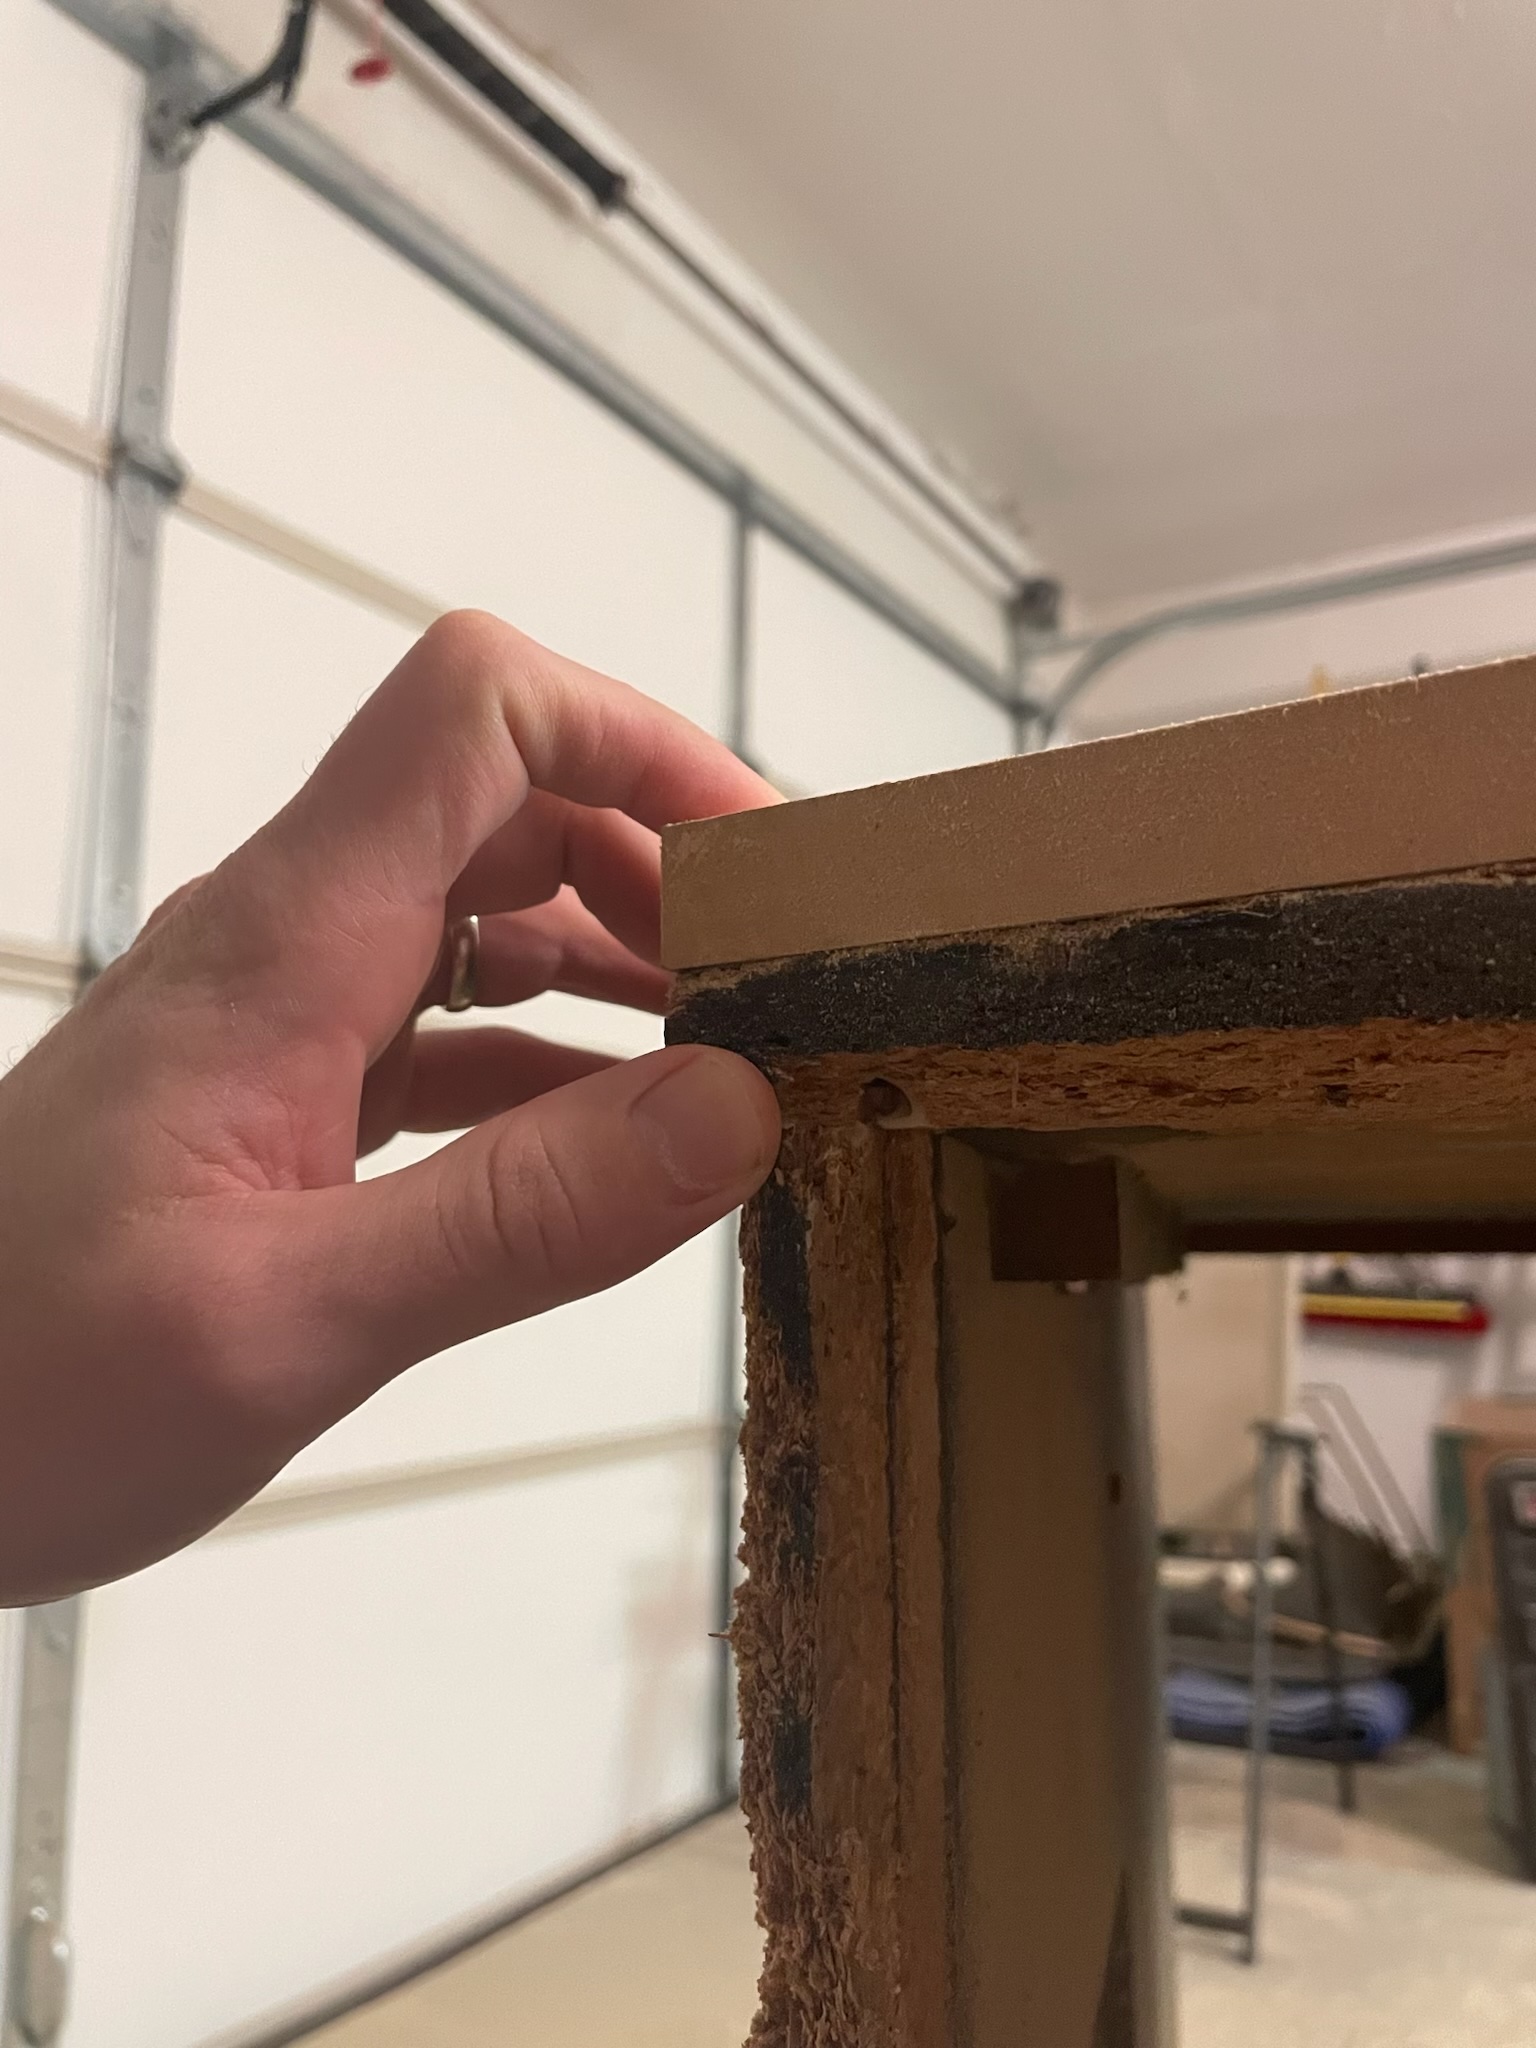
Knowing I had a fully working cabinet, I got to tearing it down. Per my assessment, the original particleboard was very swollen from moisture and was very scuffed up around the edges, the plastic trim looked like it had shrunk from heat and was pealing itself away from the edges of the board, and there were cracks in the control panel acrylic overlay. With all that, I decided to do a full rebuild.
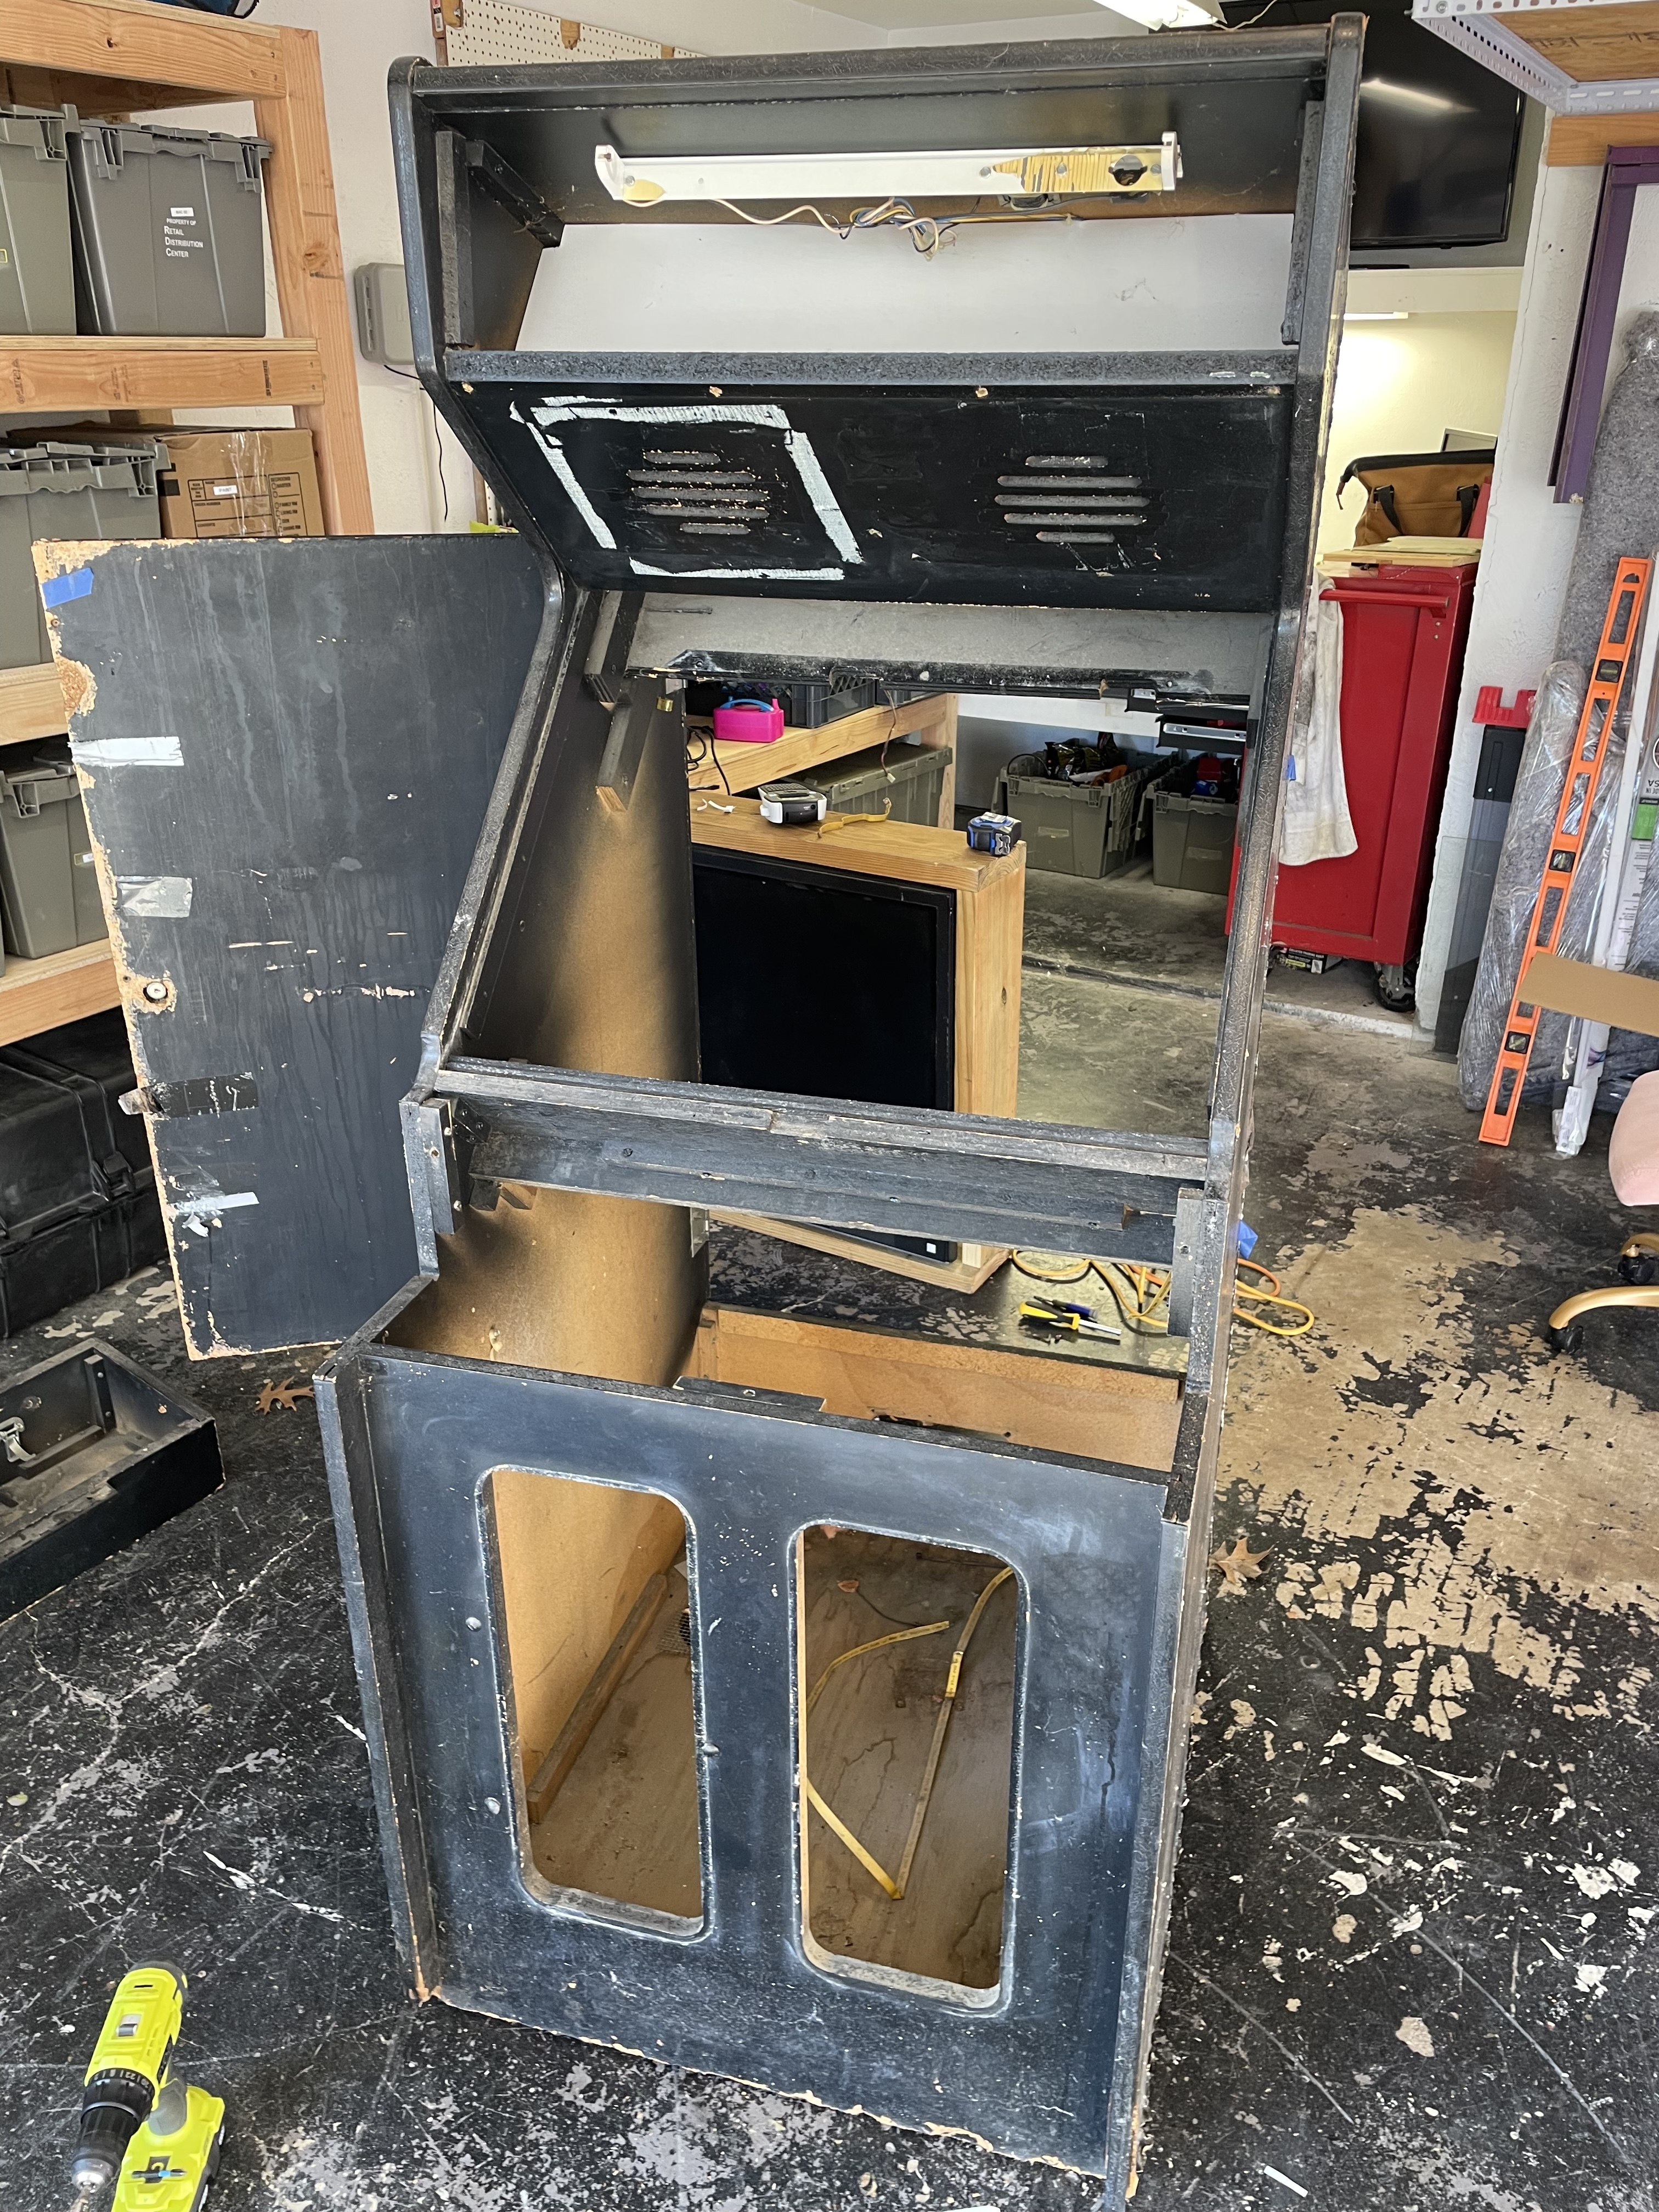
I first took the 60+ lb Zenith CRT out and placet it face-down on a folded moving blanket in the corner of the garage to protect it. I only needed to rip off the rear-upper panel to access the speakers but the rest of the cabinet I was able to leave intact.
I needed to get underneath the control panel overlay (CPO) sticker, so I started to tear it off only to see another game CPO underneath it. I tied to pull that one up and saw several stickers had been stacked on this panel. There must have been at least six games that made their way into this machine.
Rebuild
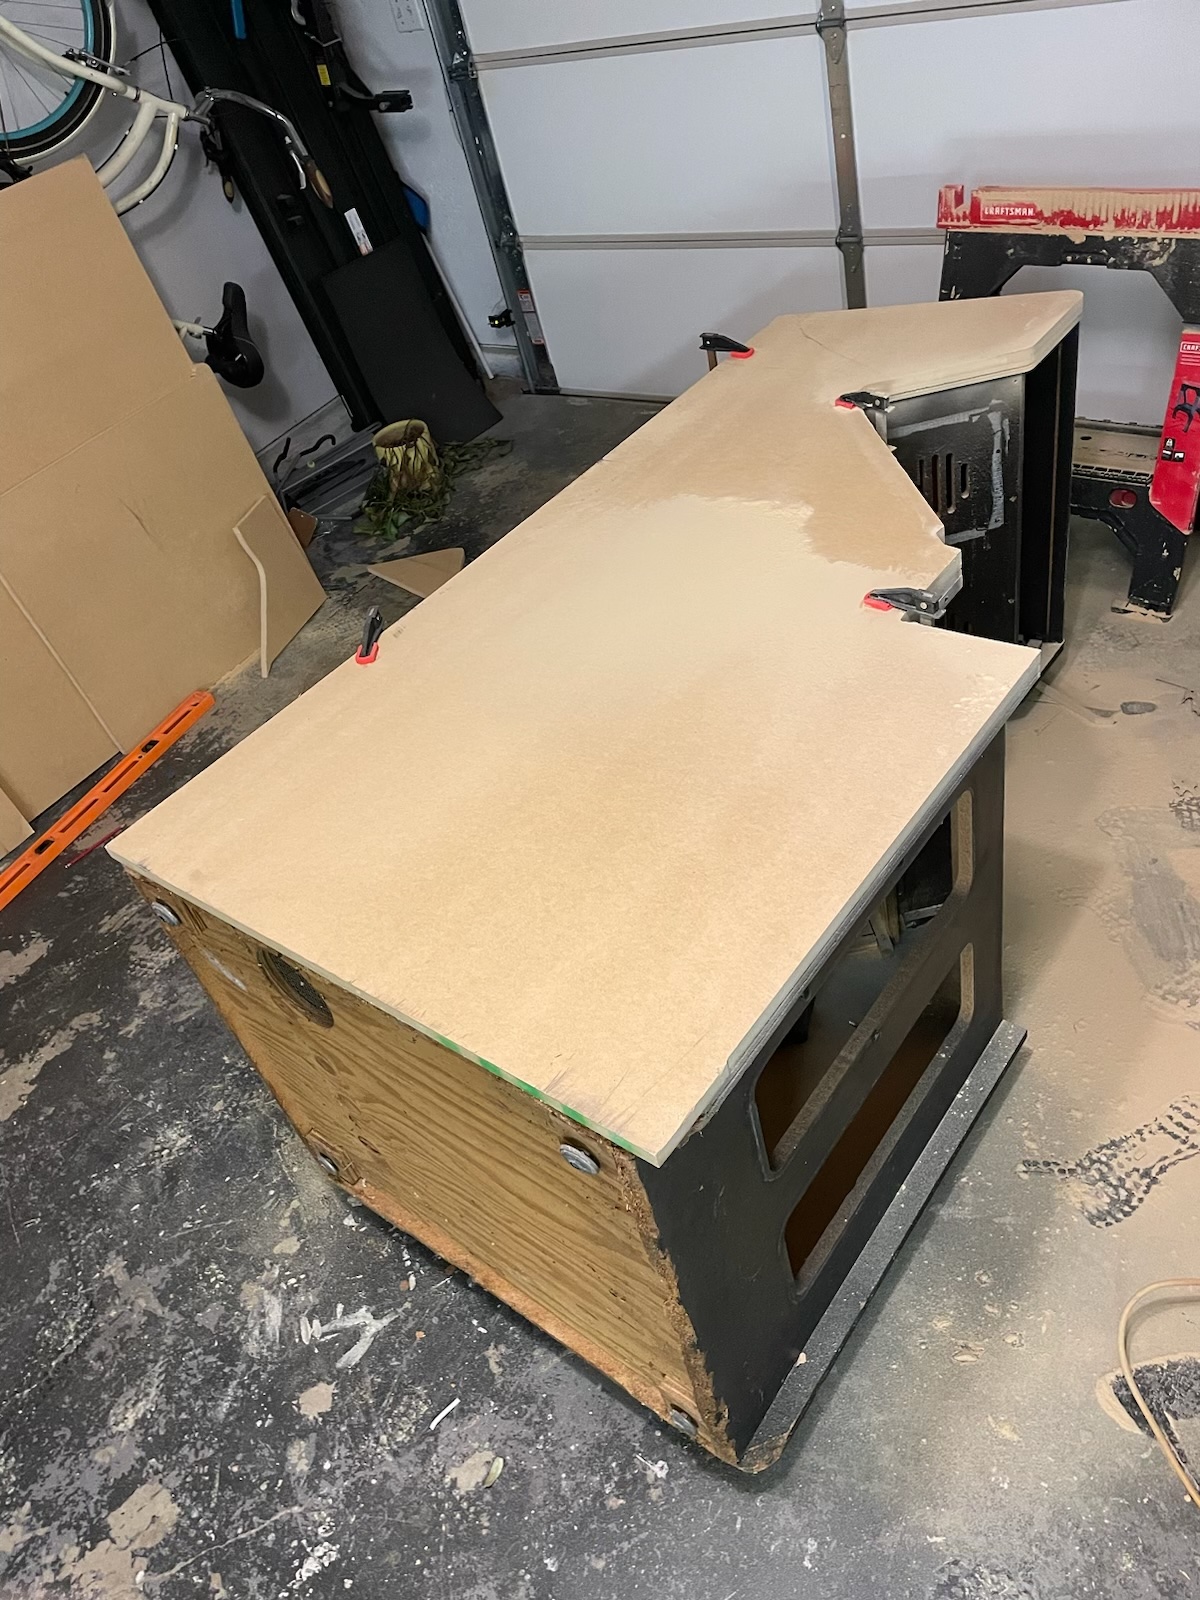
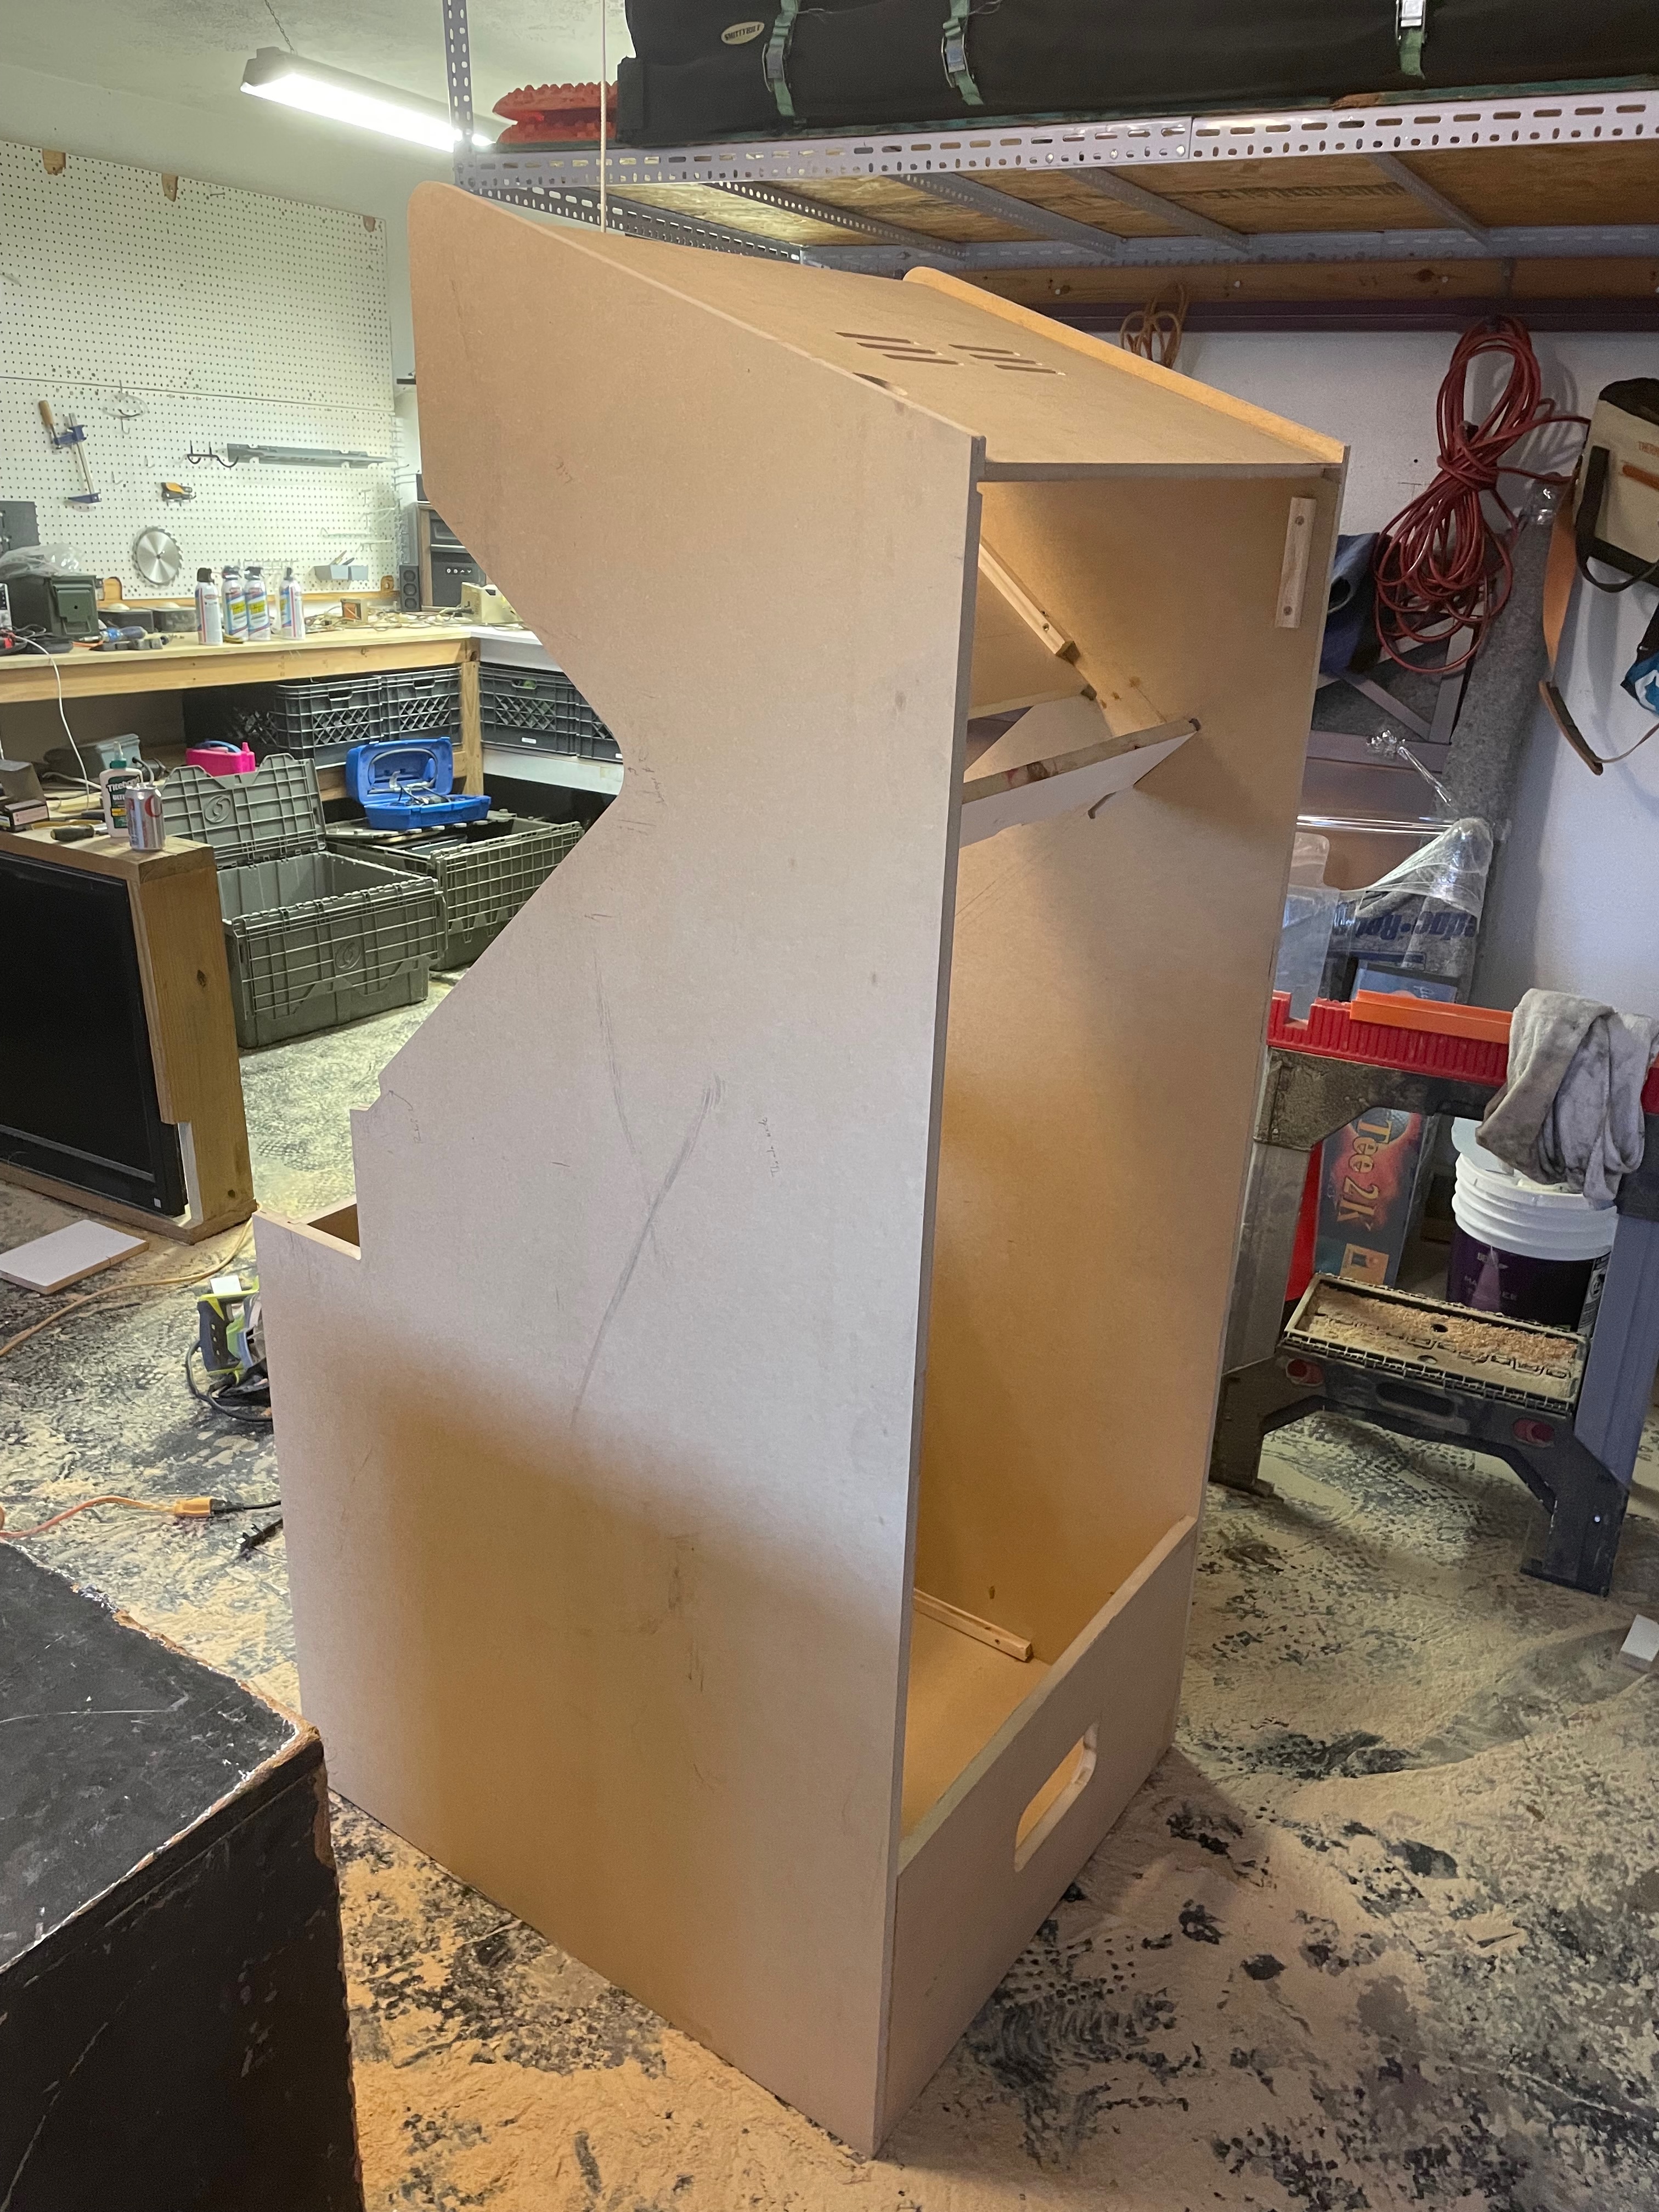
I bought 3 4’ x 8’ x 3/4" MDF and starting cutting the panels. There were 8 total panels that need to be cut out, plus a handful of 3/4" by 4" boards for securing the CRT.
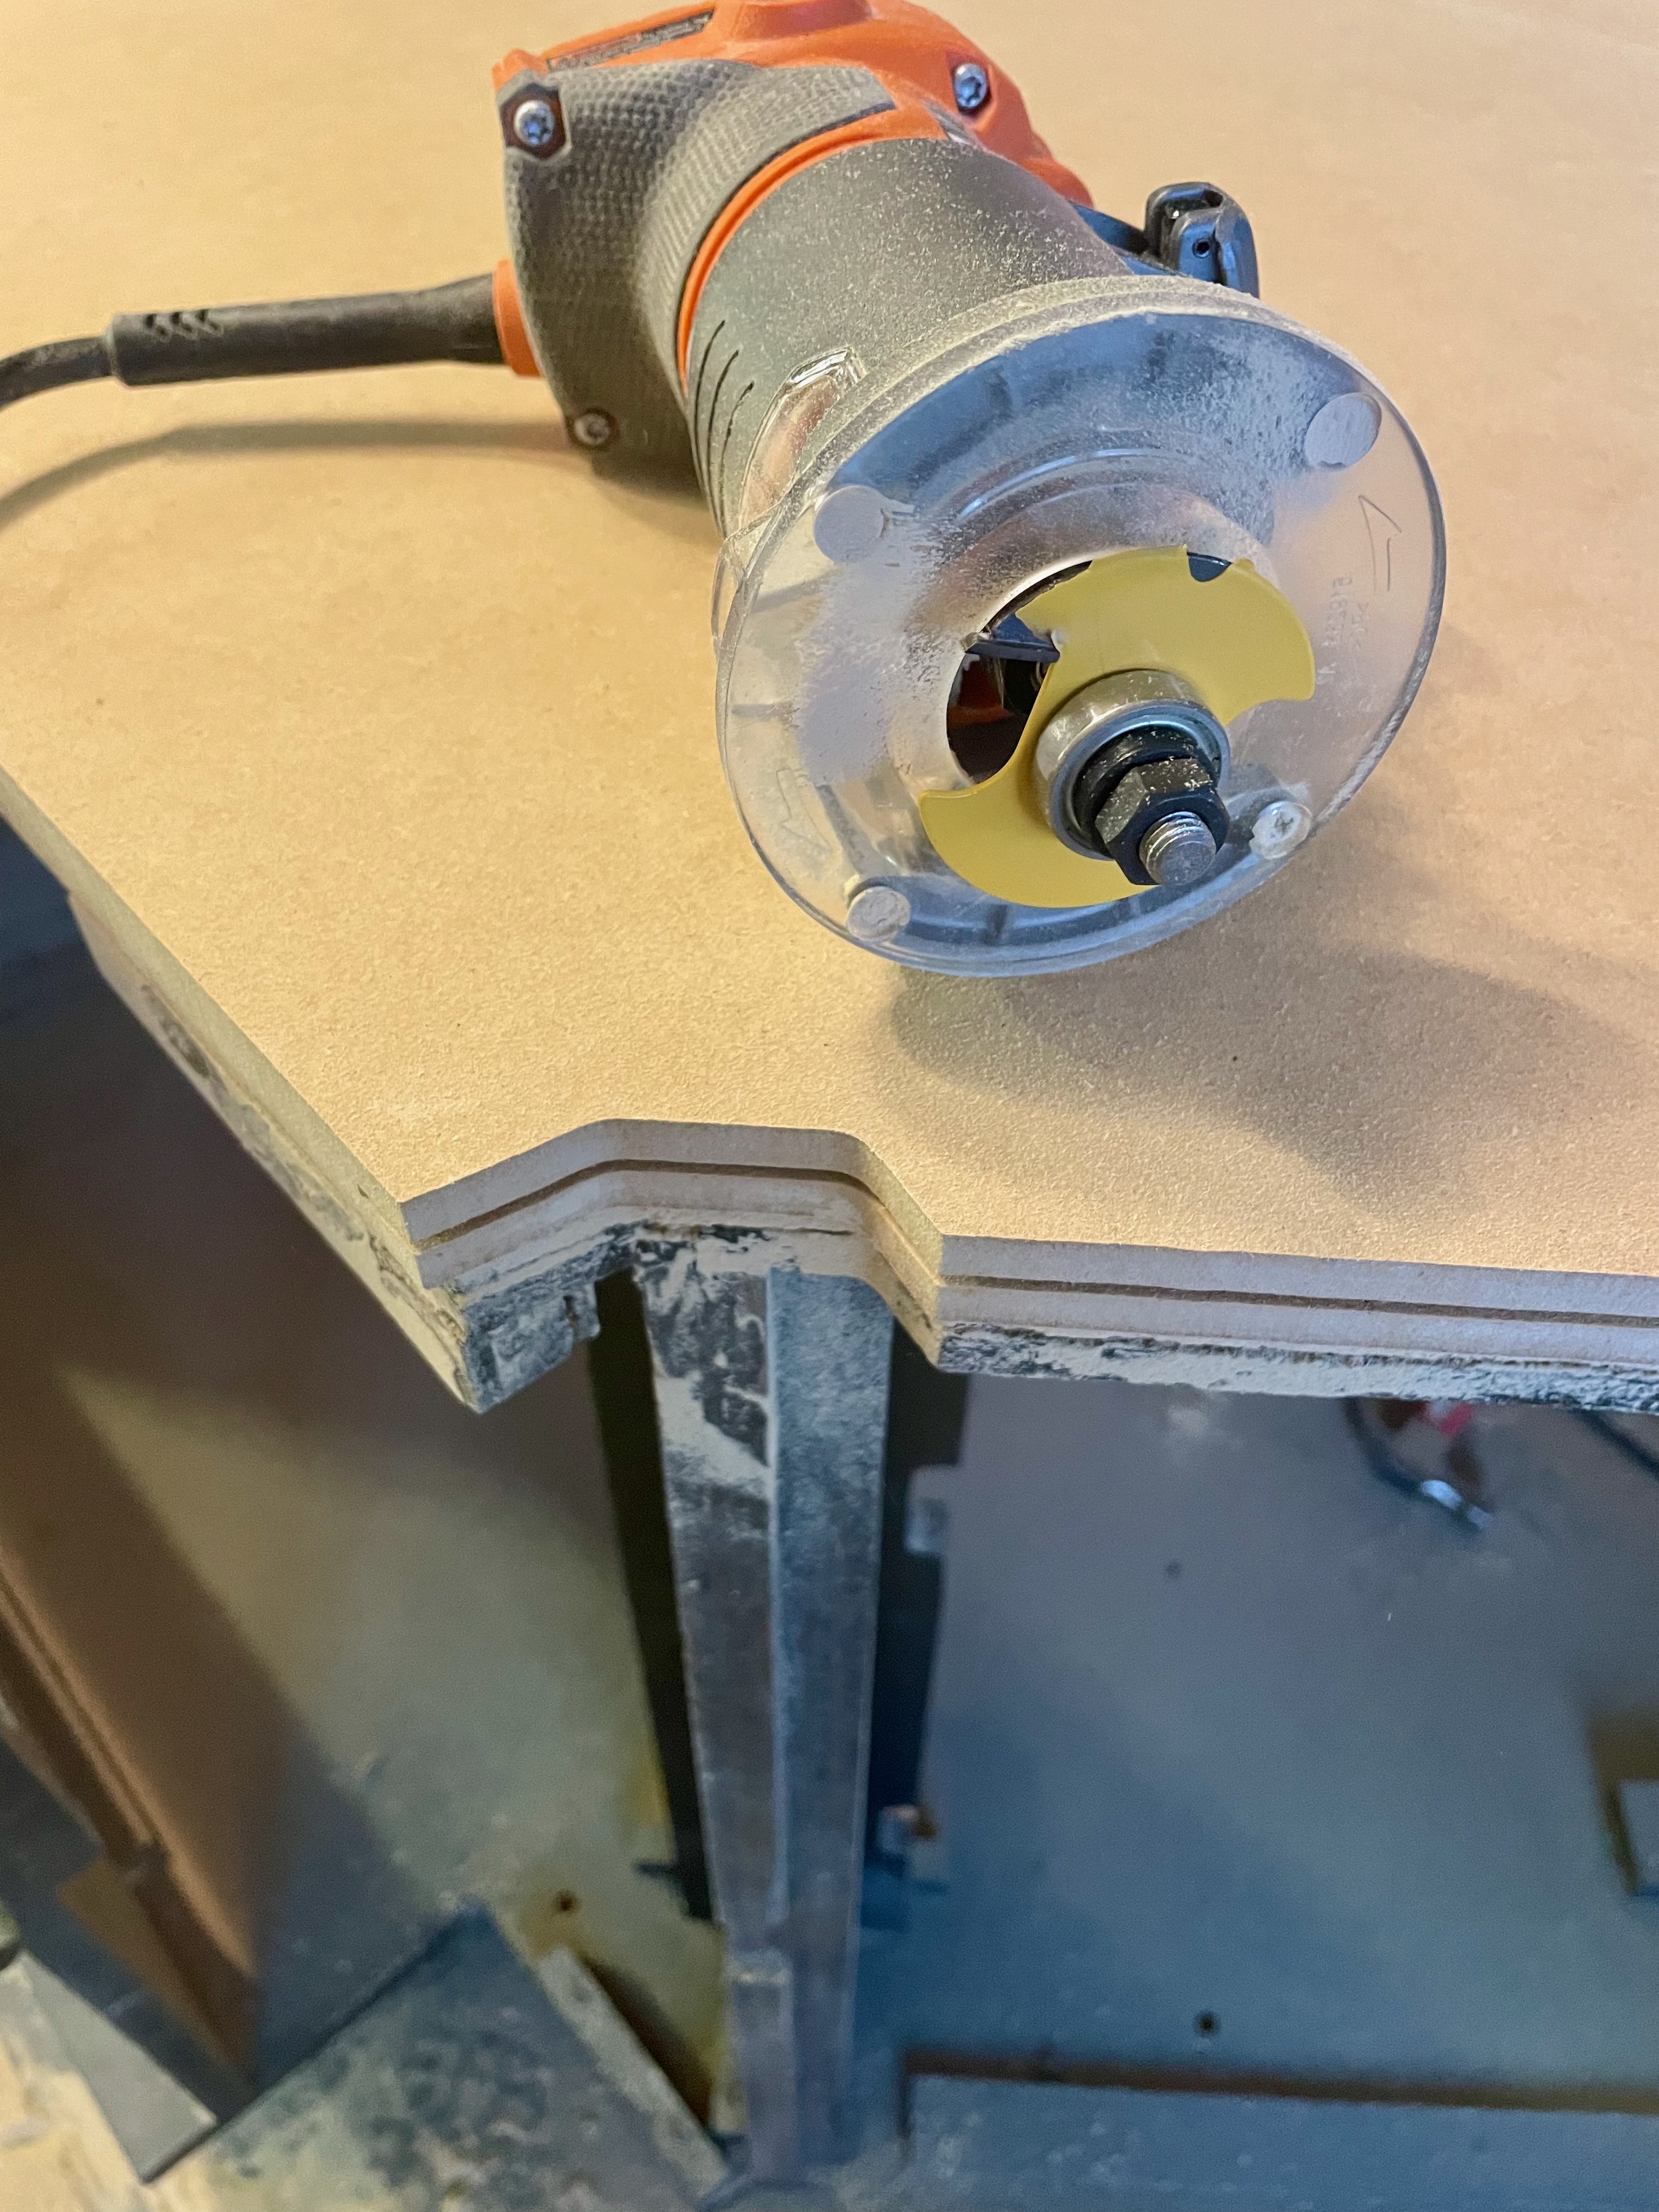
I used the old cabinet as a worktable. This also worked out to be a great idea since I was able to lay a new MDF board and trace the shape of the old one with a flush-cut router bit to cut out the new one.
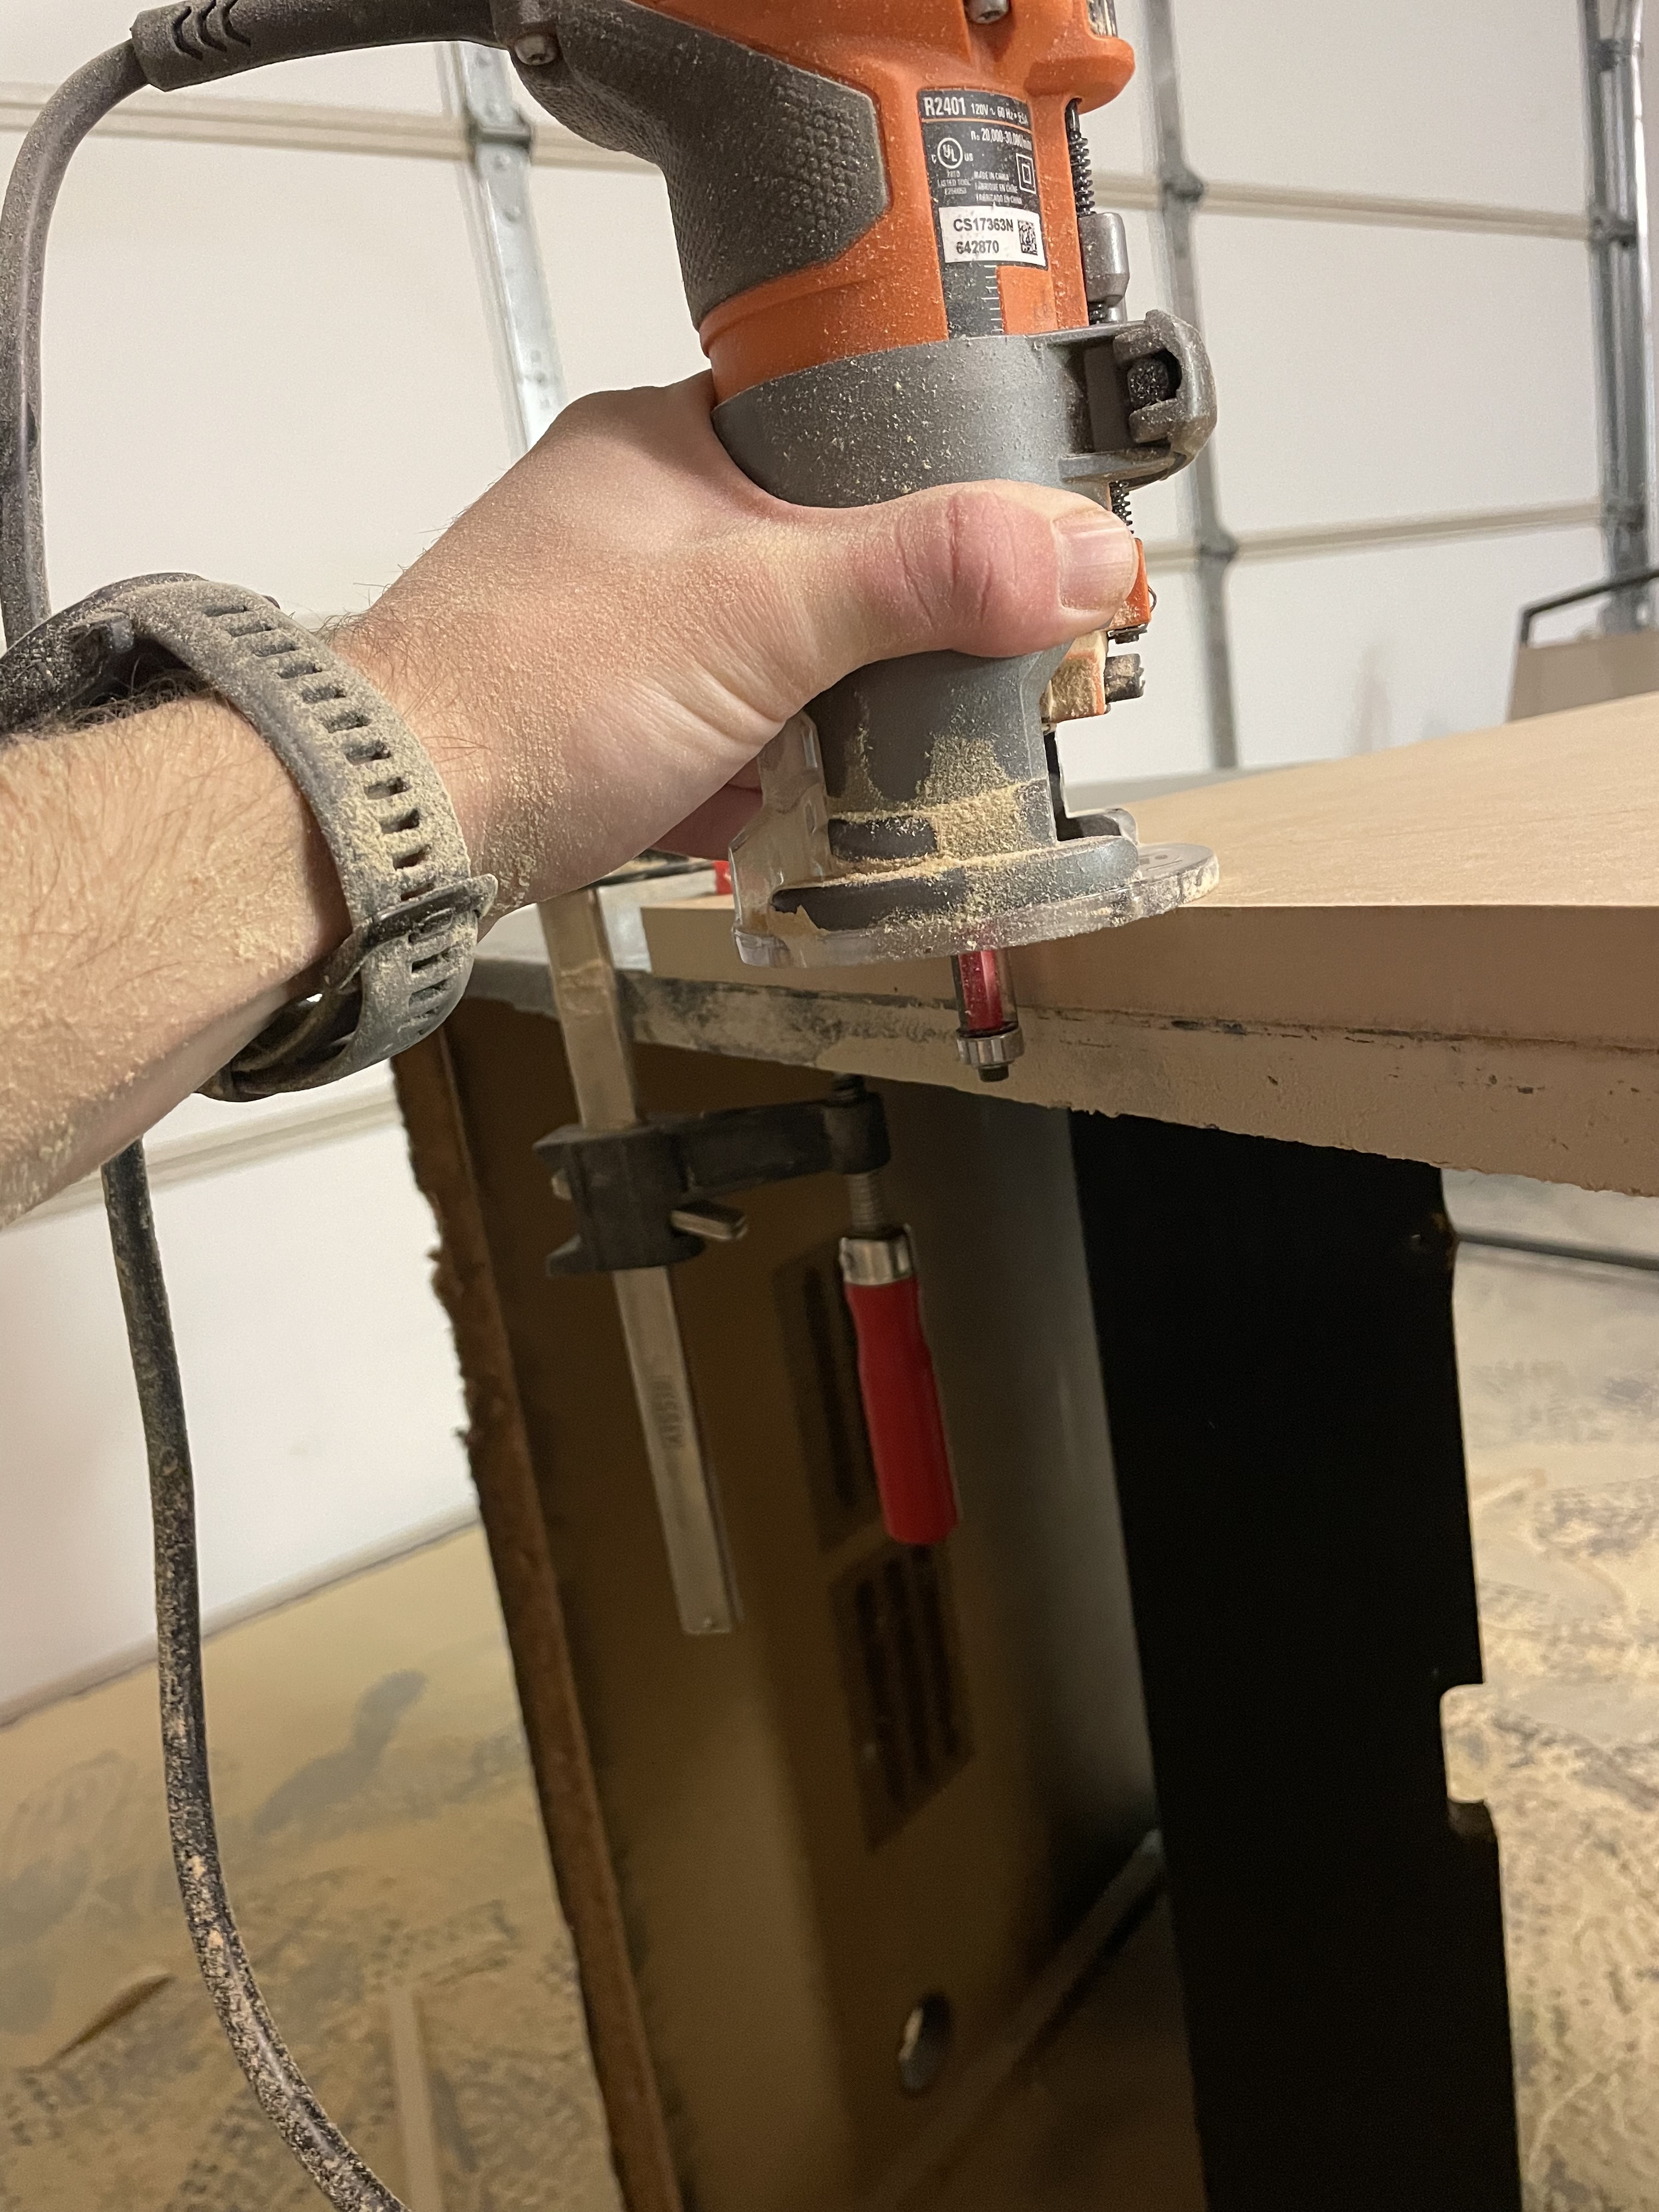
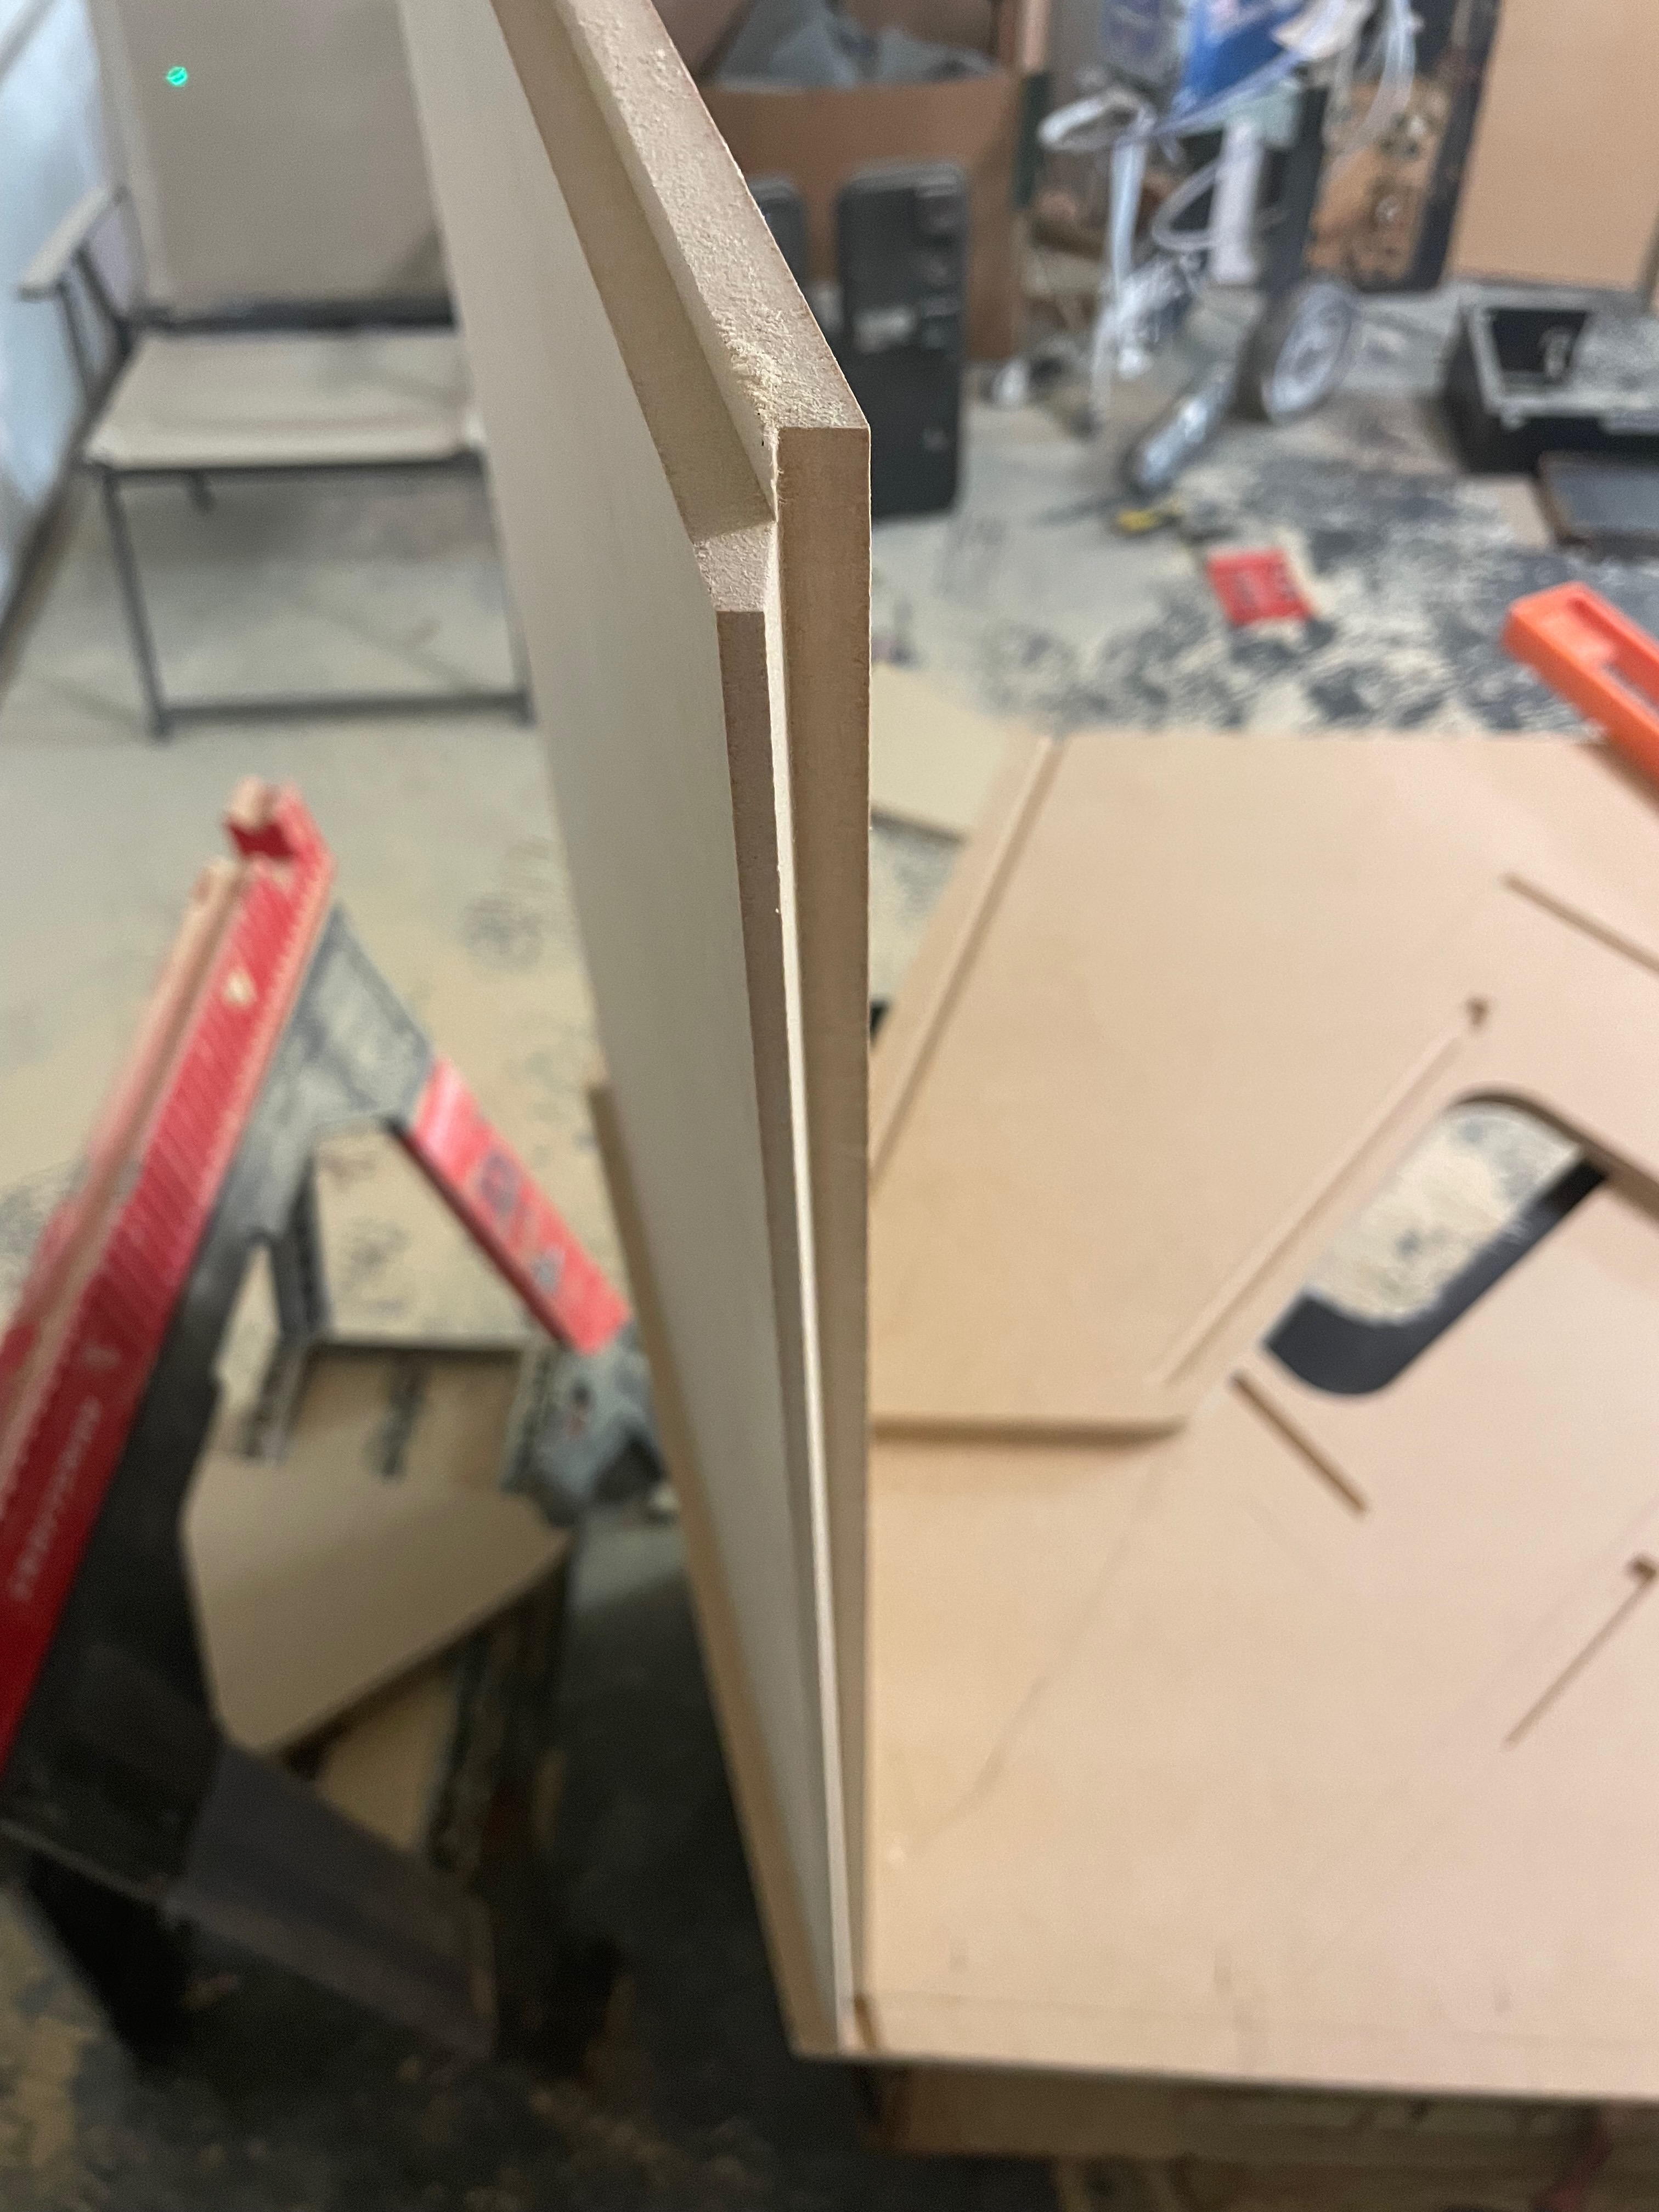
There were a couple unique cuts that required a special jig to perform. I designed and 3D printed an angled plate to screw onto my router.
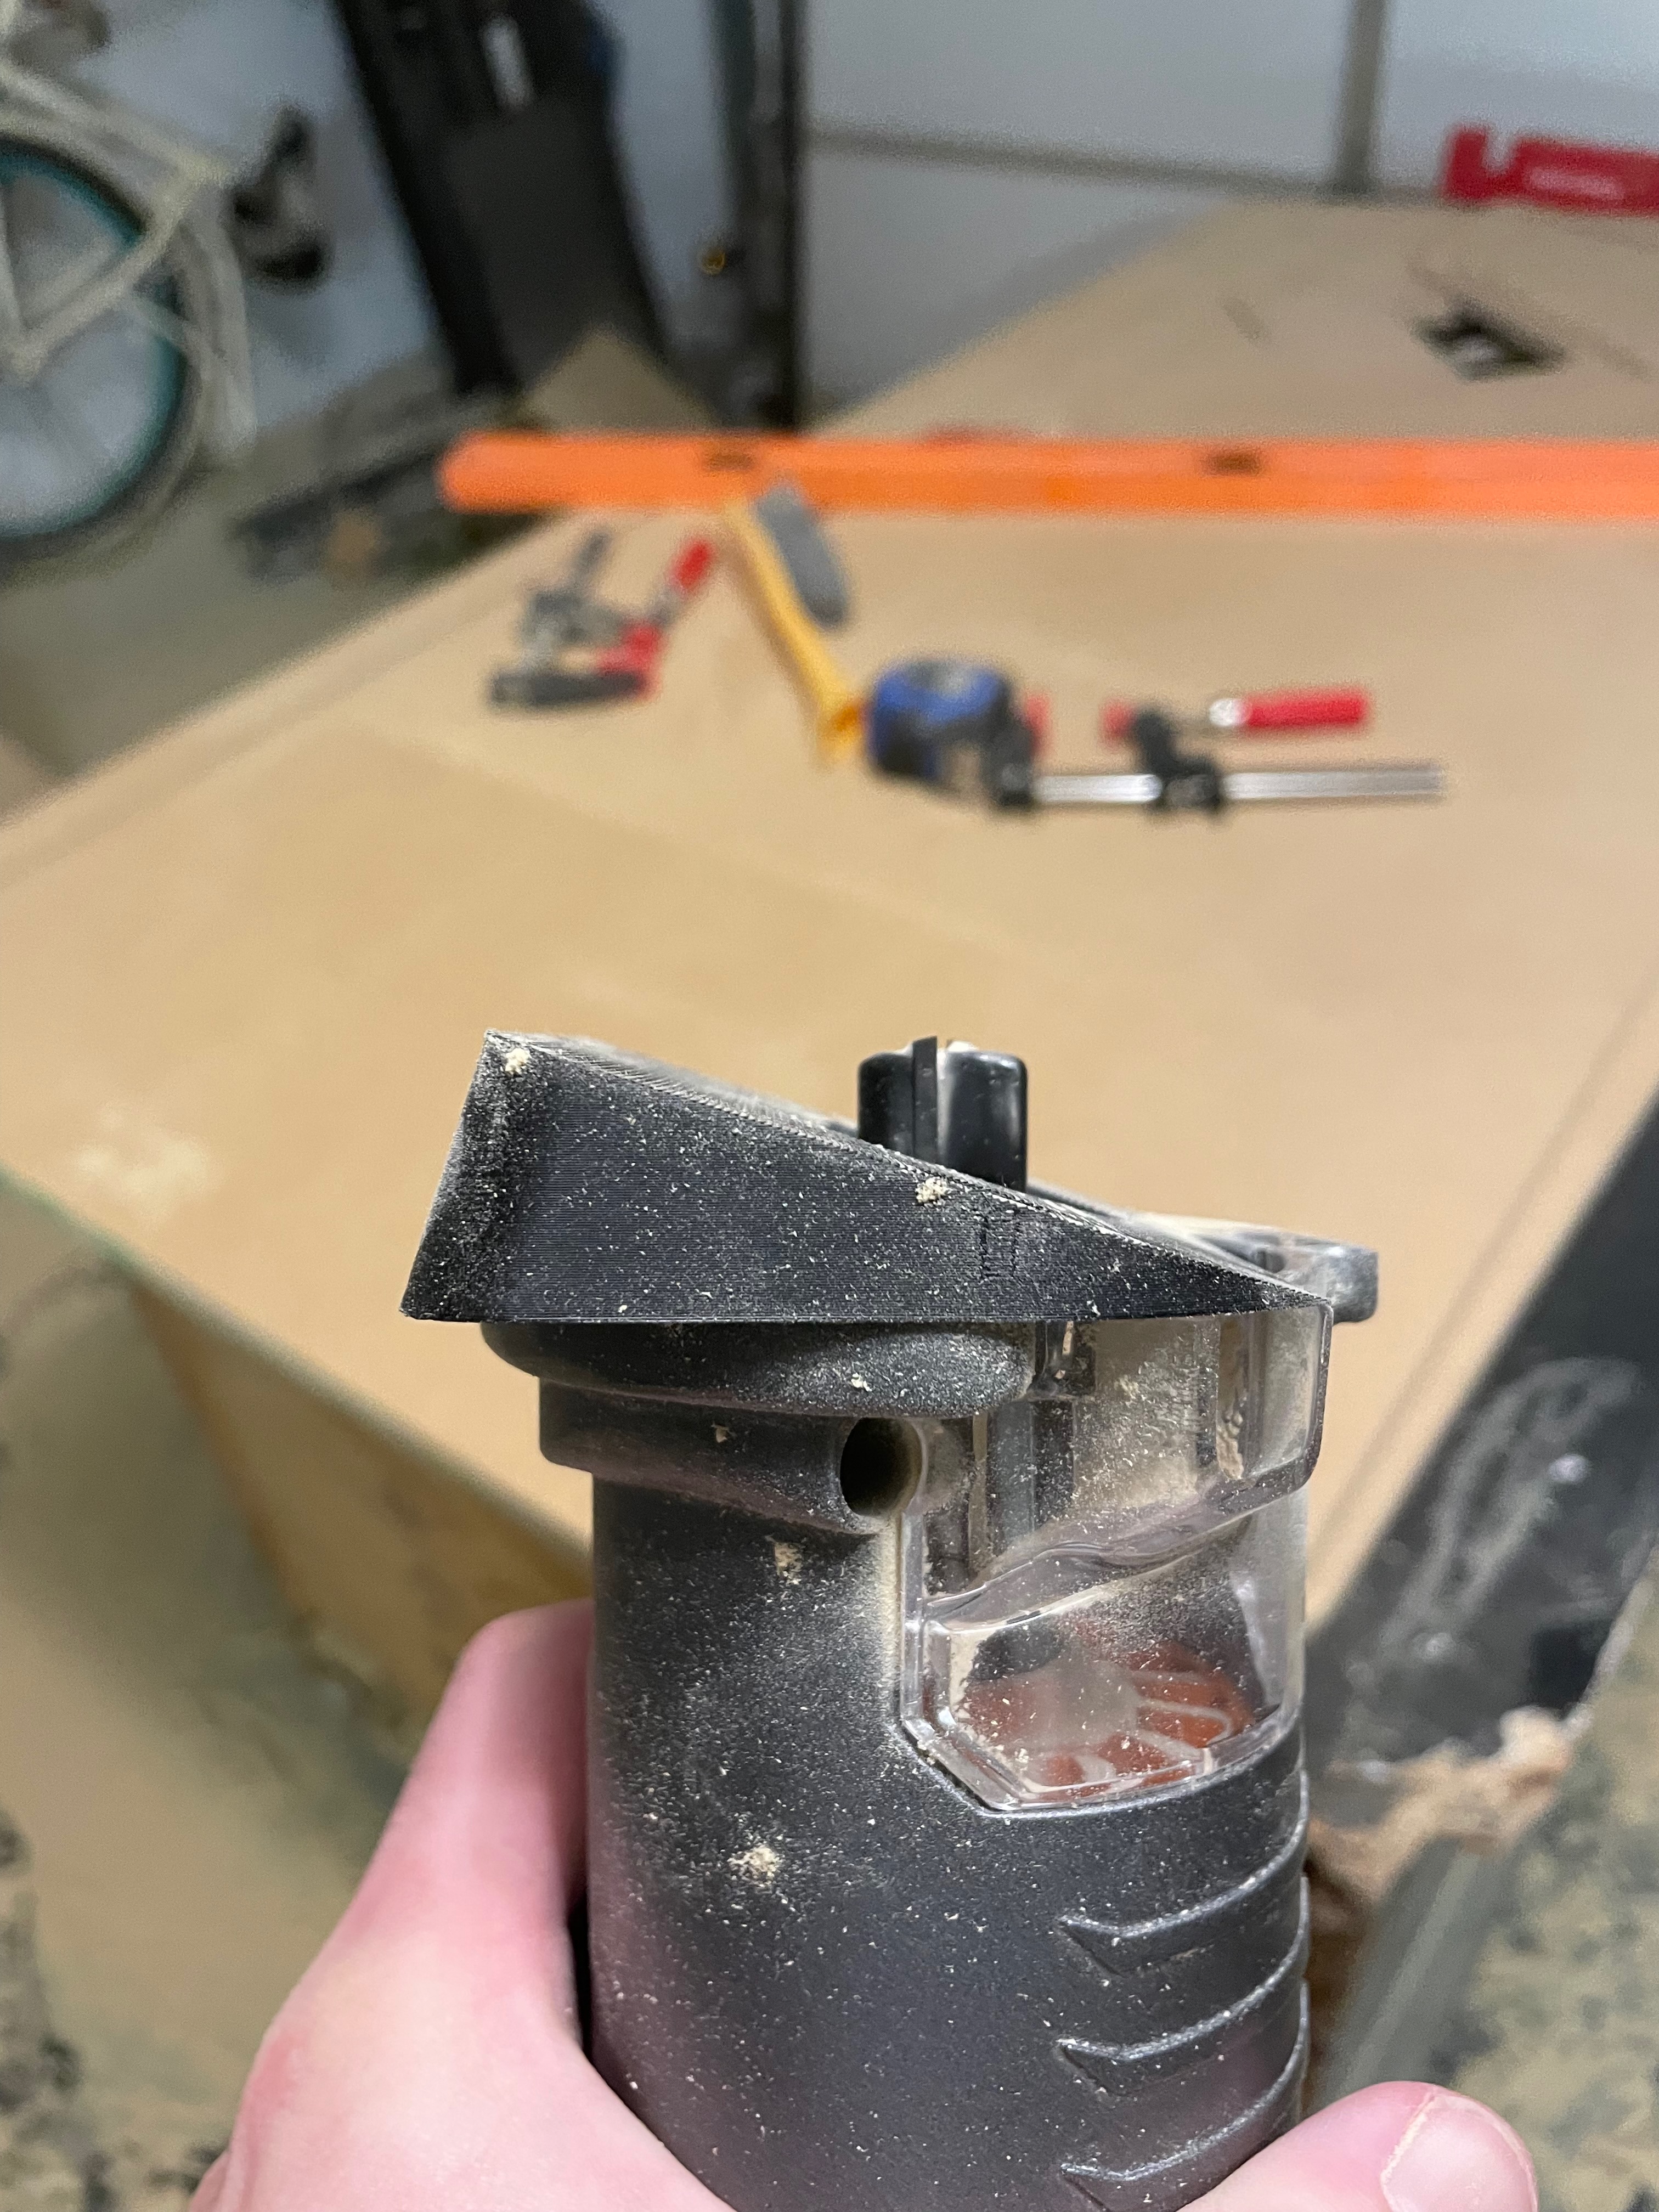
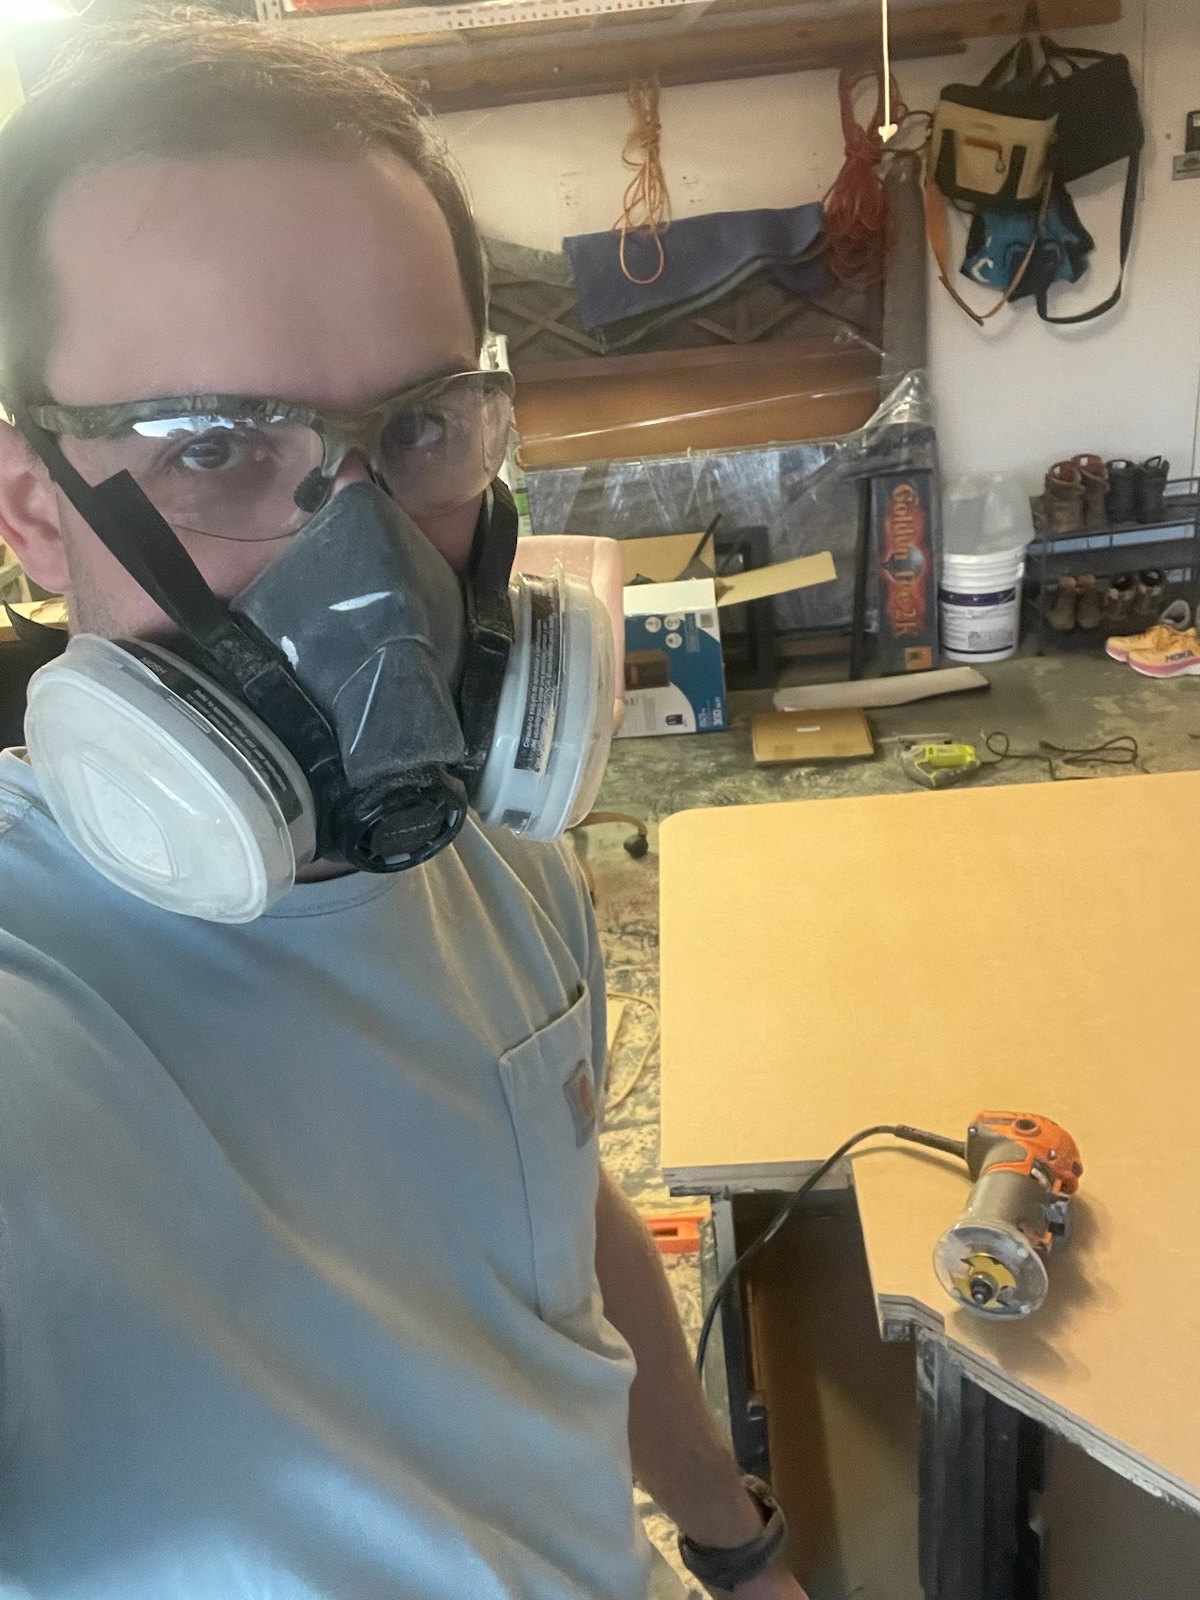
The cutting of all the panels took about 3 weeks. I chipped away every weekday after work between 5pm and 8pm and then all day on weekends when I didn’t have plans already.
At this point, I painted the entire wood cabinet black with an oil based paint to avoid soaking the MDF. I had borrowed my dads airless paint gun. I did a light first pass, let it dry for a couple days, then did a light knock-down sand to smooth out any small bumps. I then did a heavier second coat and the finish came out soo smooth.
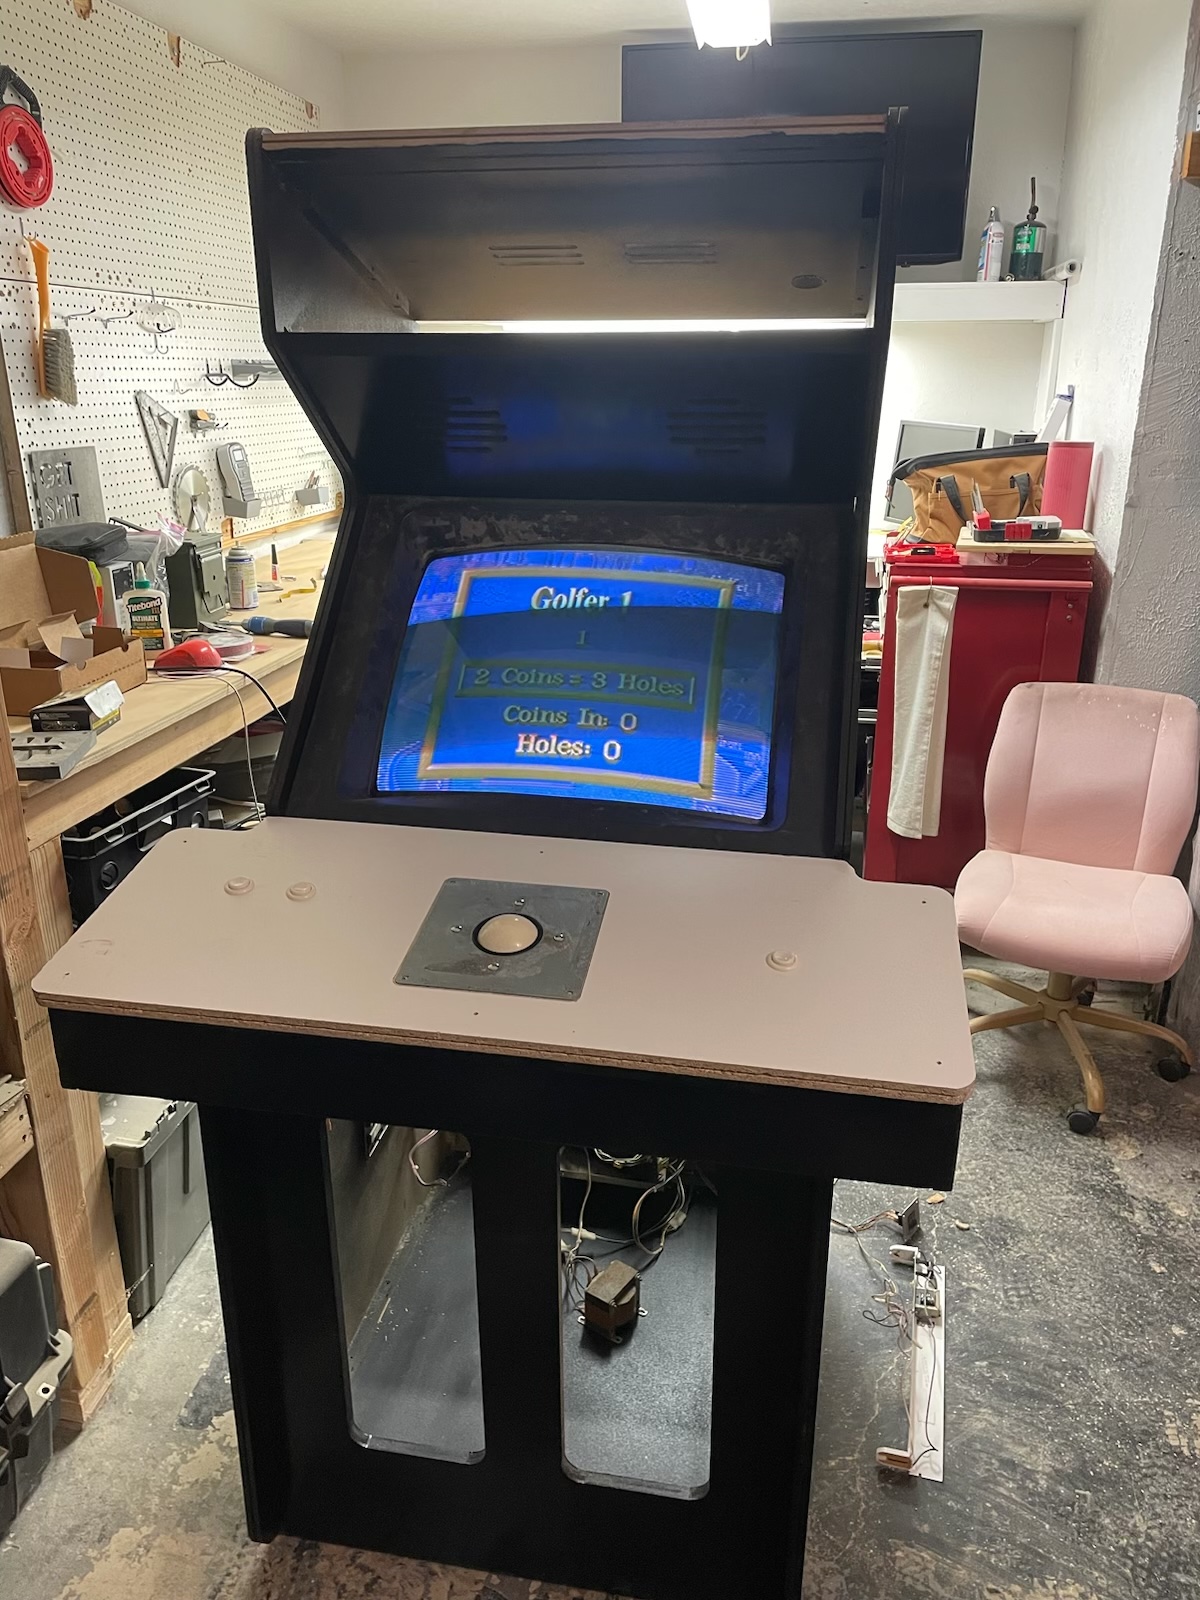
I finally got the controls wired up and was able to play the game for the first time!
Here you can see the old florescent tube for the marquee backlight. I replaced it with an under-cabinet LED strip I got from the hardware store.
Installation
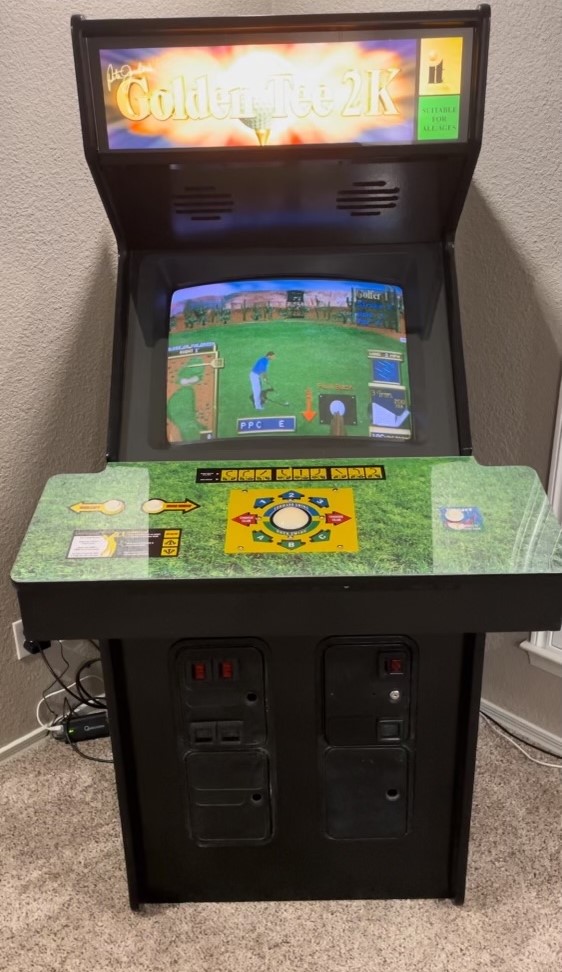
I was not going to neglect the cabinet now that I have put so much work into it, so the only option was to bring it inside. I had a free corner in my office what would be perfect … if I can get it there.
The cabinet would only fit through my rear french doors, so I had to walk it out the garage and around to the back. I then had to remove the control panel to fit it down the hallway. Luckily I had a good friend in town and a couple carpet sliders to help my push it down the hallway. It was barely too wide to fit through the bedroom door, so I had to remove the door from the hinges to push it through.
After getting it placed in the corner, it looked great! Additionally, the wifed loved it! I know this is impractical to have an entire office to myself, but we agreed this would be awesome in a kids play room some day.
The two biggest takeaways are:
- I underestimate the time needed to complete projects
- I will never do woodwork in a garage again. I was blowing sawdust off everything for weeks.