Intro
I recently acquired a 3D printer that I have been messing around with, printing various nick knacks, but I wanted a new project to start on. I was browsing printables for an 3D print idea and I stumbled on Open 6x12, 6x17, and 6x24 panoramic camera and I was instantly determined to make one. Not only did I want a 3D print project, but this combined my love for photography, 3D modeling, and engineering all in one!
About
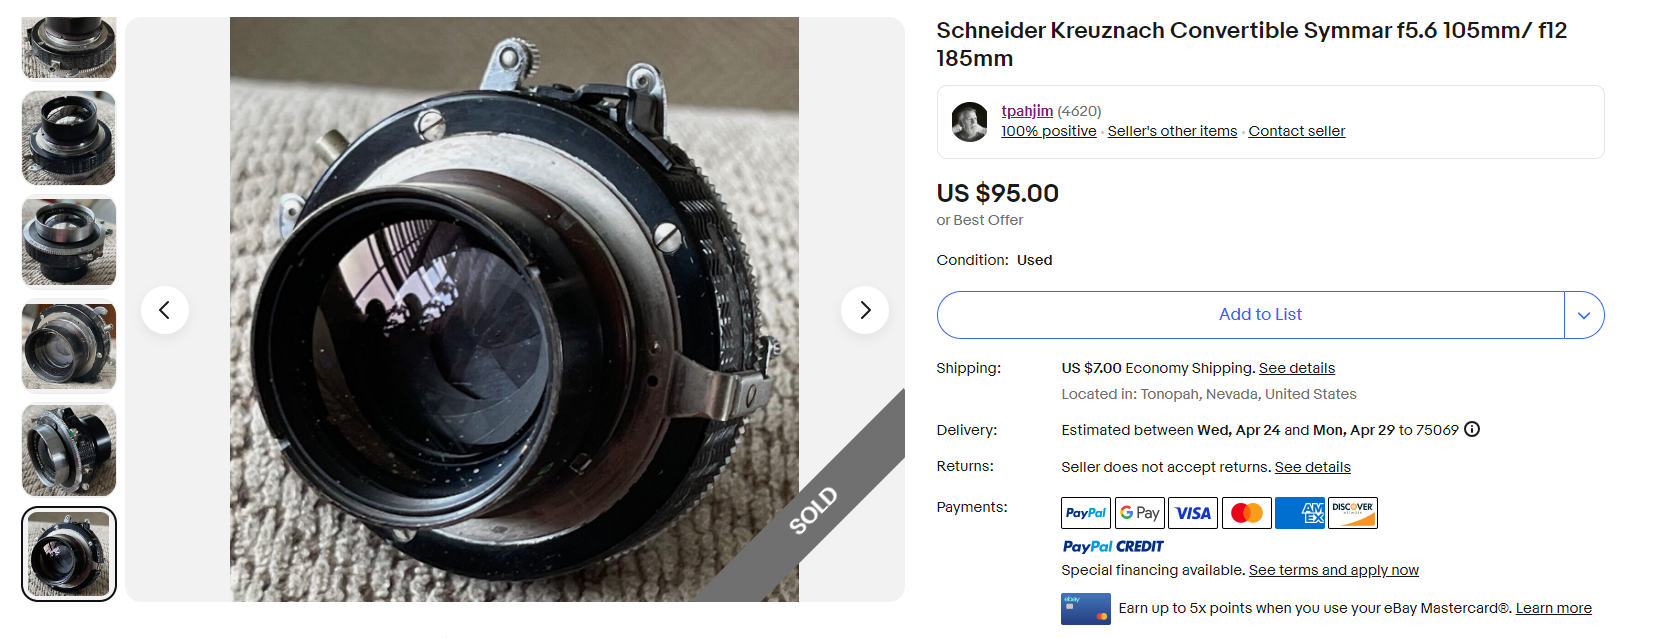
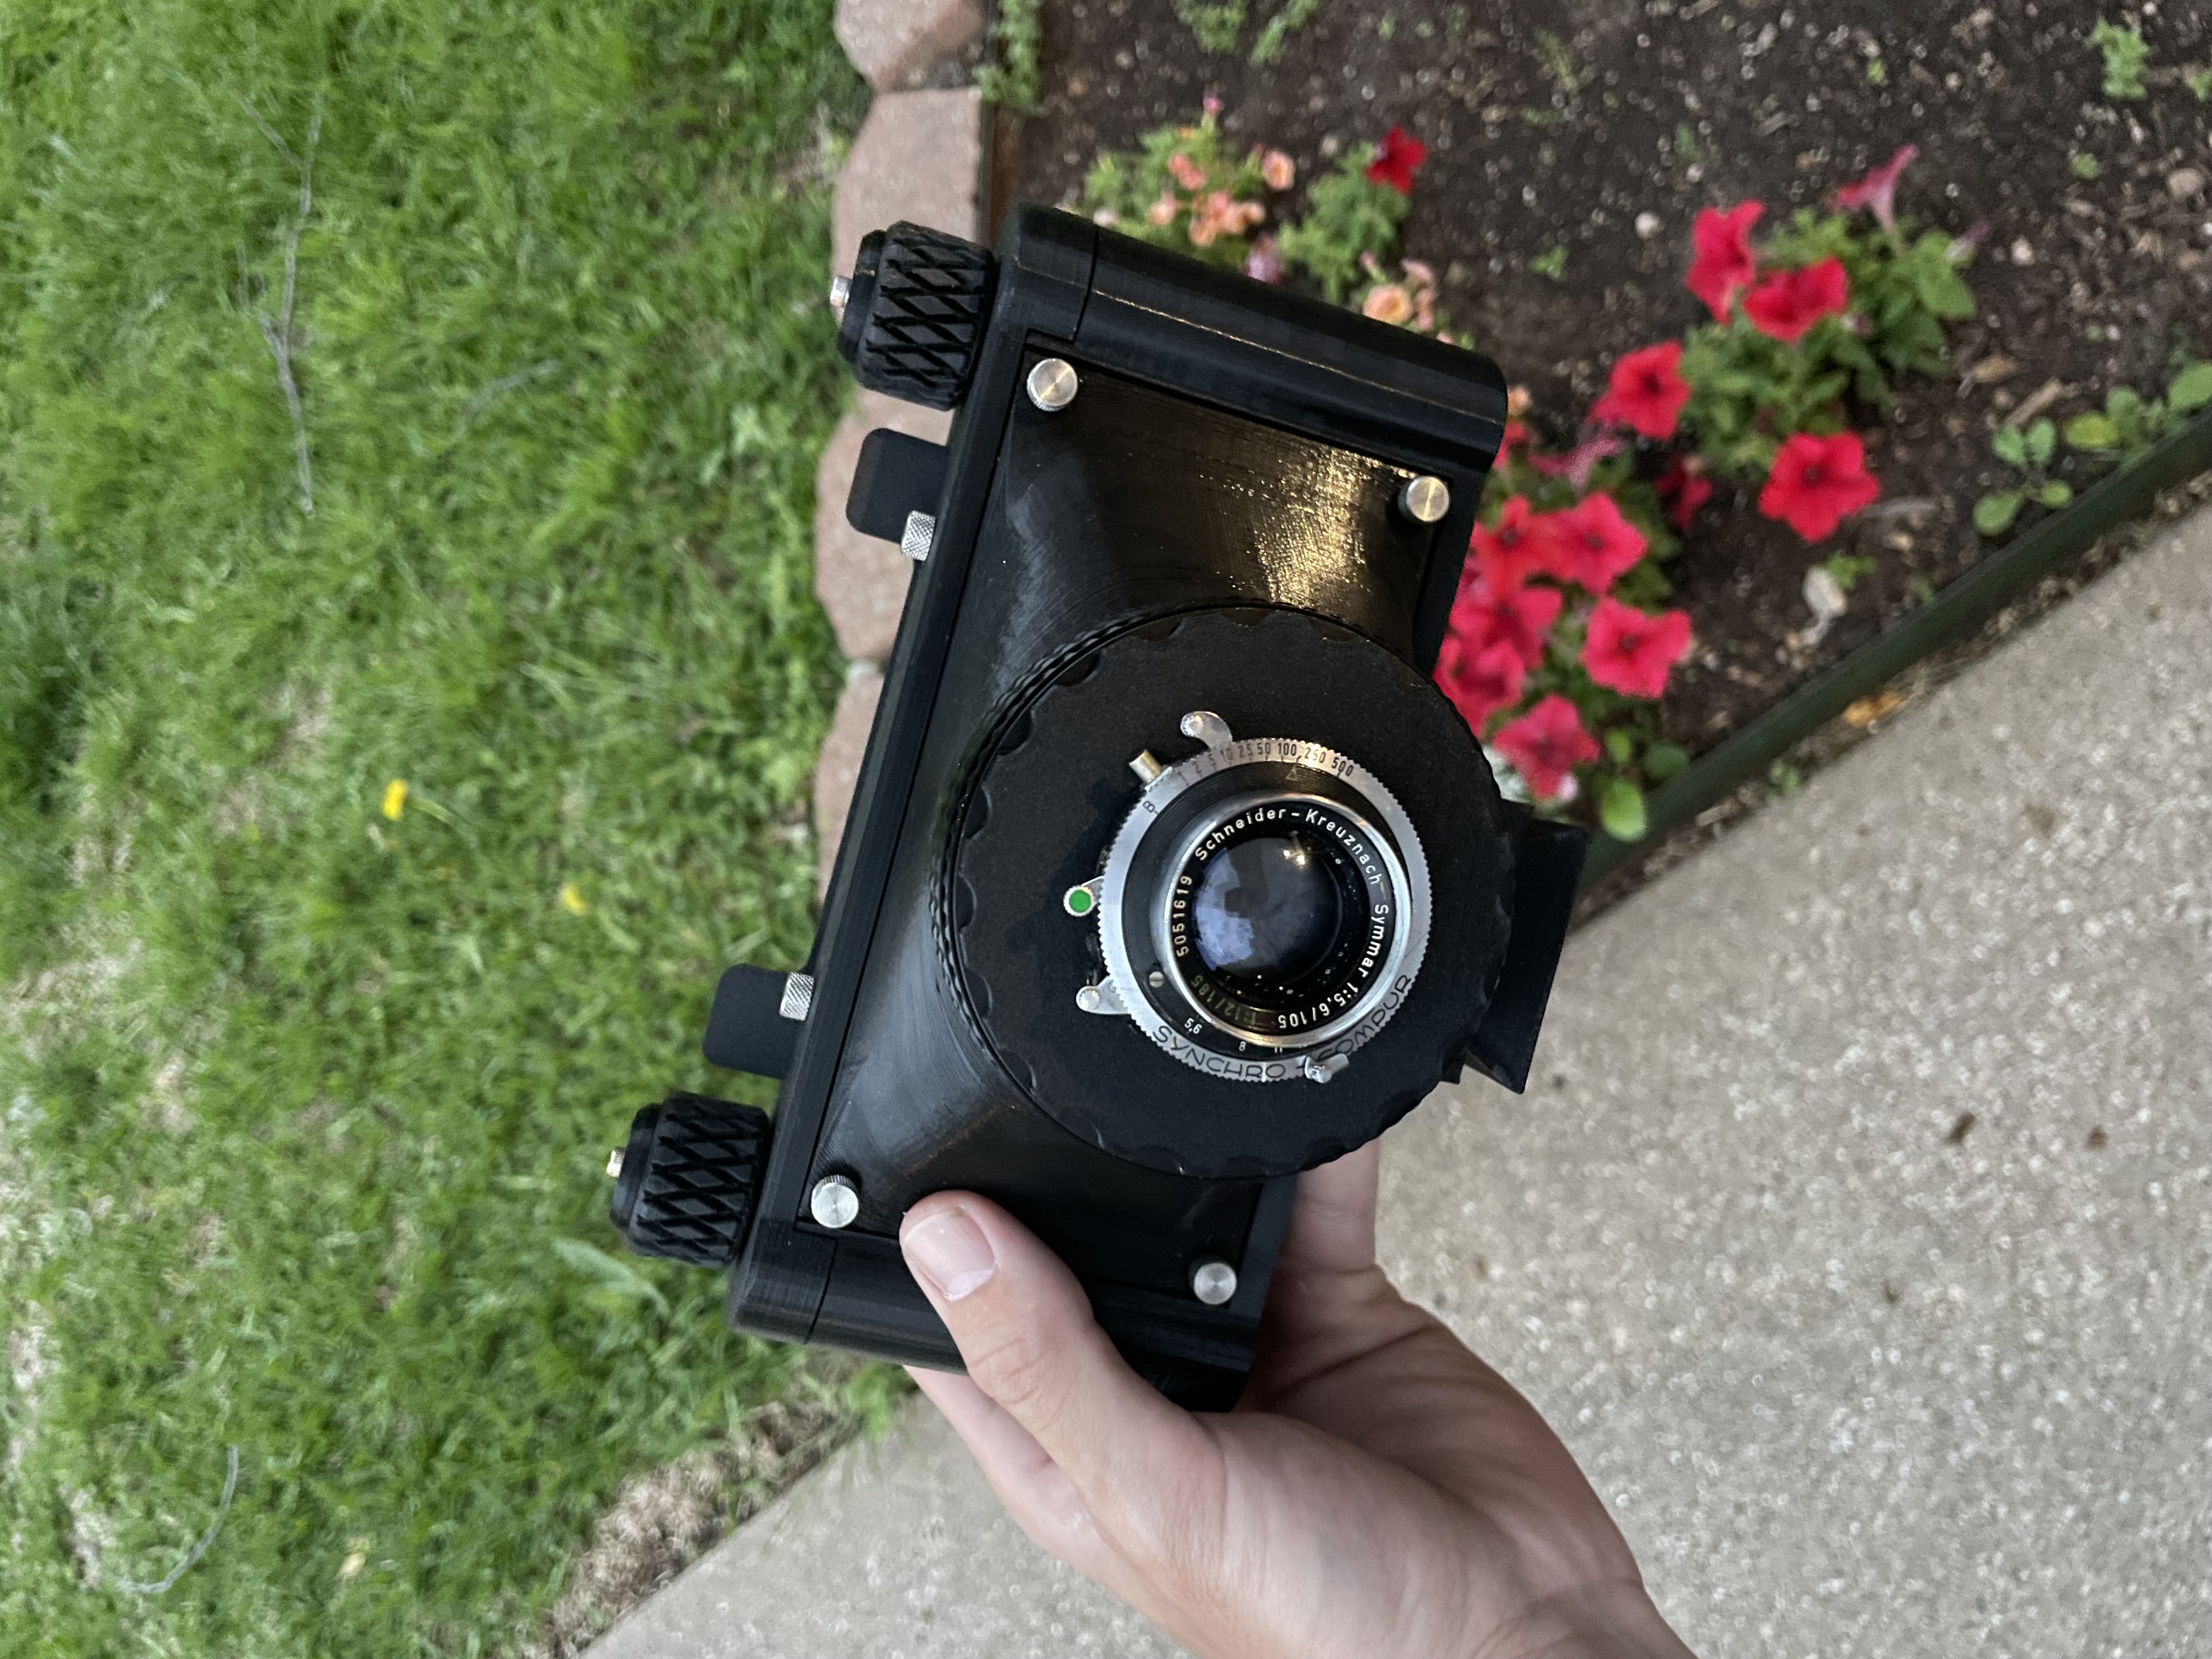
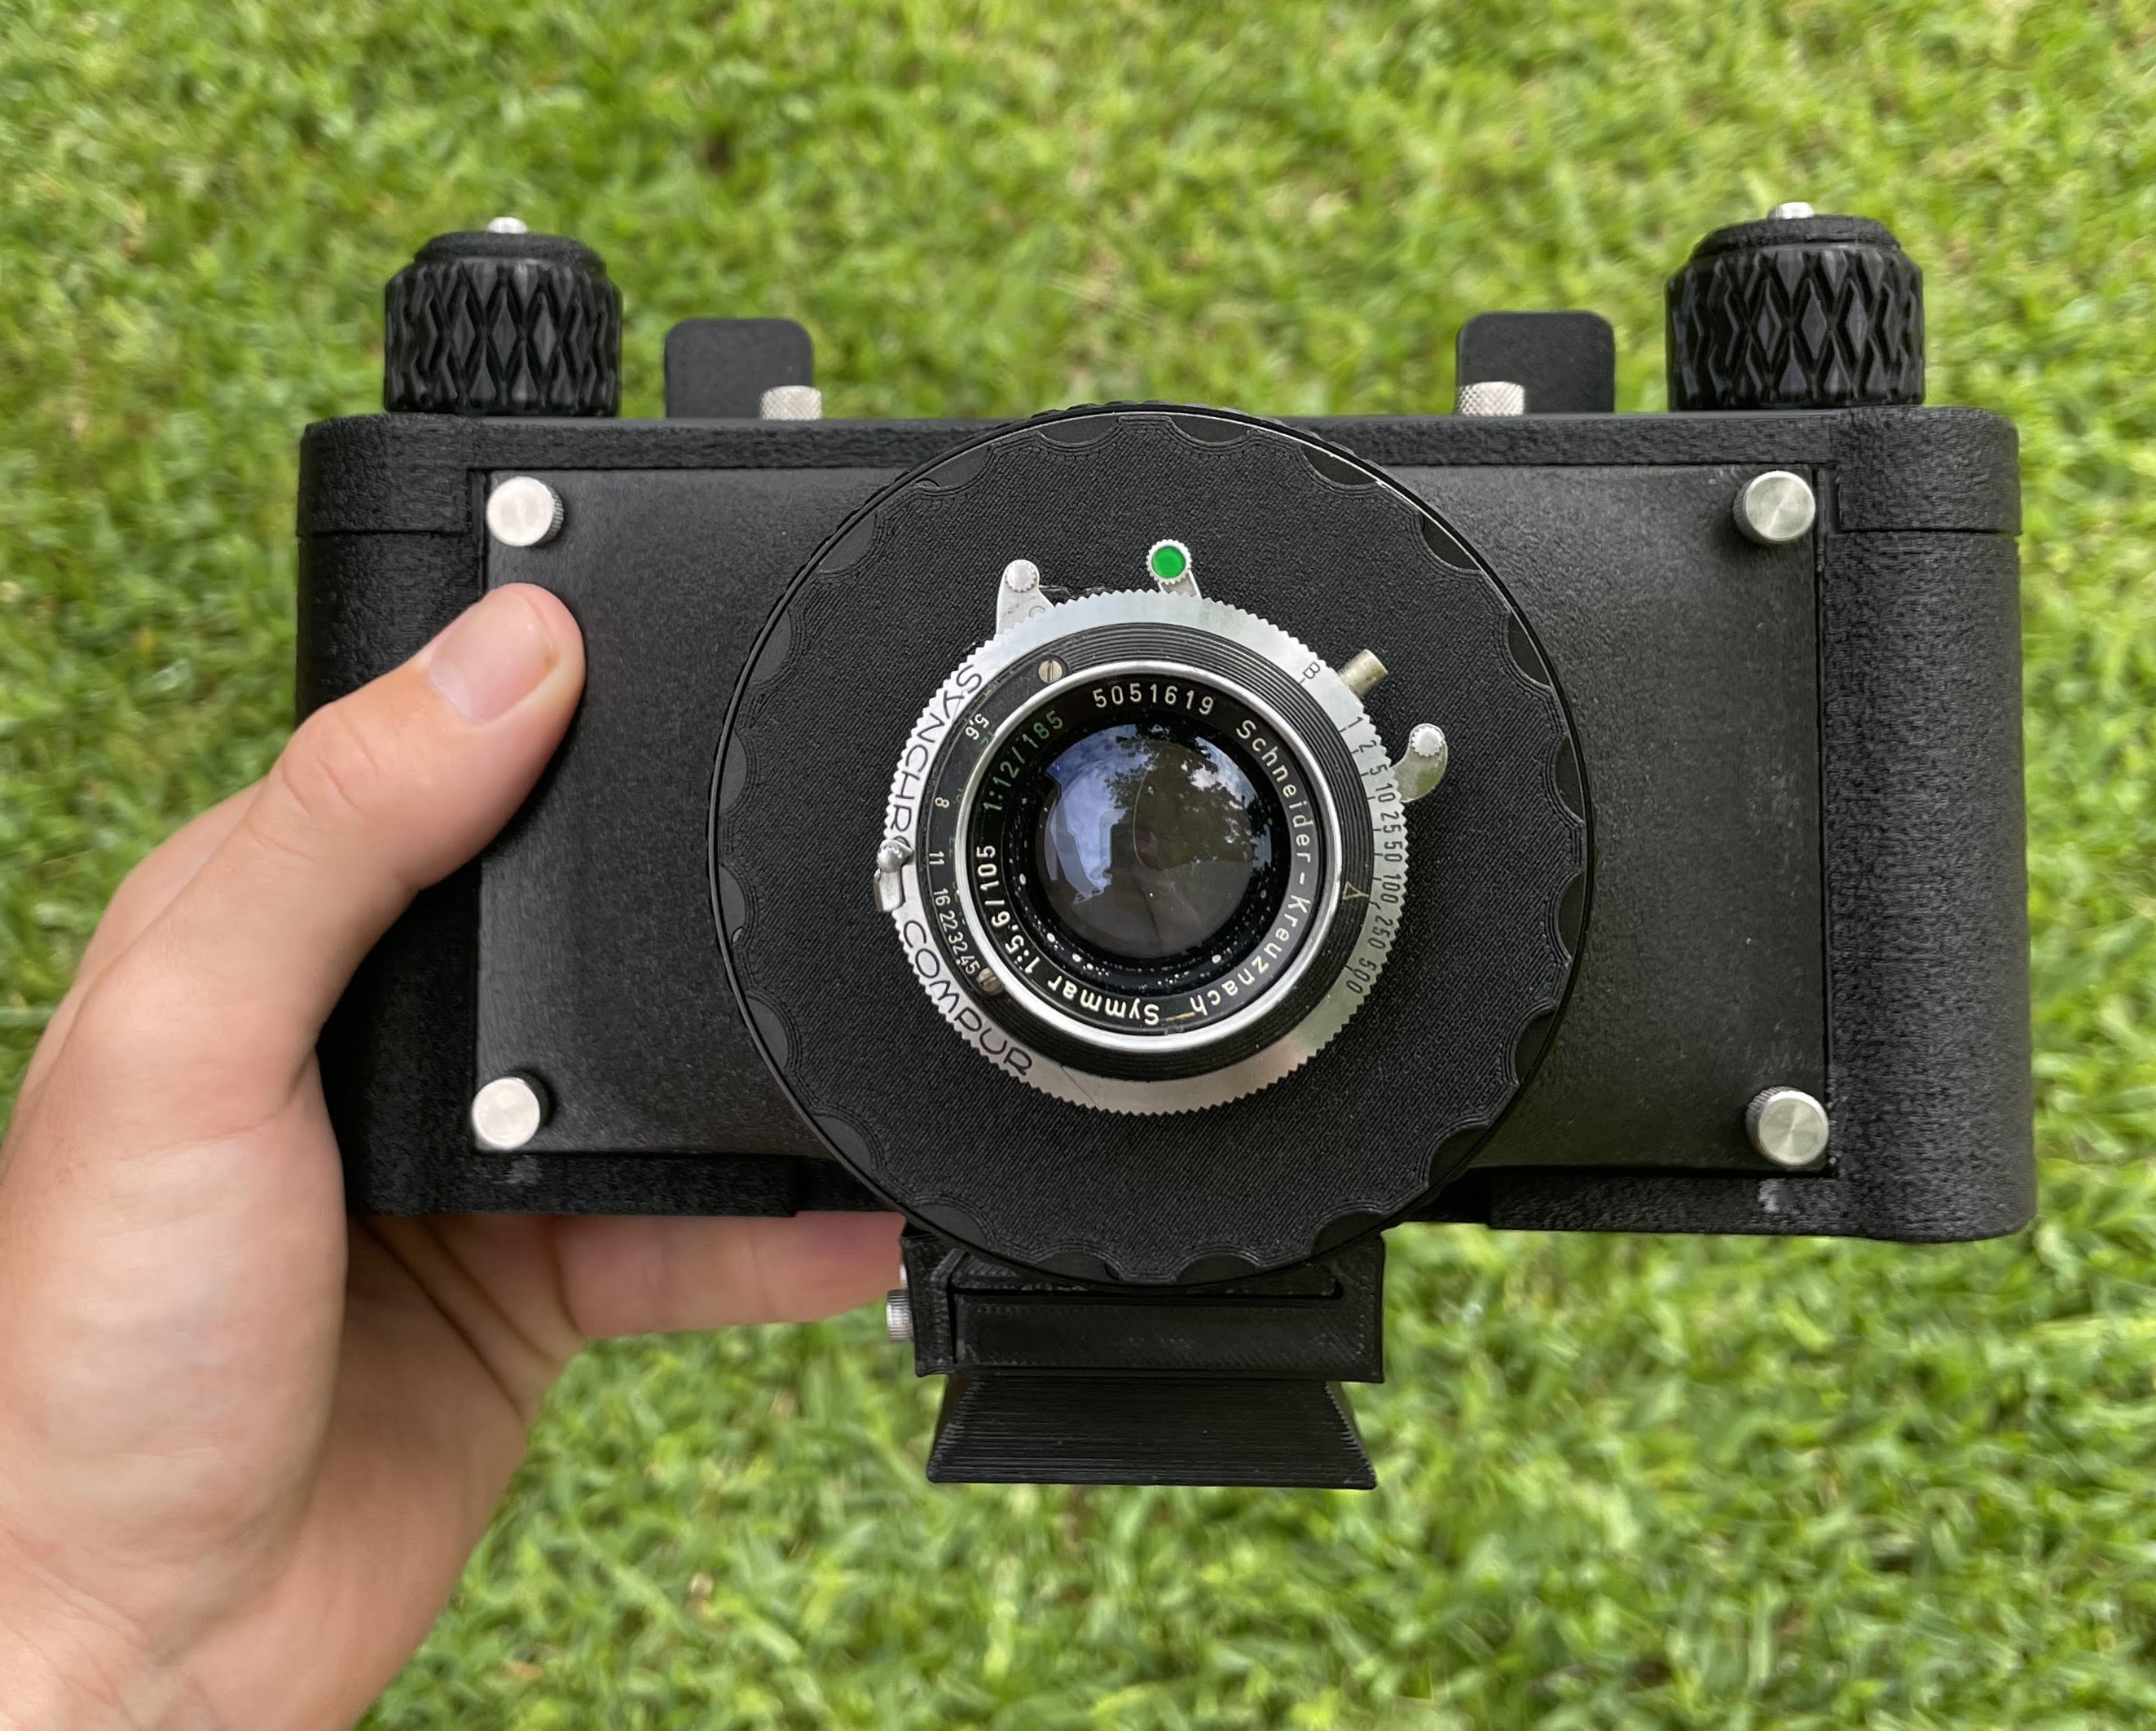
Off the bat, there was 1 requirement for such a 3D printed camera. There is no way you can 3D print a lens or shutter today. (Well, someone has printed shutter) I need an actual lens and a shutter. Back in the days of medium and large format, the lenses were combined with a shutter and the assembly was mounted to a lense board. I did some shopping to look for a lens and found a really inexpensive Schneider-Kreuznach Symmar 1:5.6/105 & 1:12/185. What is neat about this lens, is I can switch from 105 mm to 185 mm by just unscrewing a section of the back side.
Eventually I would like to get a Fujifilm Fuji Fujinon SW 90mm f/8 Large Format MF Lens F/JP which has been tested with the 6x24.
Modifications
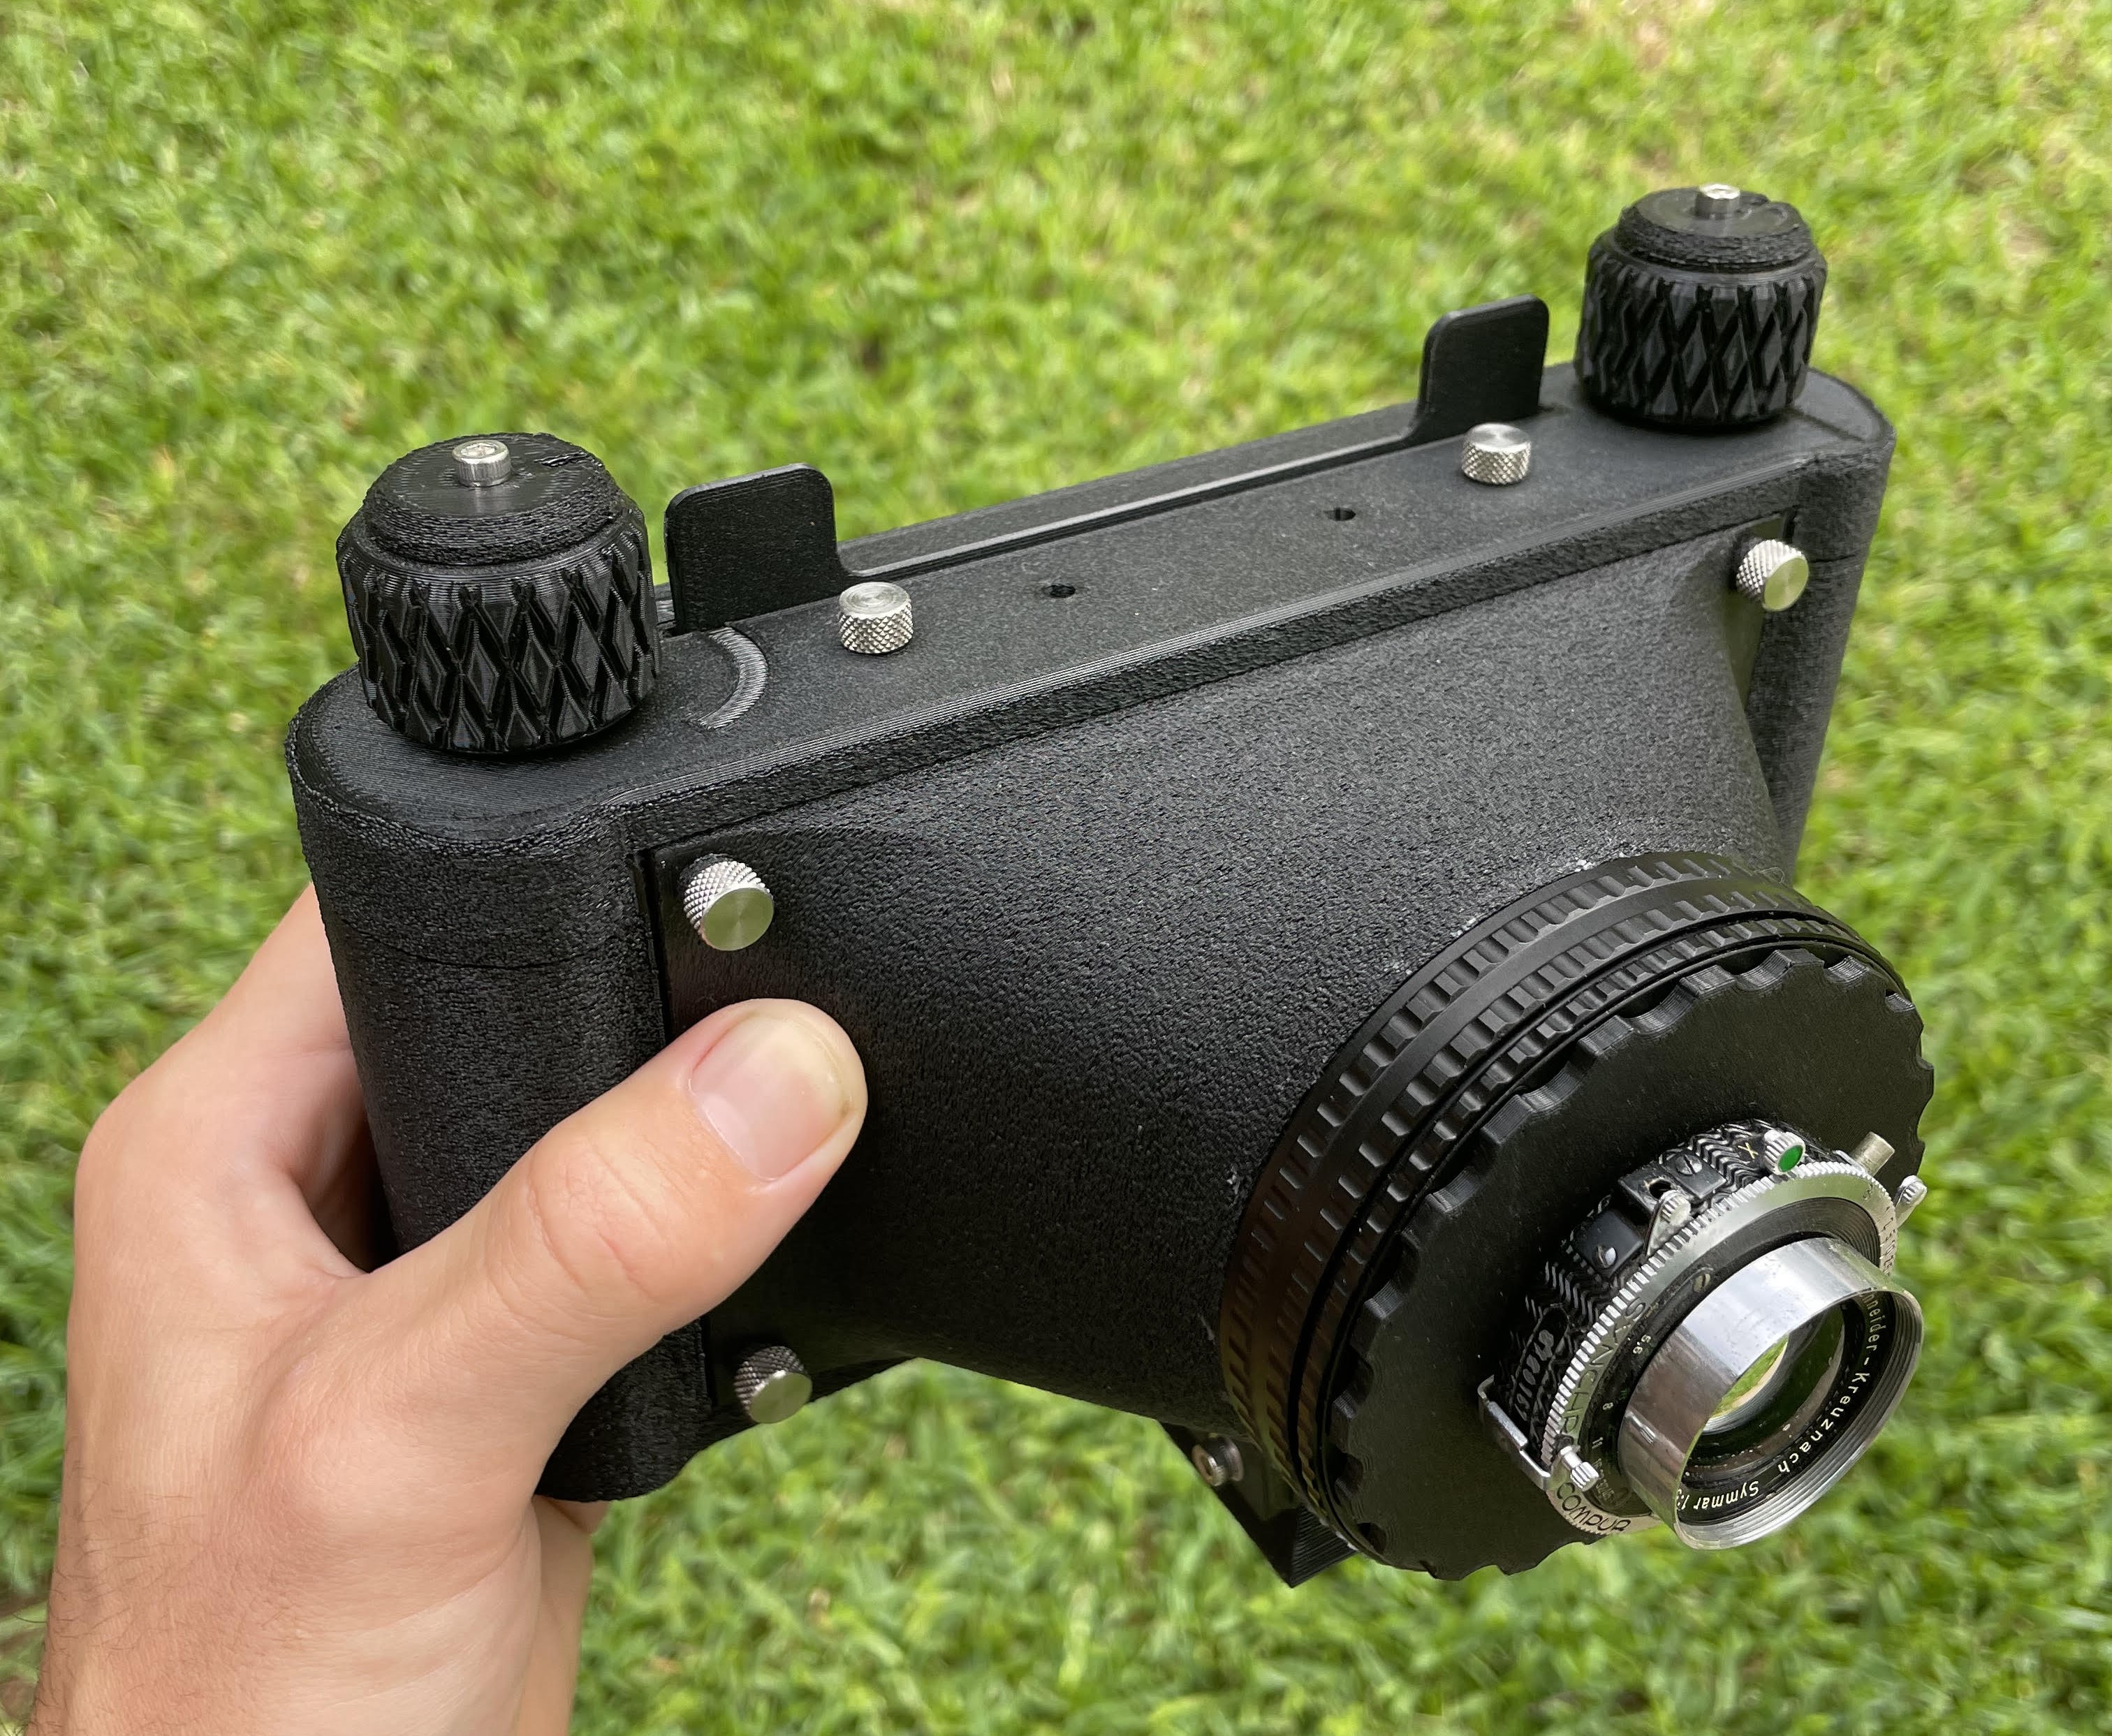
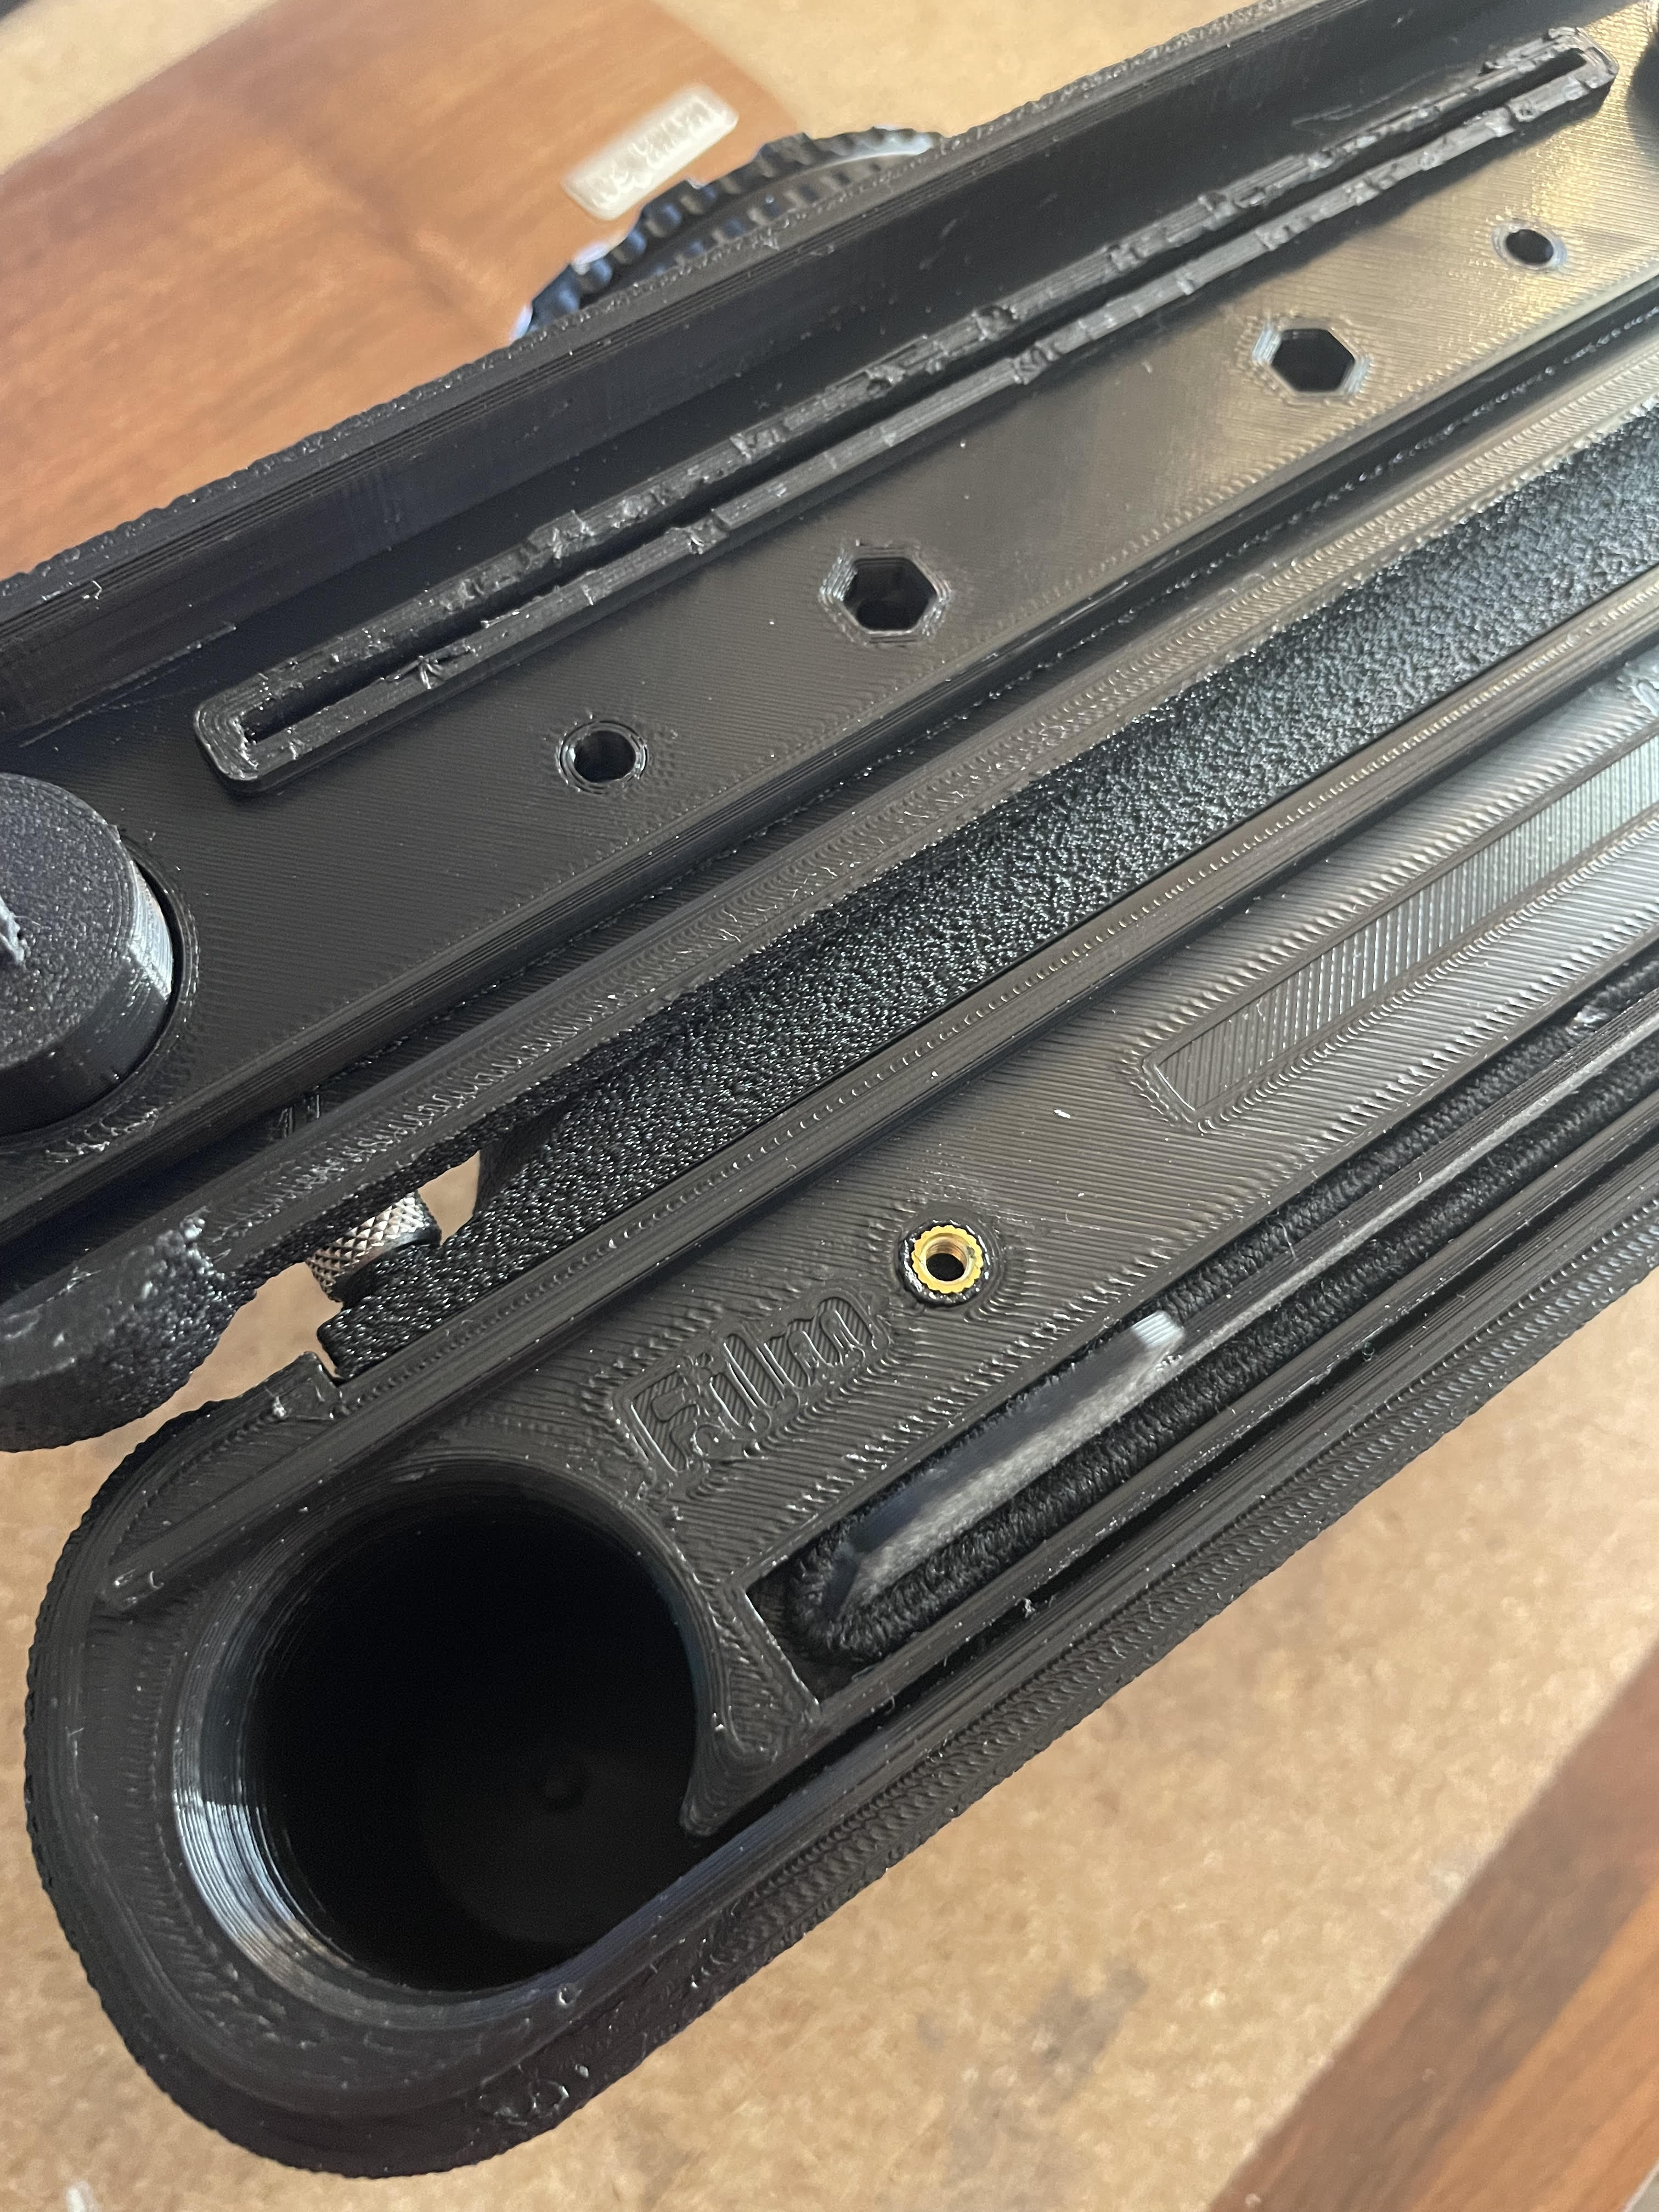
At the time of doing this project, @Velvia had just released his “V8” version of the Panoramic Camera model. The V8 came with a game changing feature; it had a dark slide. This means I can actually focus the lens with a ground glass in the field and preview the image before I take the shot! The only problem, V8 is untested and has a couple quirks. First, it was only available in the 6x17 size. The lens cone screw holes were not aligned. I modified it and the cone to use 4 screws.
 Mis-aligned holes
 MODIFICATION (Screw populated in top-right hole)
This is picky, and isn’t even noticeable on the print, but the base chamfer at some point turns into a chamfer-fillet combo?
 This was later corrected in the original V8 design
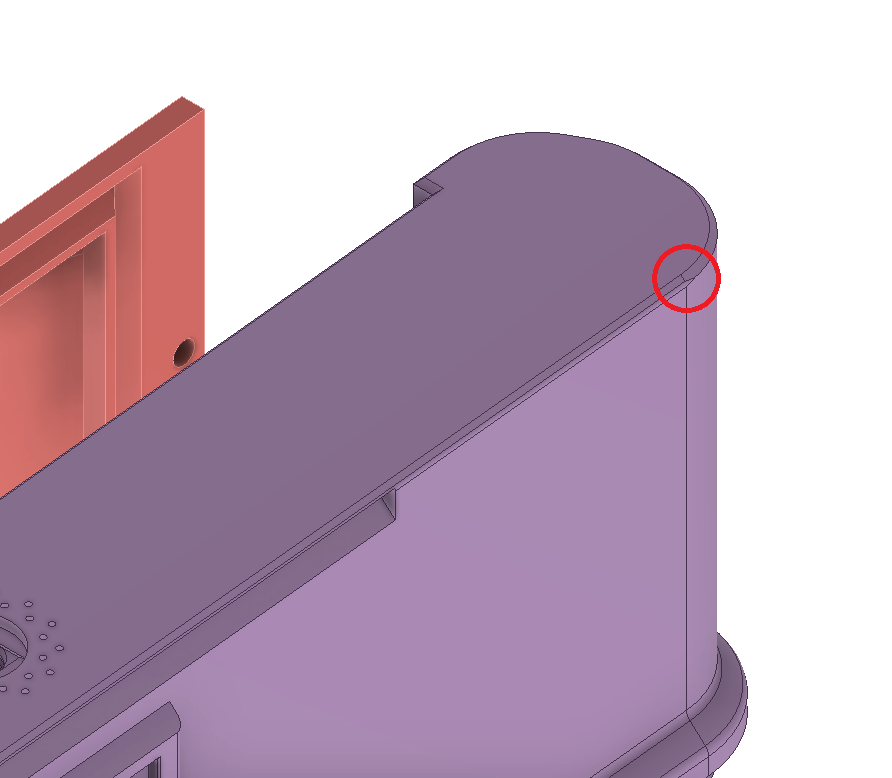
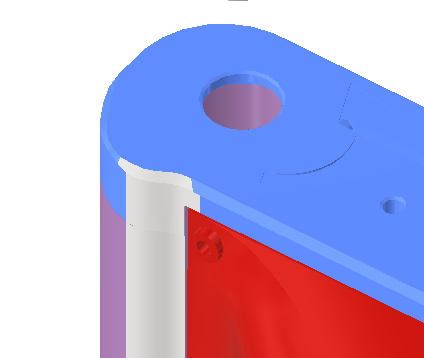
When assembled, this portion of the lid lip has a sharp corner that protrudes and does not transition smoothly. I modified it so it becomes flush with the base of the cone.
 |  |
|---|---|
| Sharp corner where fingers grip camera | MODIFICATION |
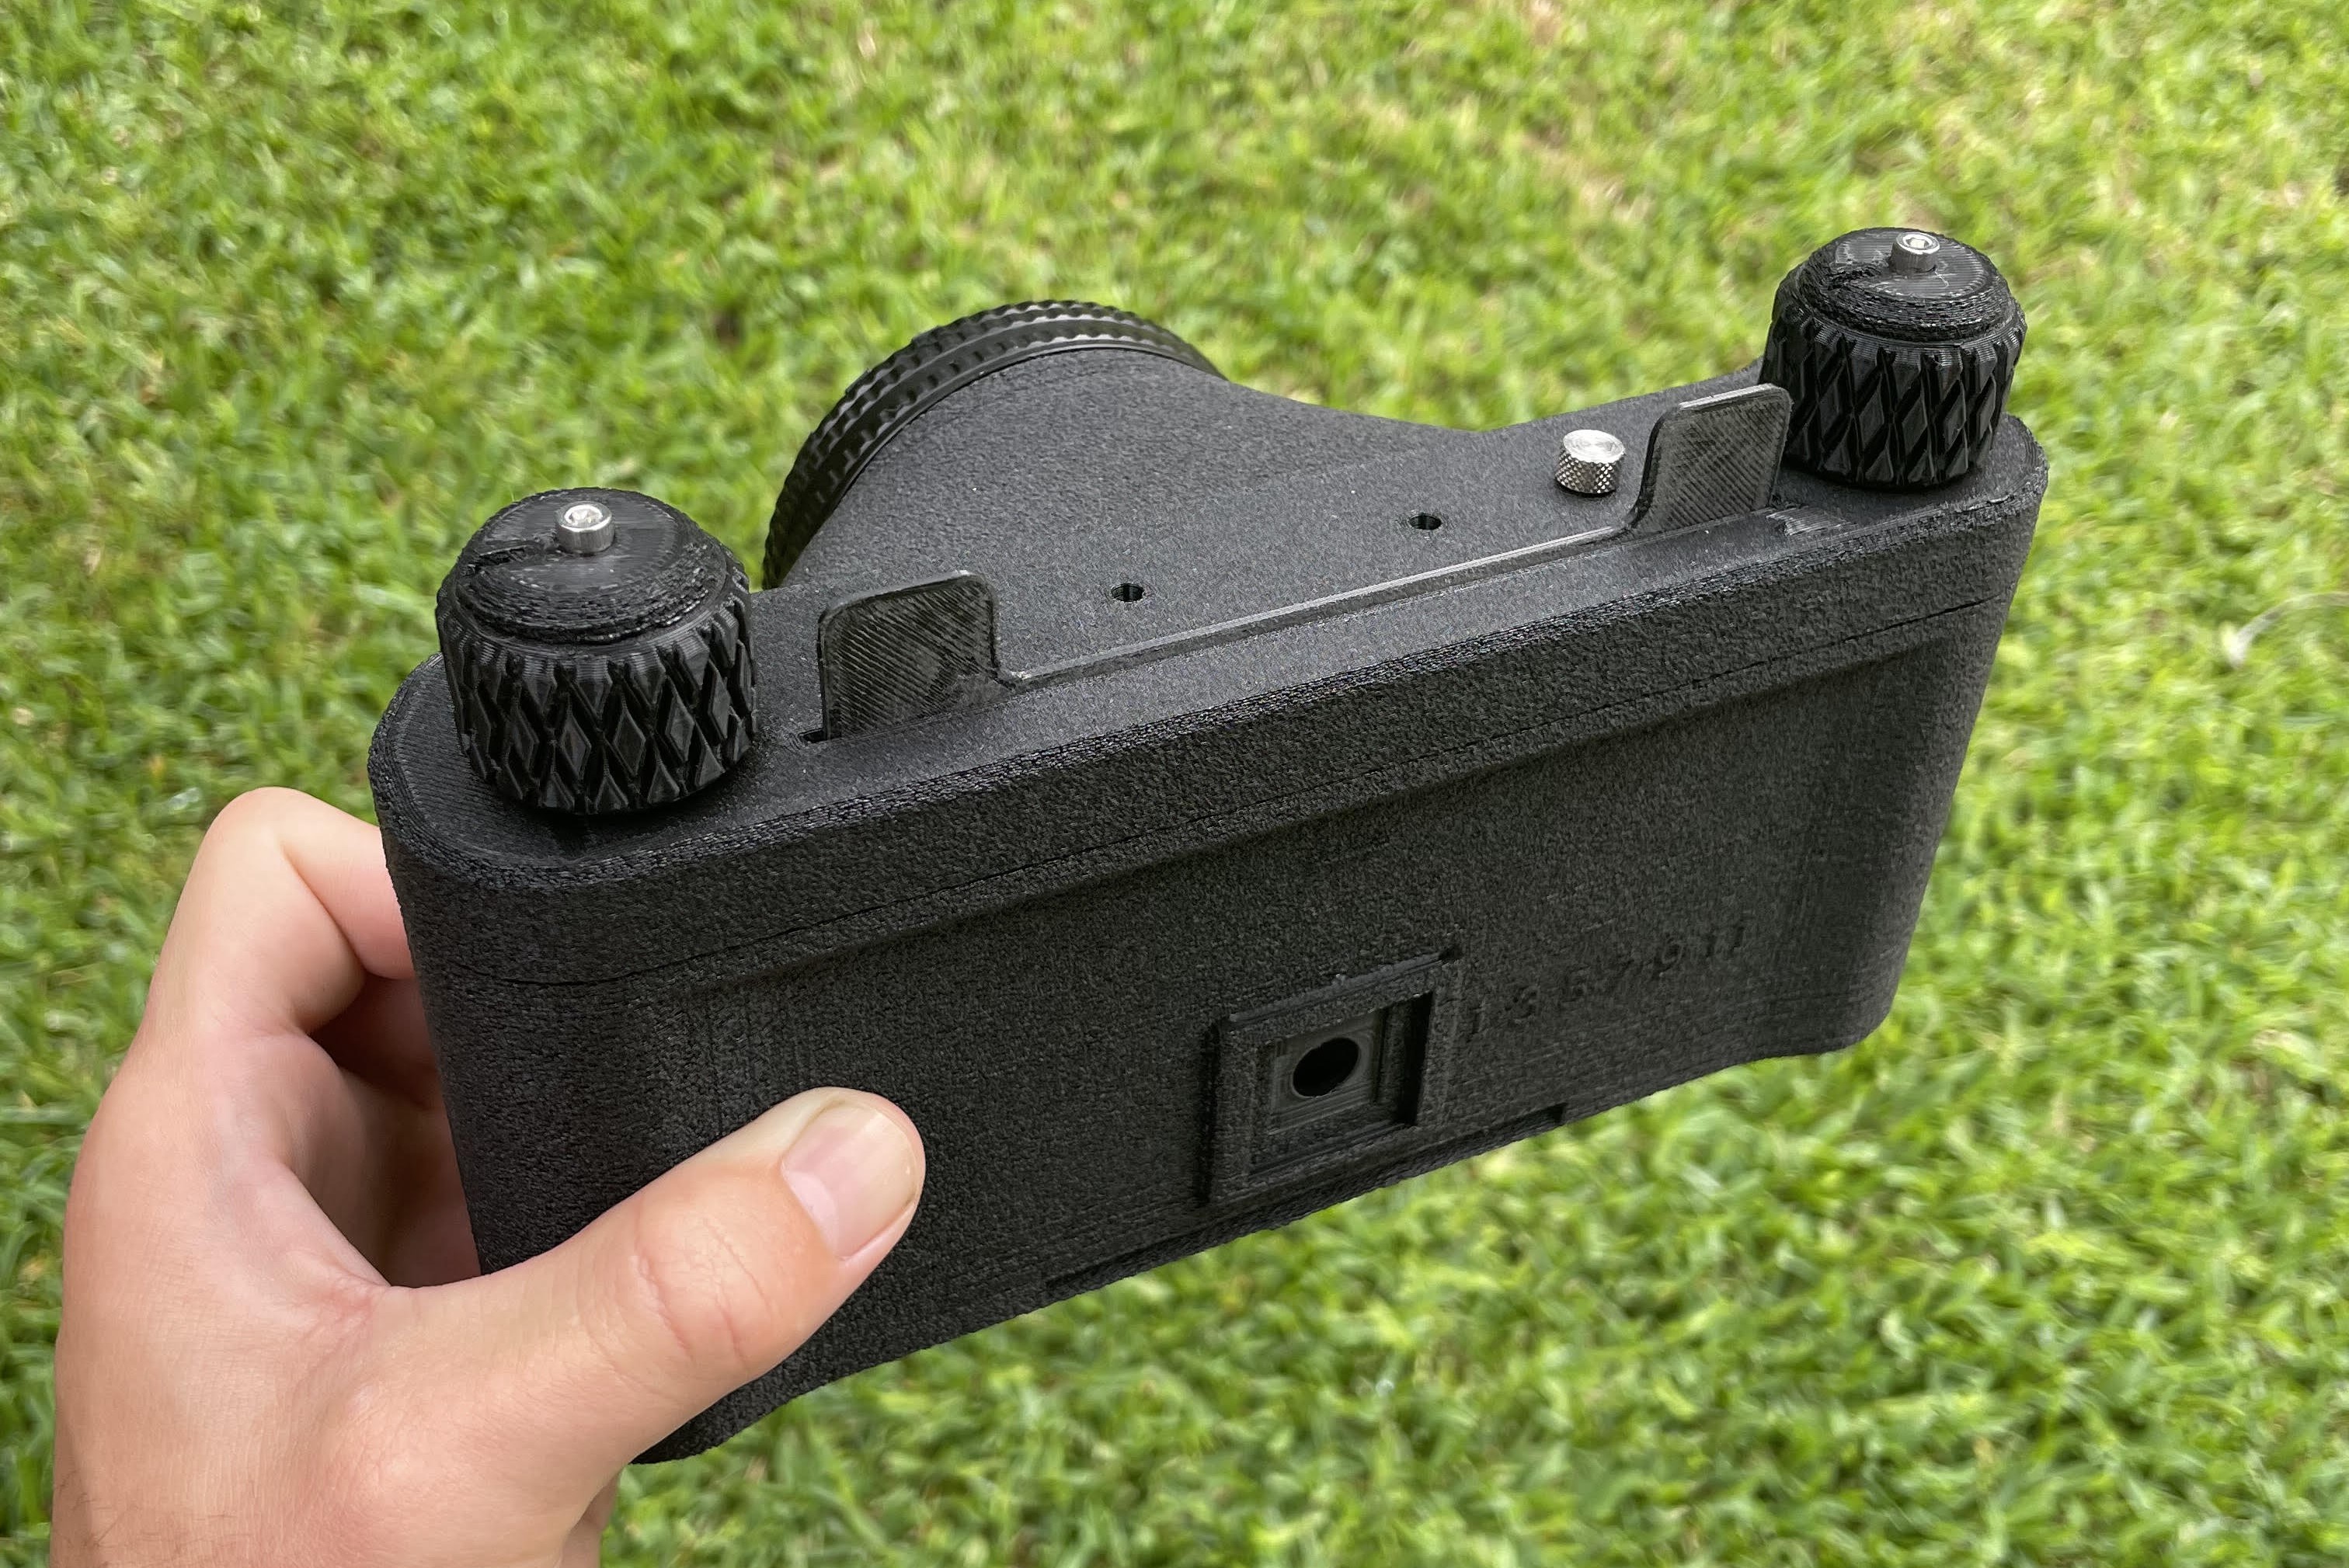
In addition, I added a thumb grip to both sides of the back.
 MODIFICATION
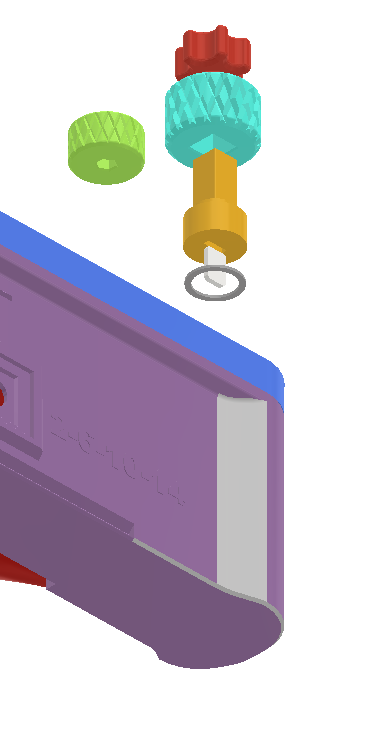
I don’t really understand the point of both a wind grip and a wind sprocket. I replaced the sprocket with a thin washer.

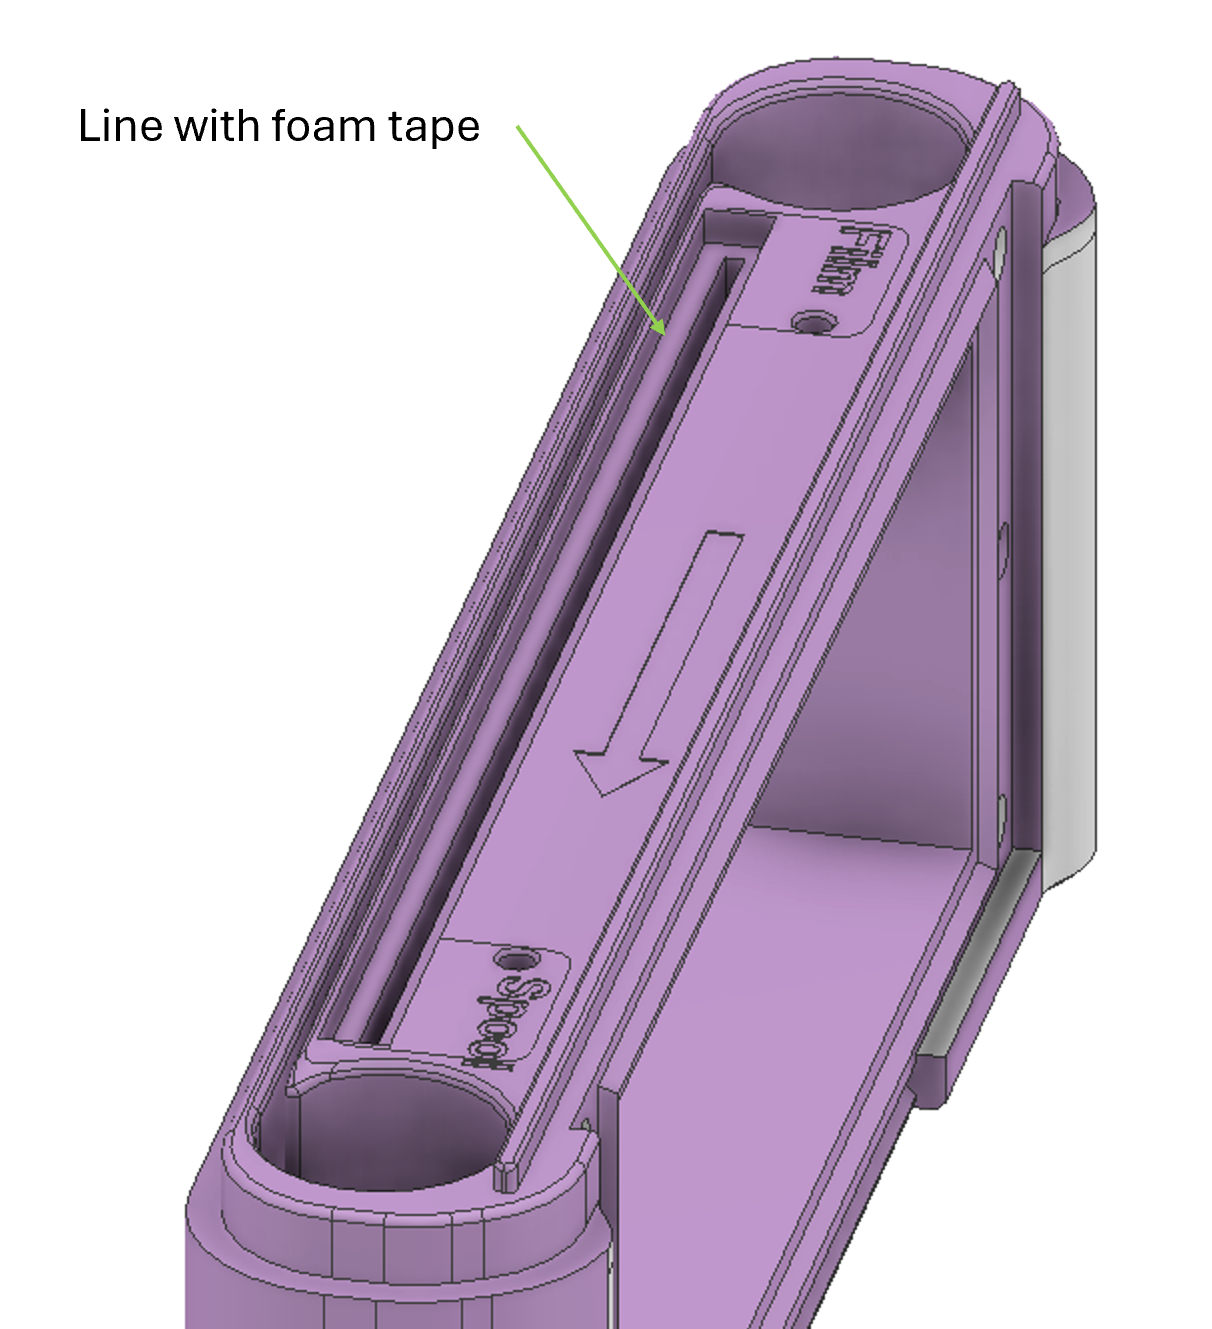
Another modification was to line the dark slide cavity with foam tape so that the body of the camera is light sealed against the dark slide.
Lens Cone
I designed my own parametric lens cone for the 4x screw hole design and M65 helicoid. I had to find out the FFD (flange focal distance) for my lens. I just held the lense up to a wall and measured the rough distance at which the image was in focus. I did not worry about getting it perfect since the helicoid can adjust to compensate for error.
Schneider-Kreuznach Symmar 1:5.6/105 & 1:12/185:
- 112mm FFD for 185mm focal length
- 143mm FFD for 105mm focal length
Focusing Screen
I designed a simple focusing screen that snaps to the back of the lens cone and holes a small sheet of frosted acrylic.
Building
The only other requirements for this build is a set of M3 x 0.5mm 9mm L screws and a M65-M65 focusing helicoid. I opted for a set of nice knurled thumb screws since removing the 2x lid screw is needed for loading/unloading film, and removing 4x lens cone screws is needed for focusing. The funny part is, these were the 2nd most expensive part of the build.

The focusing helicoid is simply an extending mal-female adapter that has a M65 x 1 mm thread on both ends.
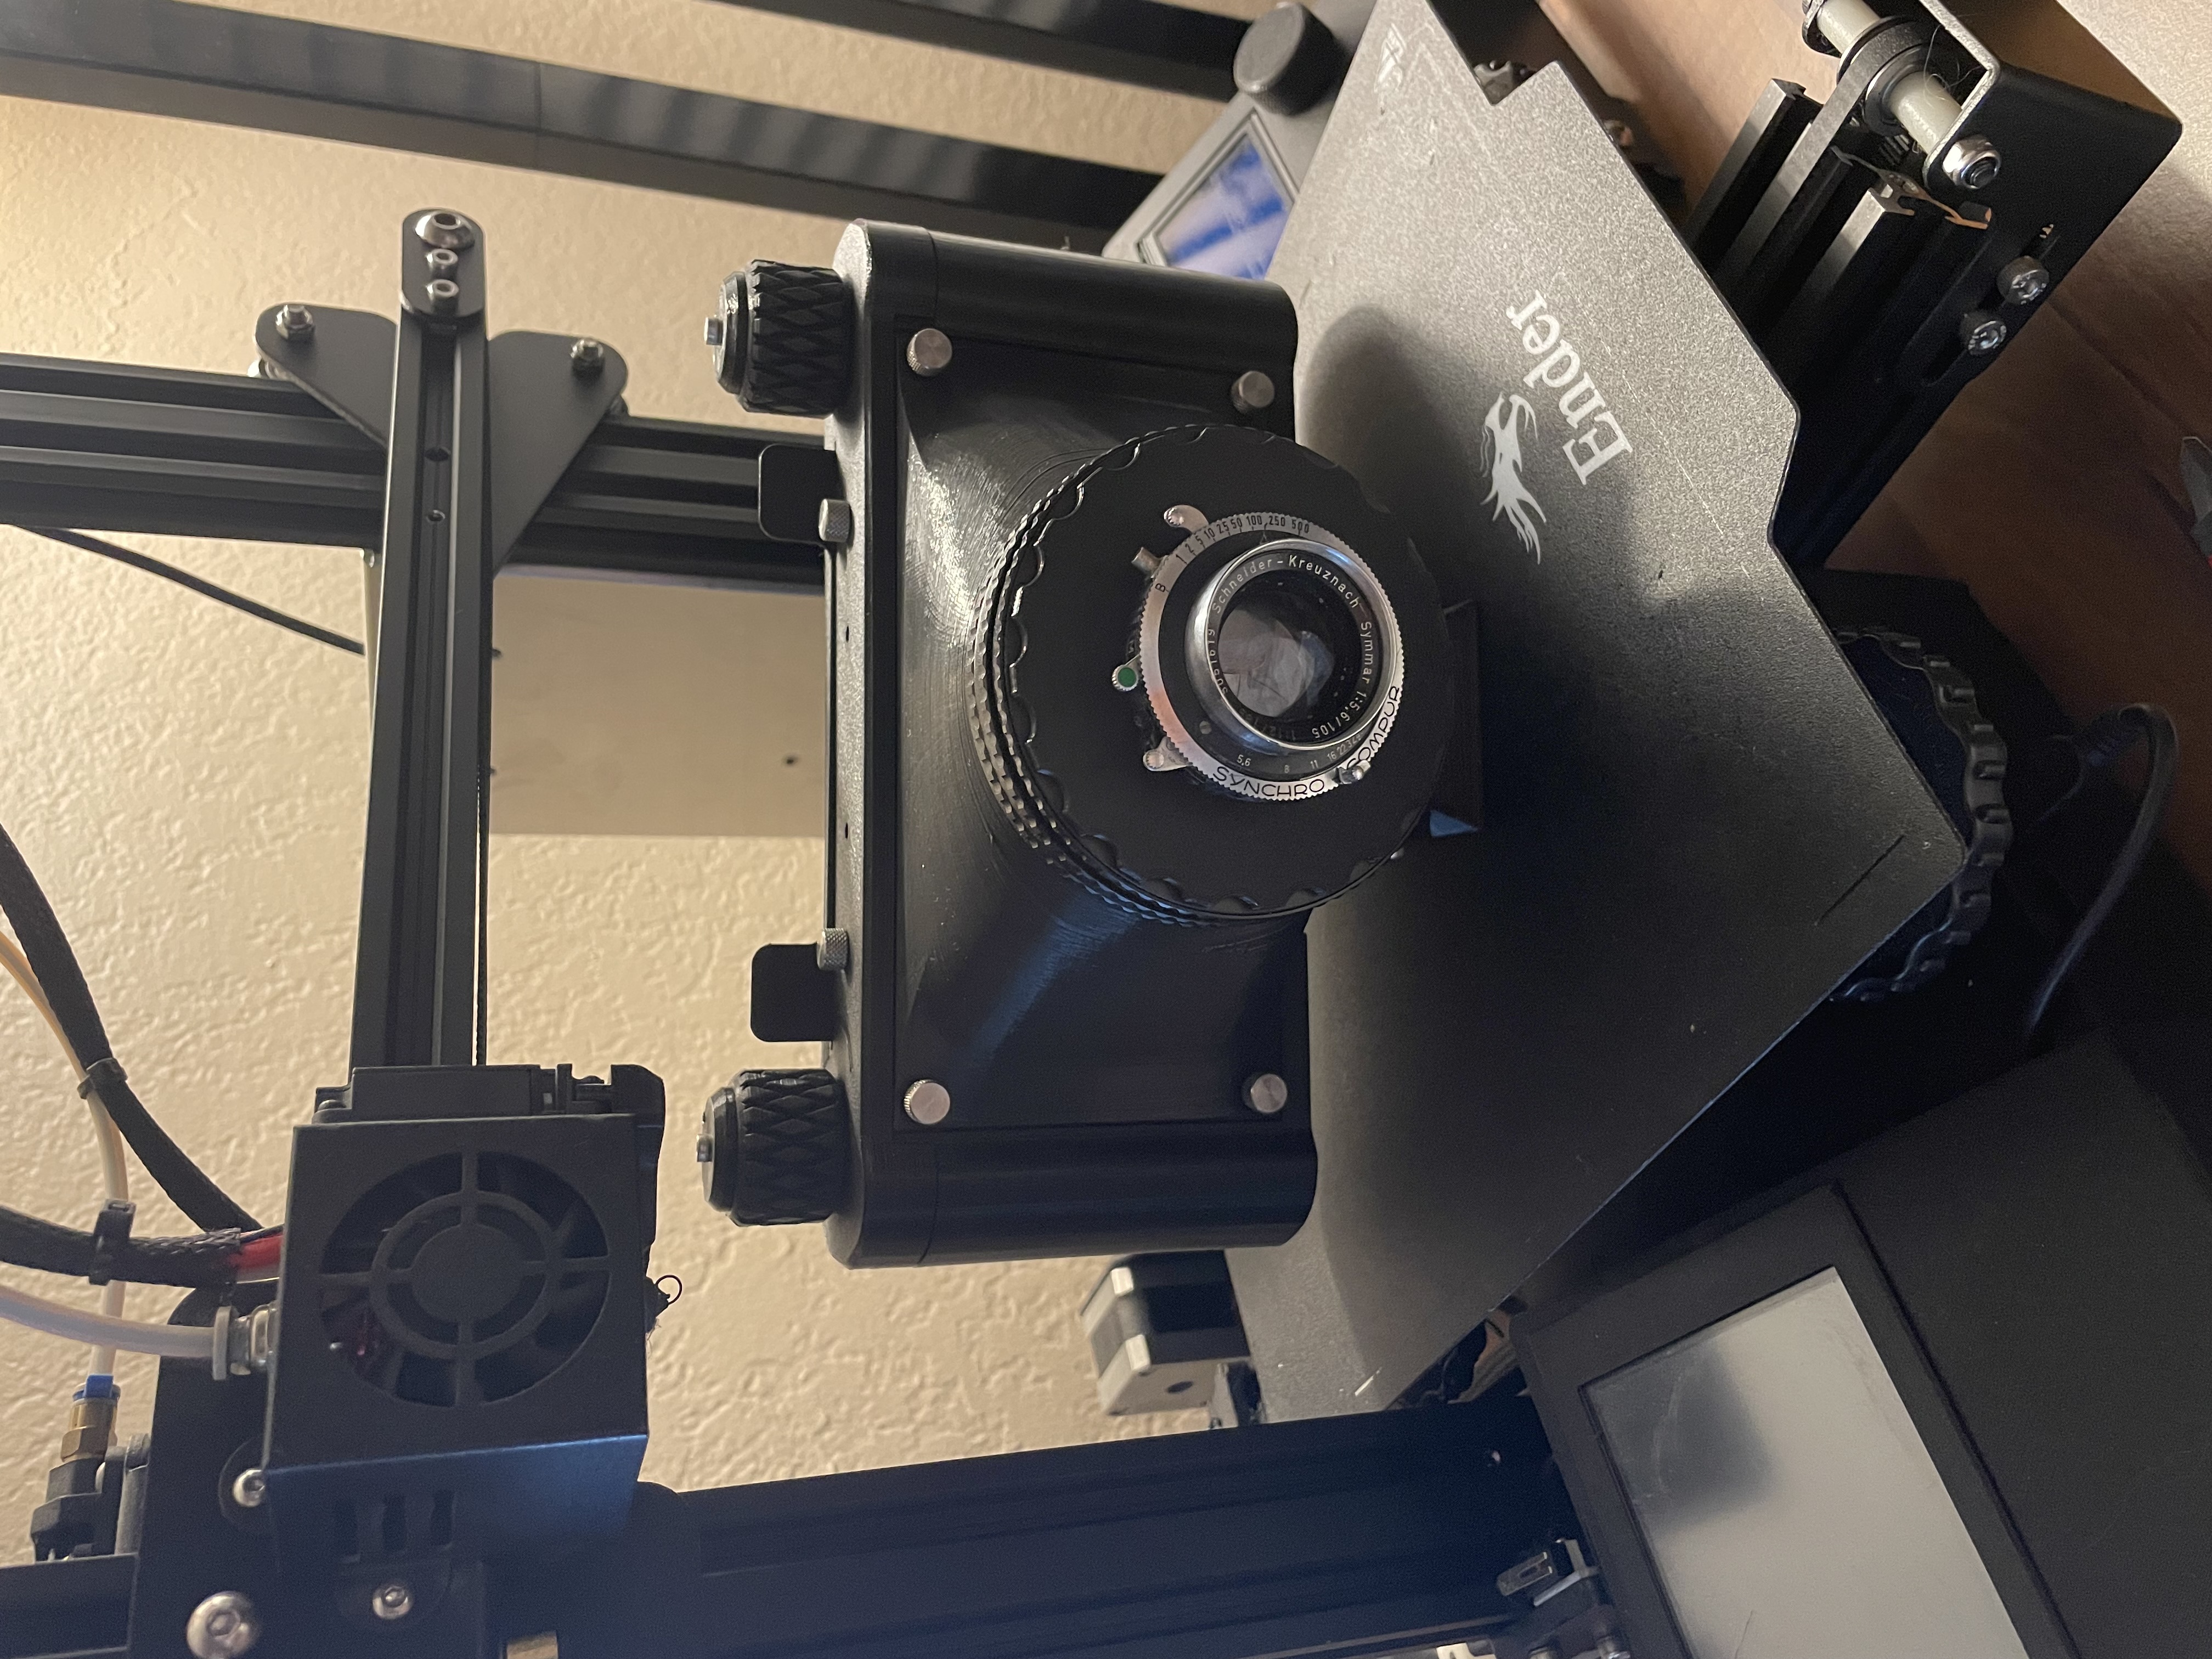
I printed the Body, Cone, and other hardware on my Ender 3 Pro in eSUN PLA+
Results
To test out the camera, I used 35mm film since it is cheaper and easier to get developed. I used Fujifilm ISO 200 from Walmart and a 3D printed film spool adapter
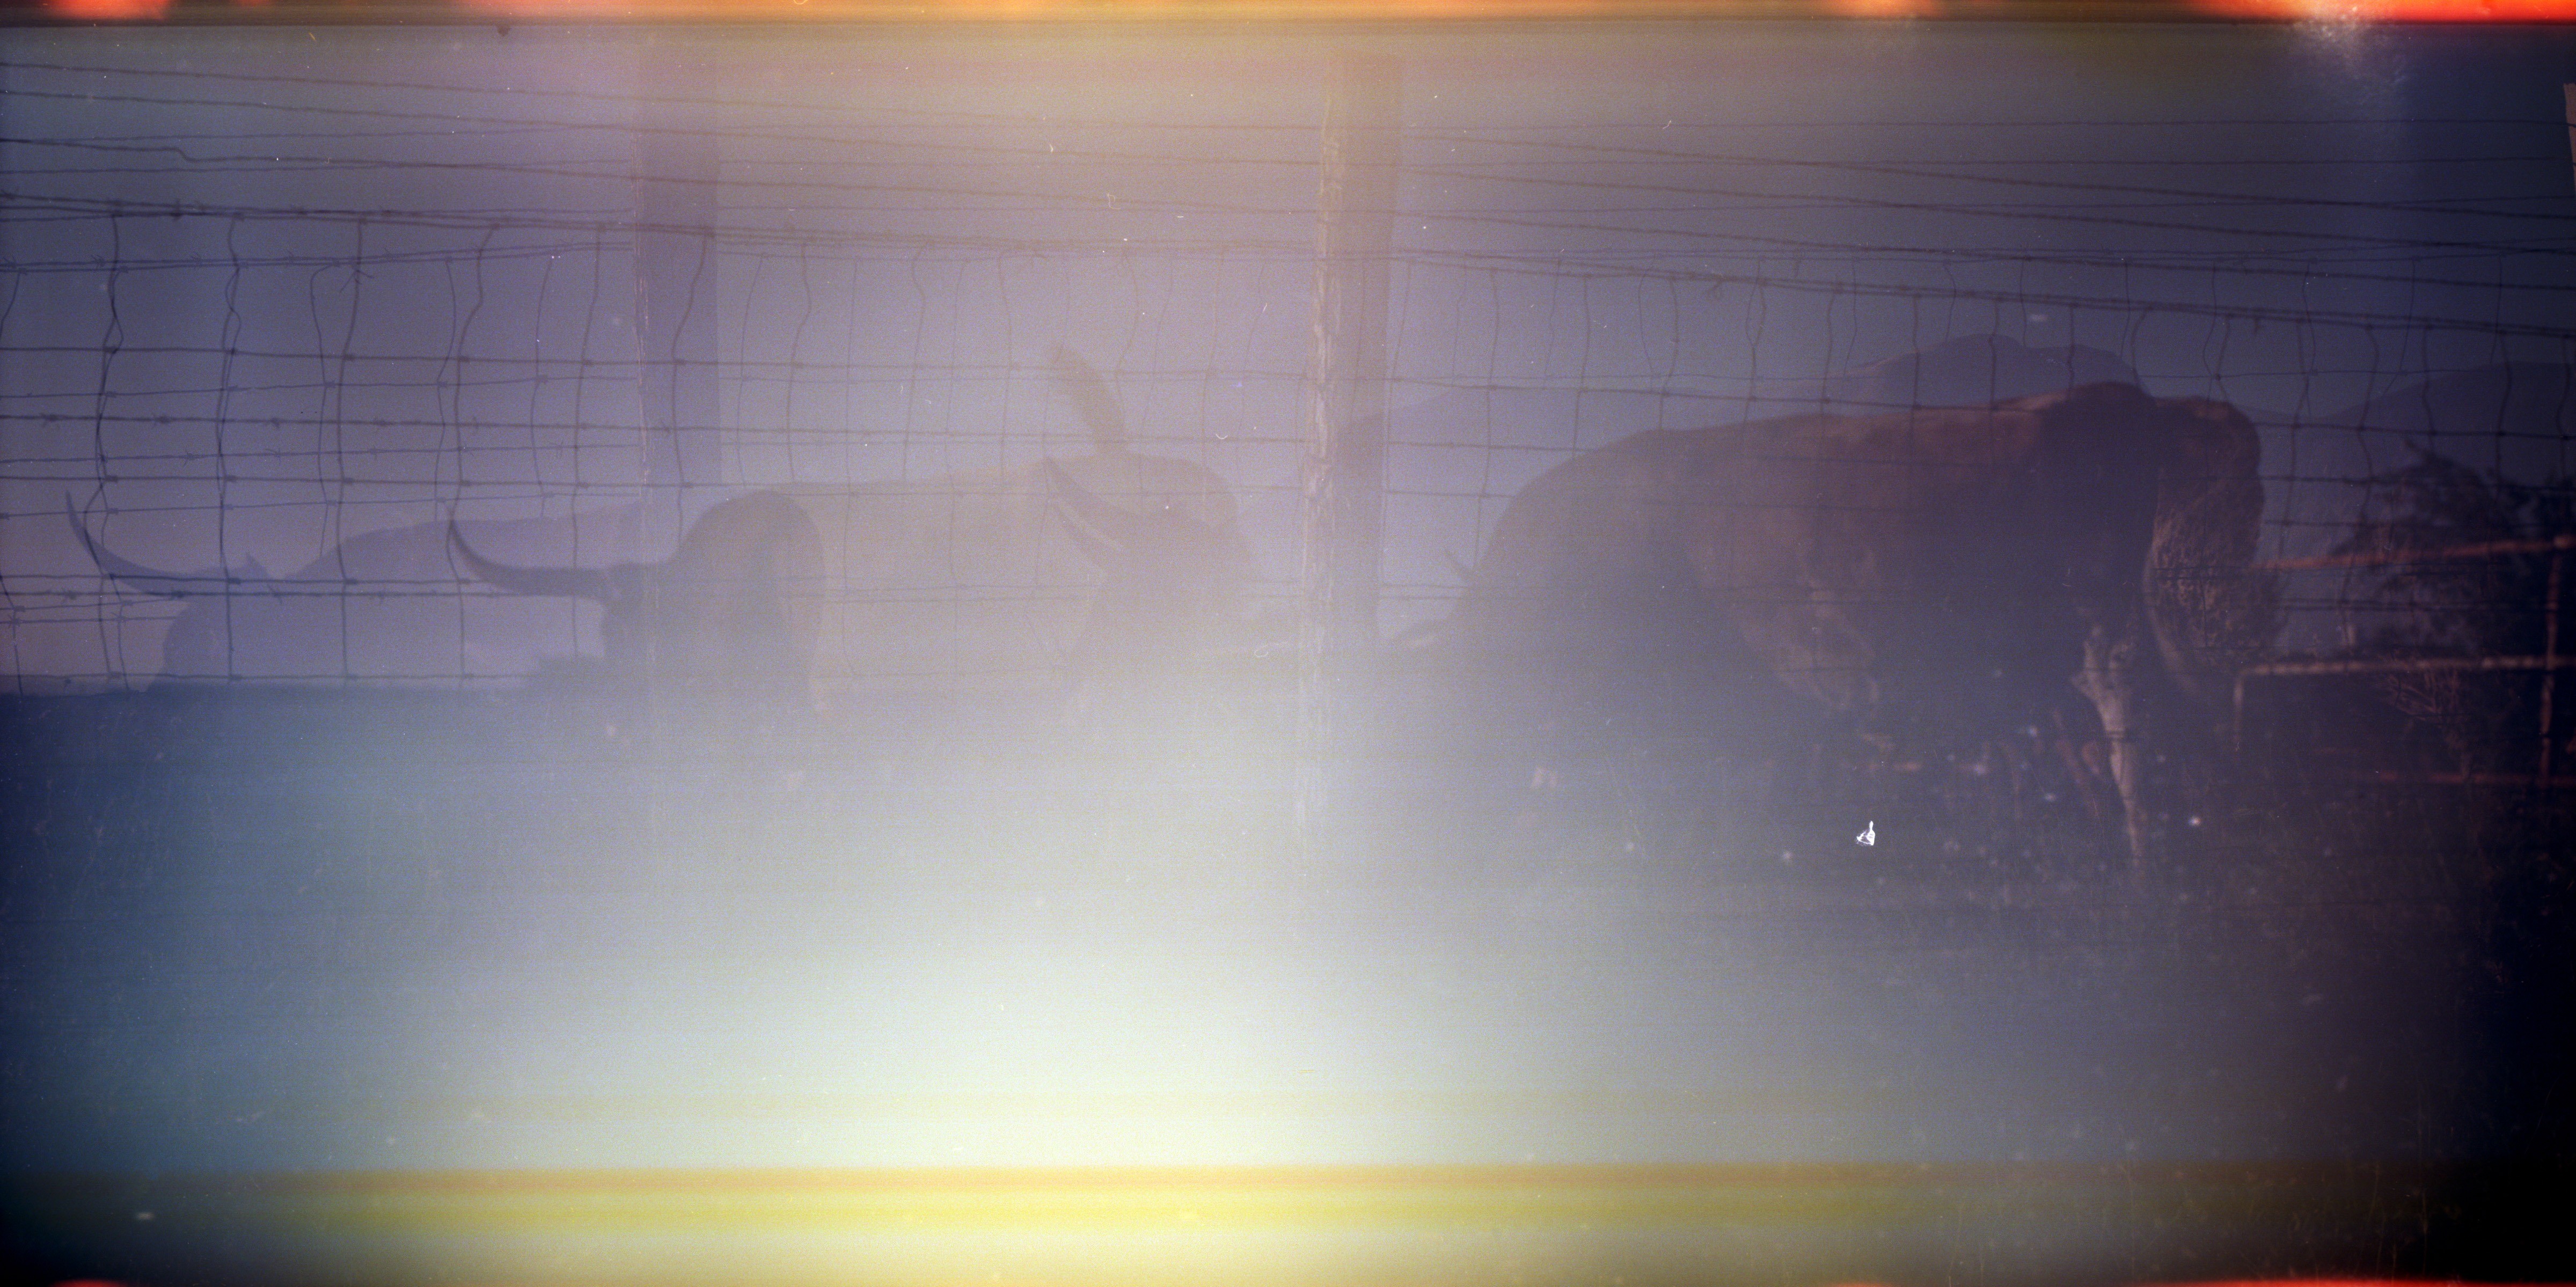
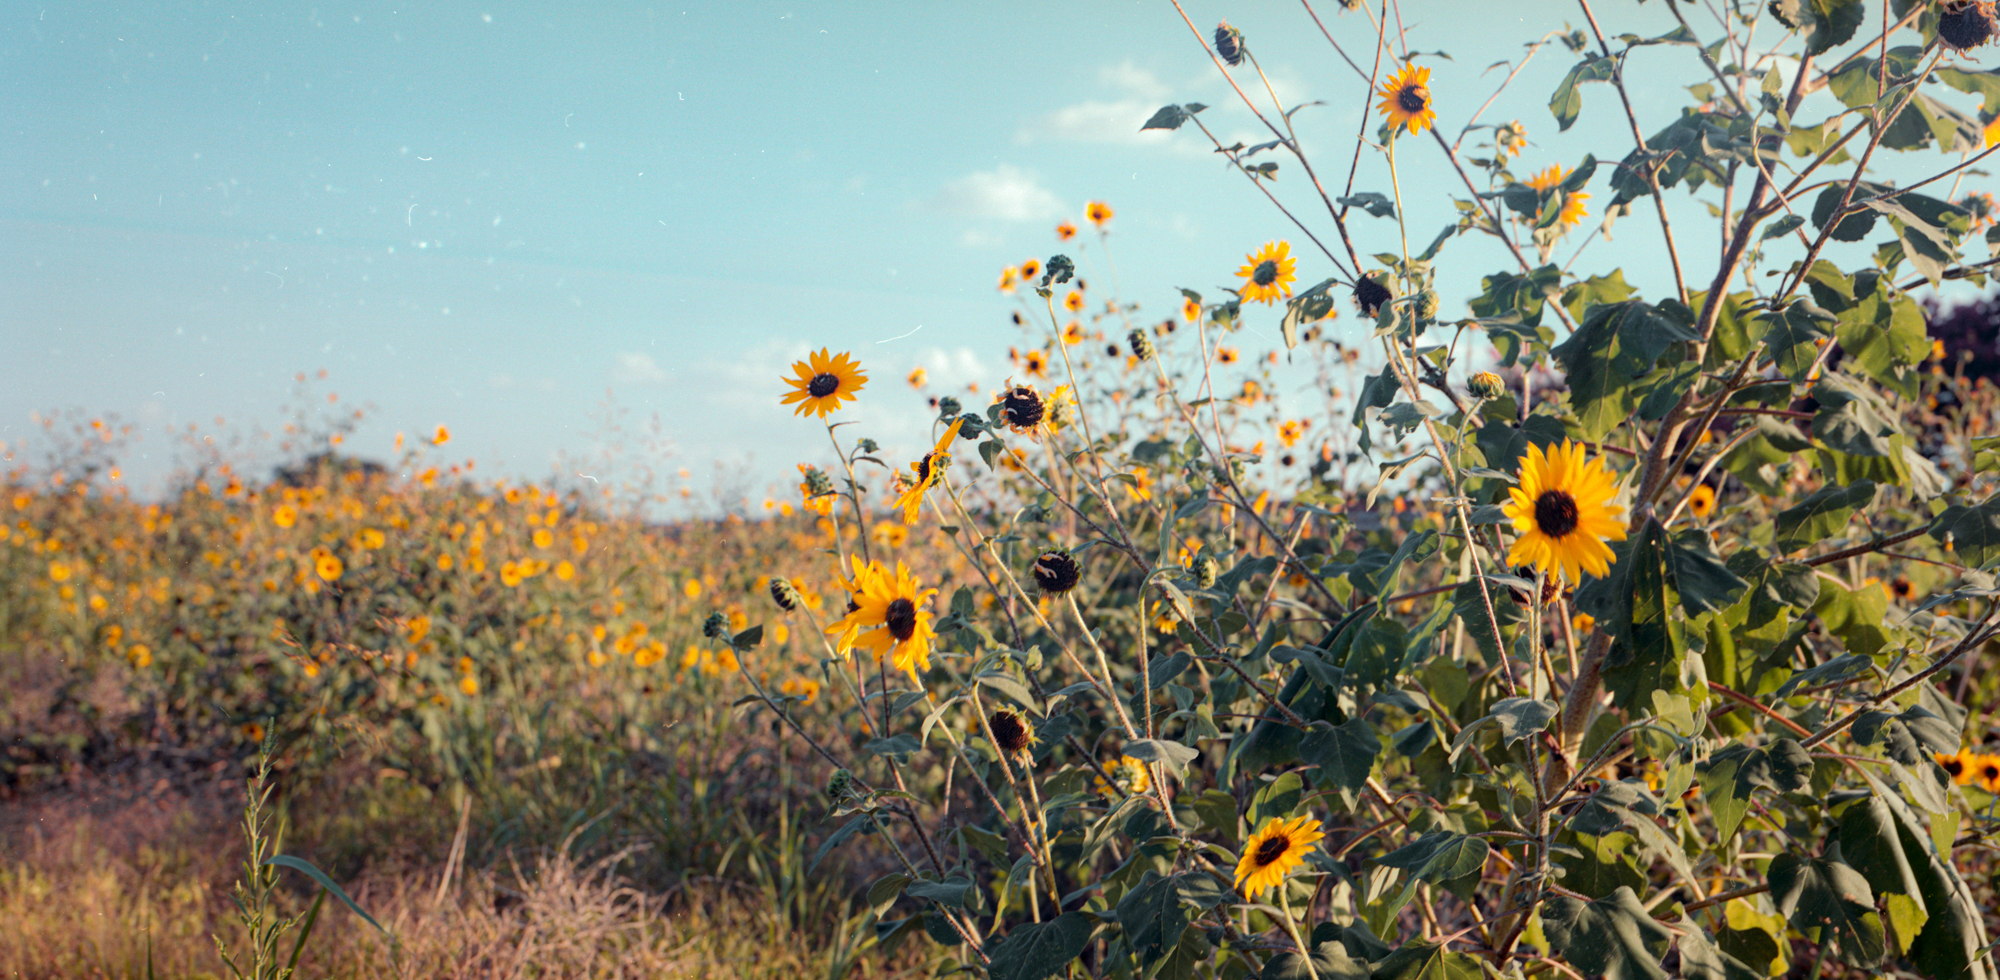
The first 2 rolls I tried to develop myself with a C-41 developing kit, but they came out completely blank. At first I thought it was due to the camera because I have used this kit before, but then I realized the developing chemicals had gone bad and were not developing at all. So on the third roll of film, I had lost all effort to try to shoot something grand and just took two composites at home and sent it to a local developer. The two locations were in my dining room and my front yard. I get 9 frames out of the 6x24 on a 36 exposure 35mm and below were the best two.
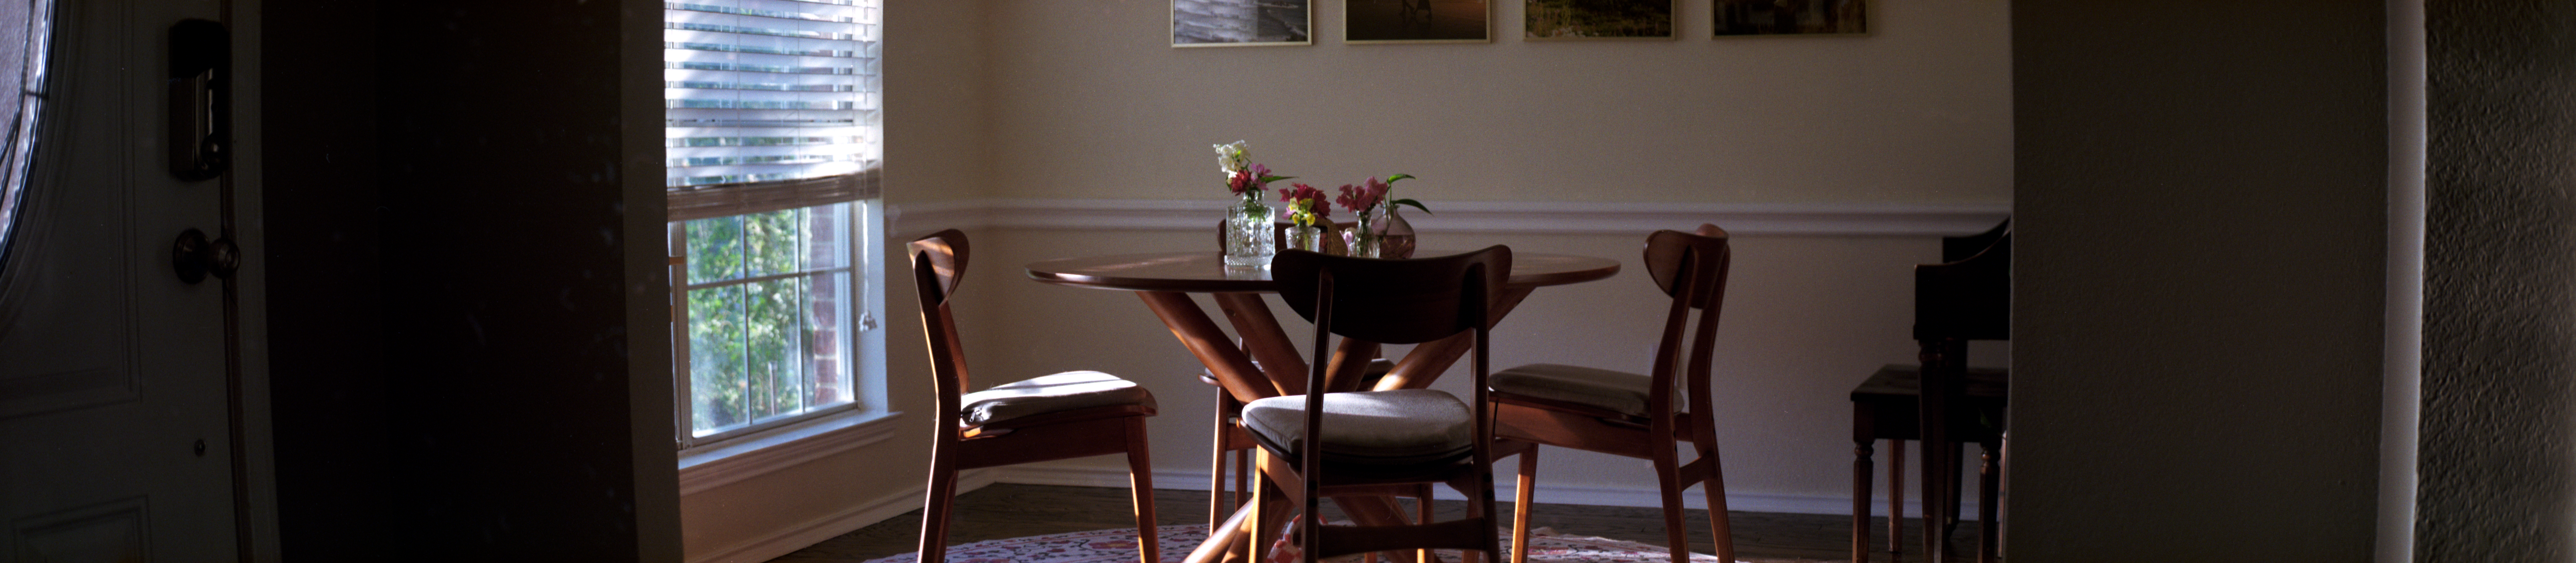
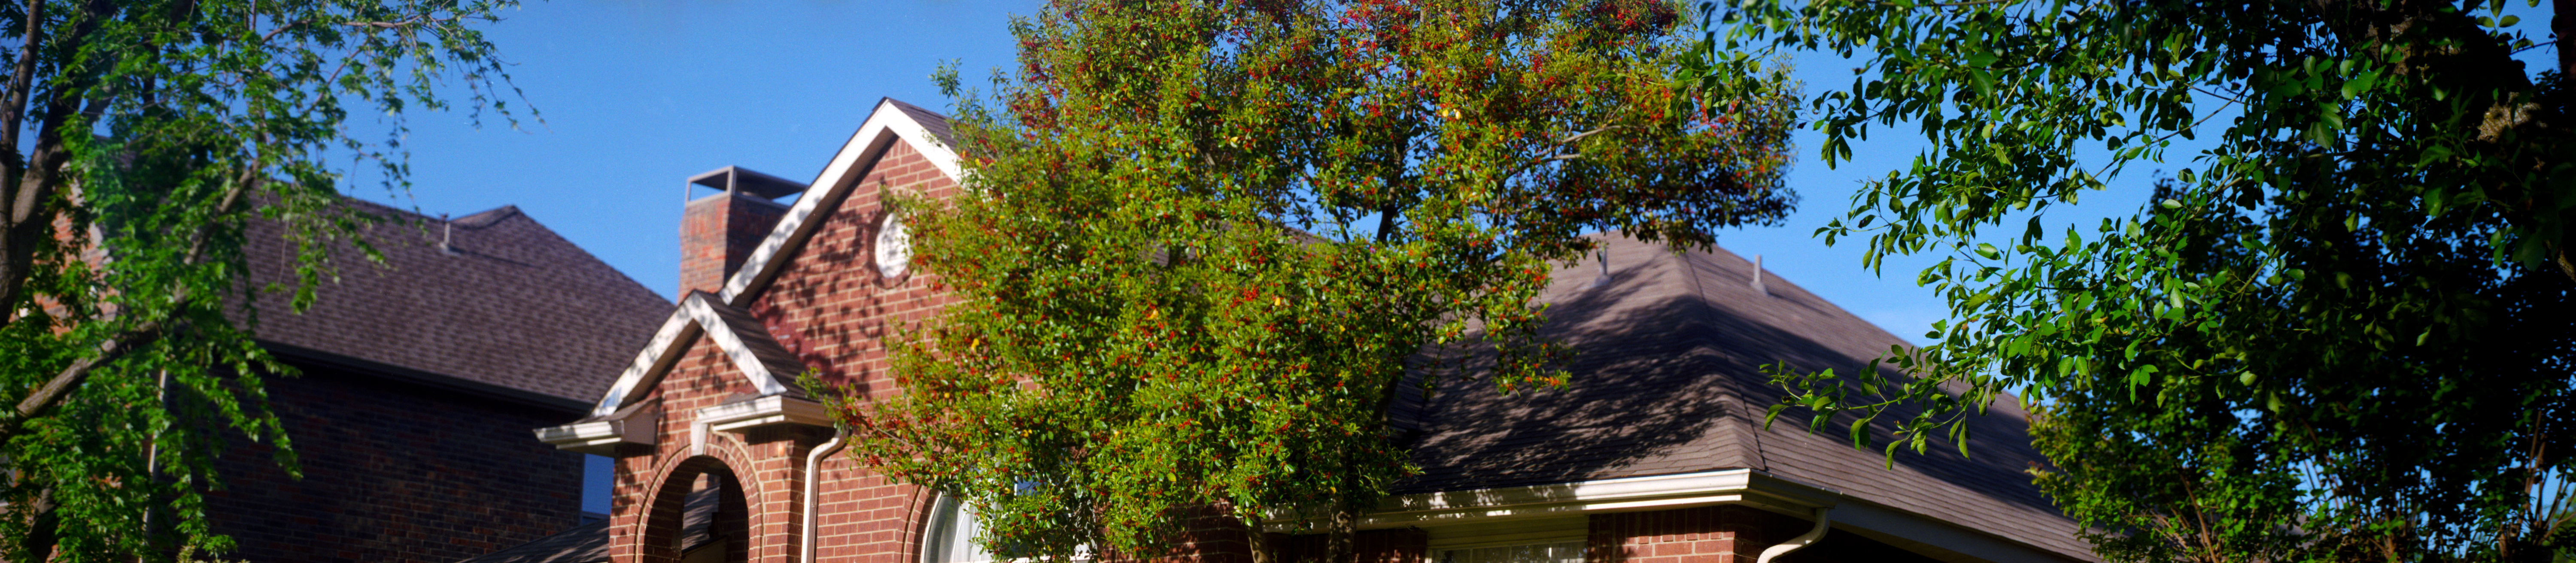
I am really happy about the first pictures I managed to get out of this camera. I was expecting a lot of vignetting from the small Compur #00 shutter. Since the entire width of the 35mm roll gets expose in the frame, I think I am going to ask if the sprocket holes get included in the next scan.
2024-04-20 Update
I have posted my modifications of 3D models on printables.
https://www.printables.com/model/845522-open-6x12-6x17-and-6x24-panoramic-camera-remix
I am reprinting the body and the cone with fuzzy skin to try to get a nicer body texture.
2024-06-22 Update
First roll of 120 film developed. Only one image really came out okay.
.HRfmDw8J.jpg)
The light leak near the top of this image is due to a crack that was in the 120 film spool.
The second one has some major light leak near the bottom. I believe this is due to the dark slide not being light proof. I did not add foam tape to the seal when I reprinted the body with fuzzy settings. It kept gumming up the slide. I have an idea to use a hair tie instead around the dark slide and between the lid and the body. This allows the lid to squish it into the light seal cavity.
2024-06-29 Update
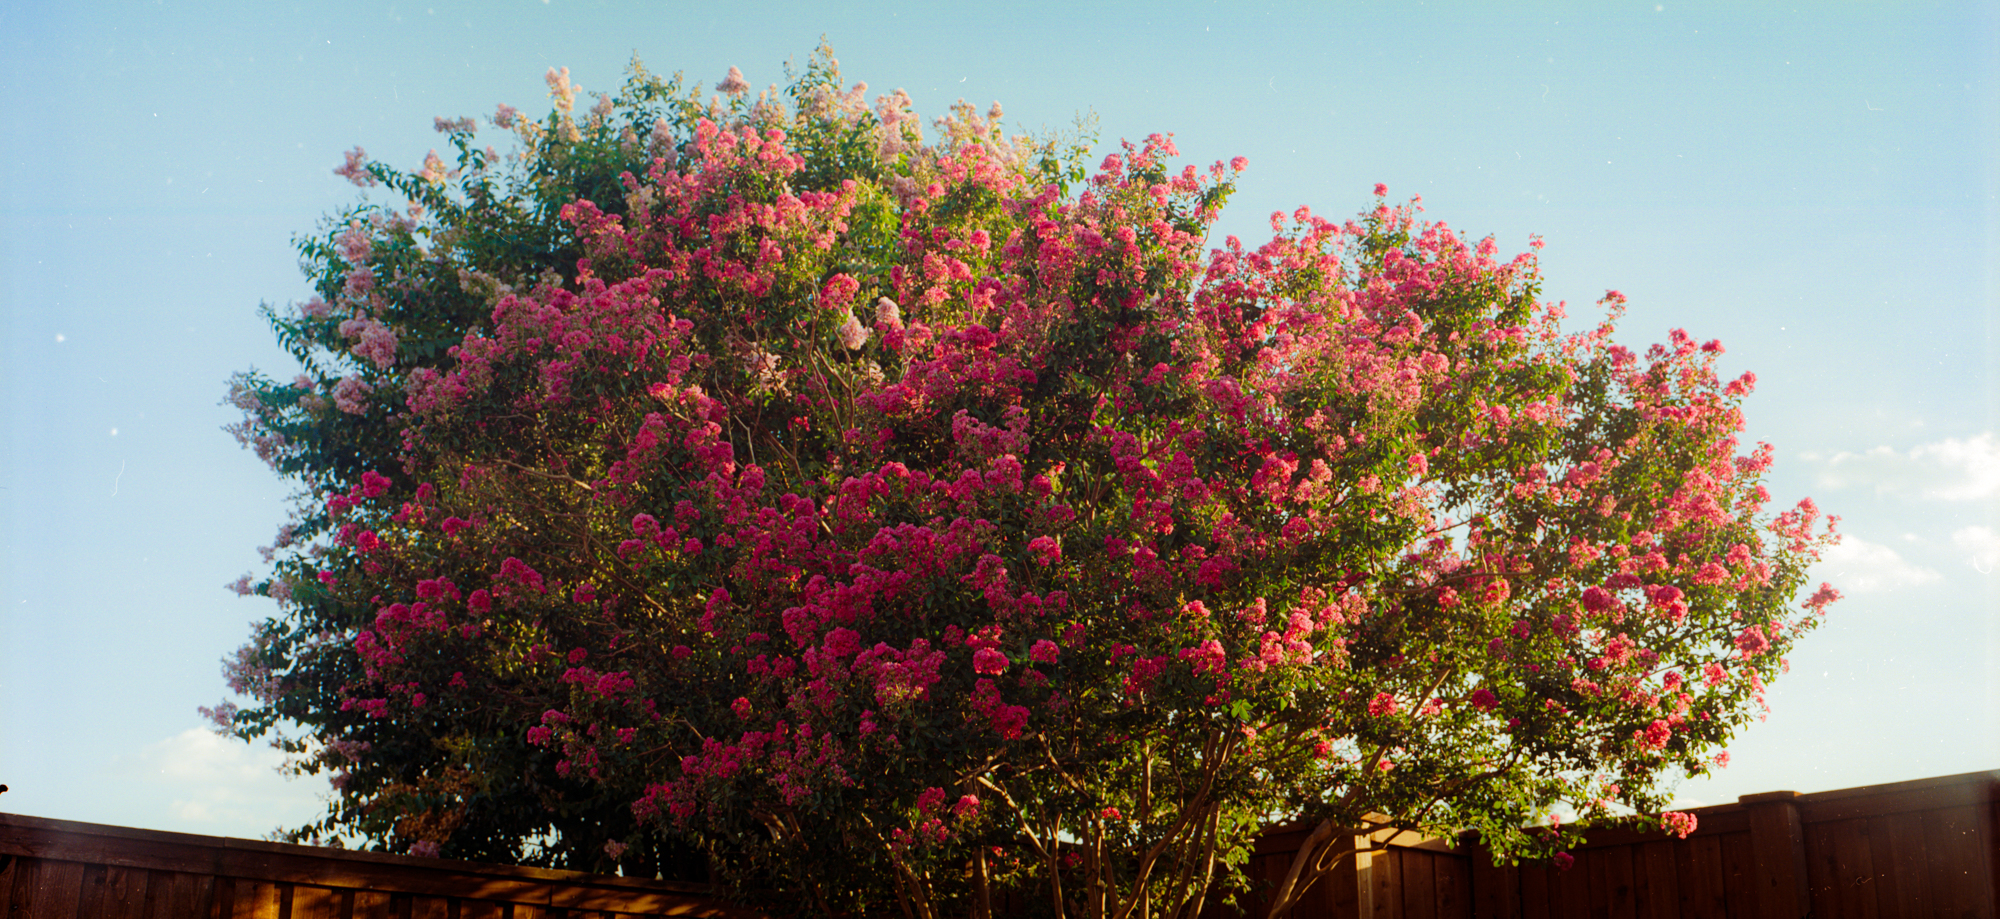
I put a hair-tie around the darkslide between the lid and the body. This allows the lid to squish the hair-tie in the small cavity it sits in. There was too much material on the lid so I had to chop some of it off. See below.
The results turned out so much better despite shooting in direct sunlight again.
I now need to update the 3D model to remove some material on the lid that interfered with the hair-tie pocket.
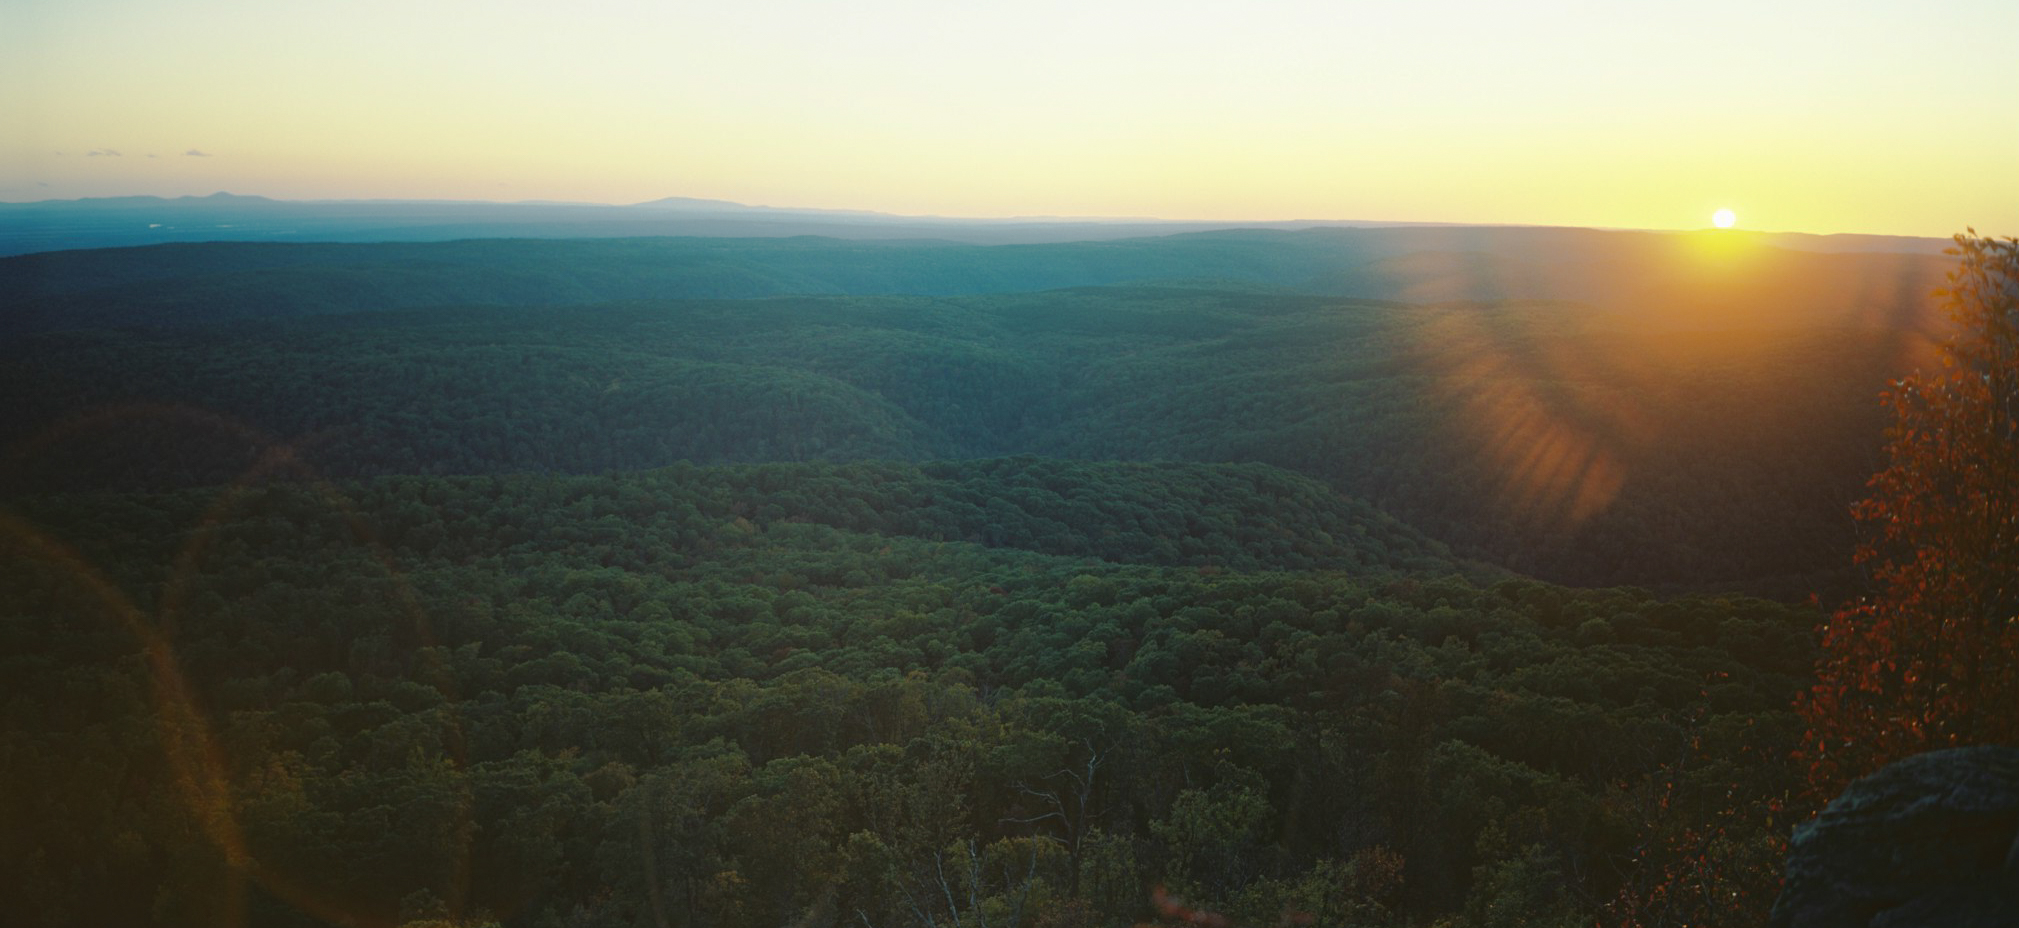
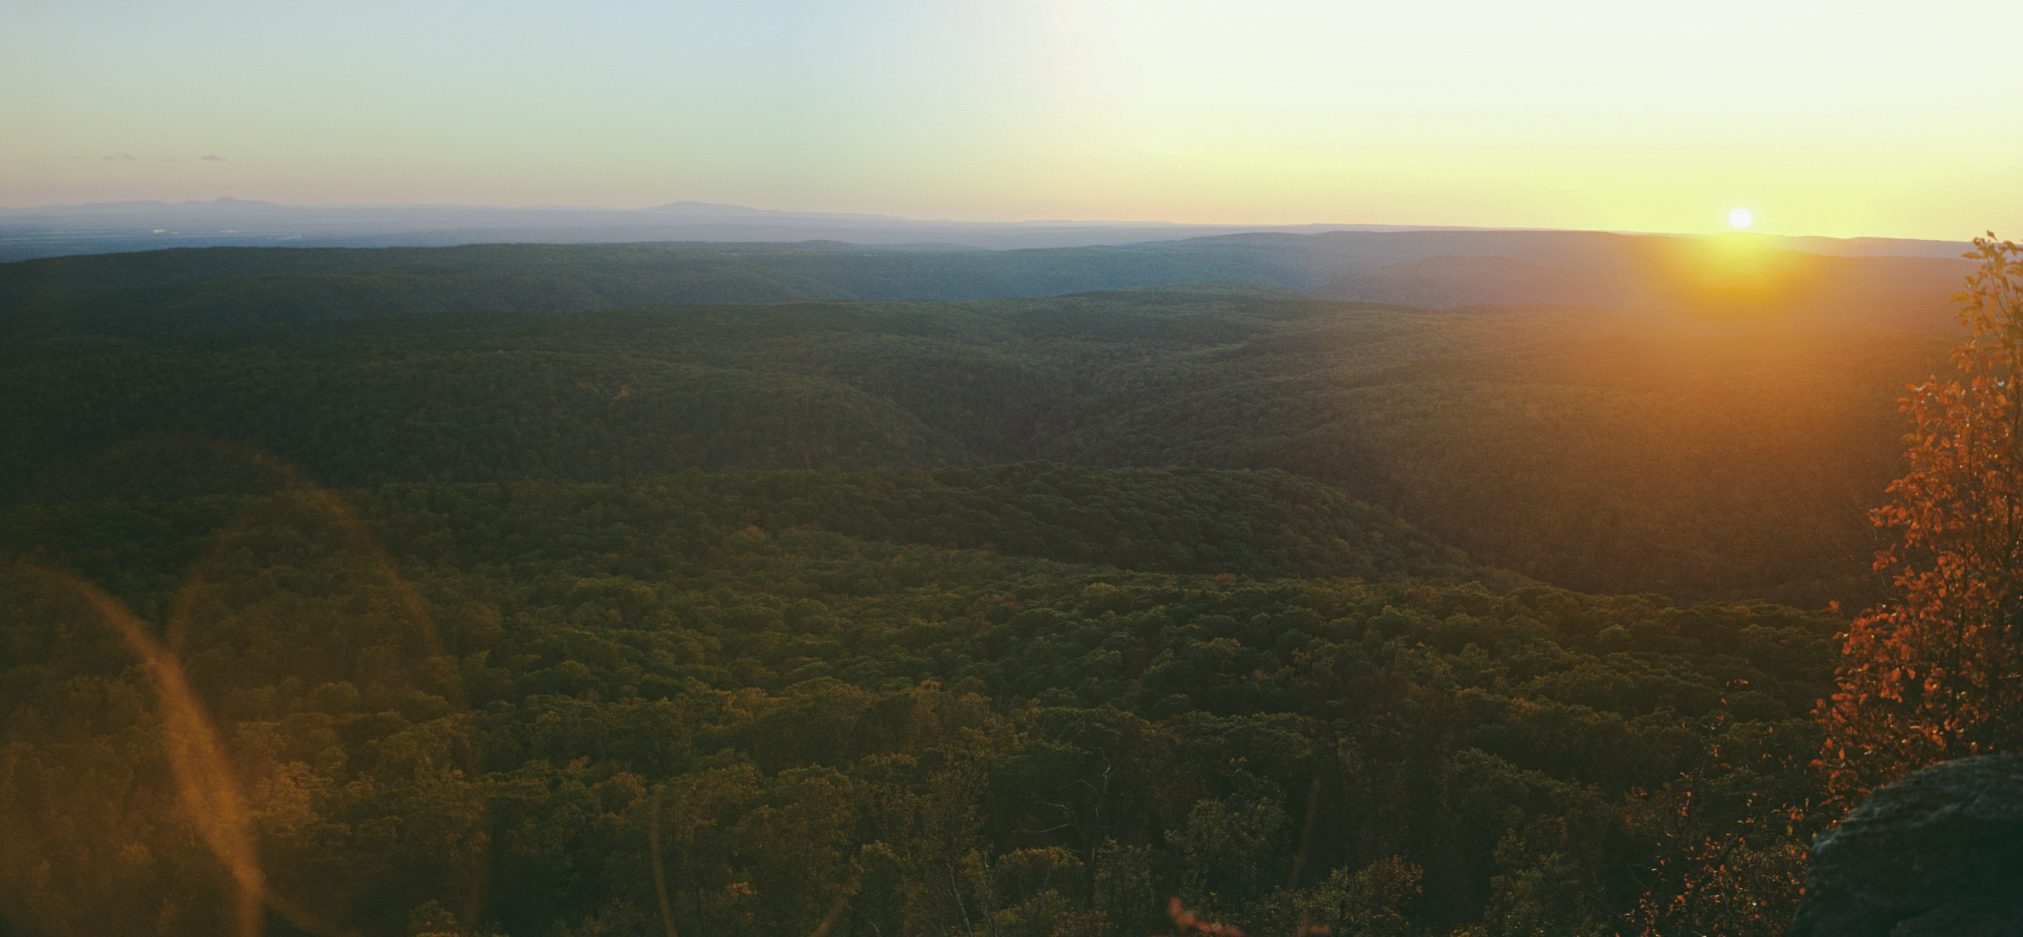
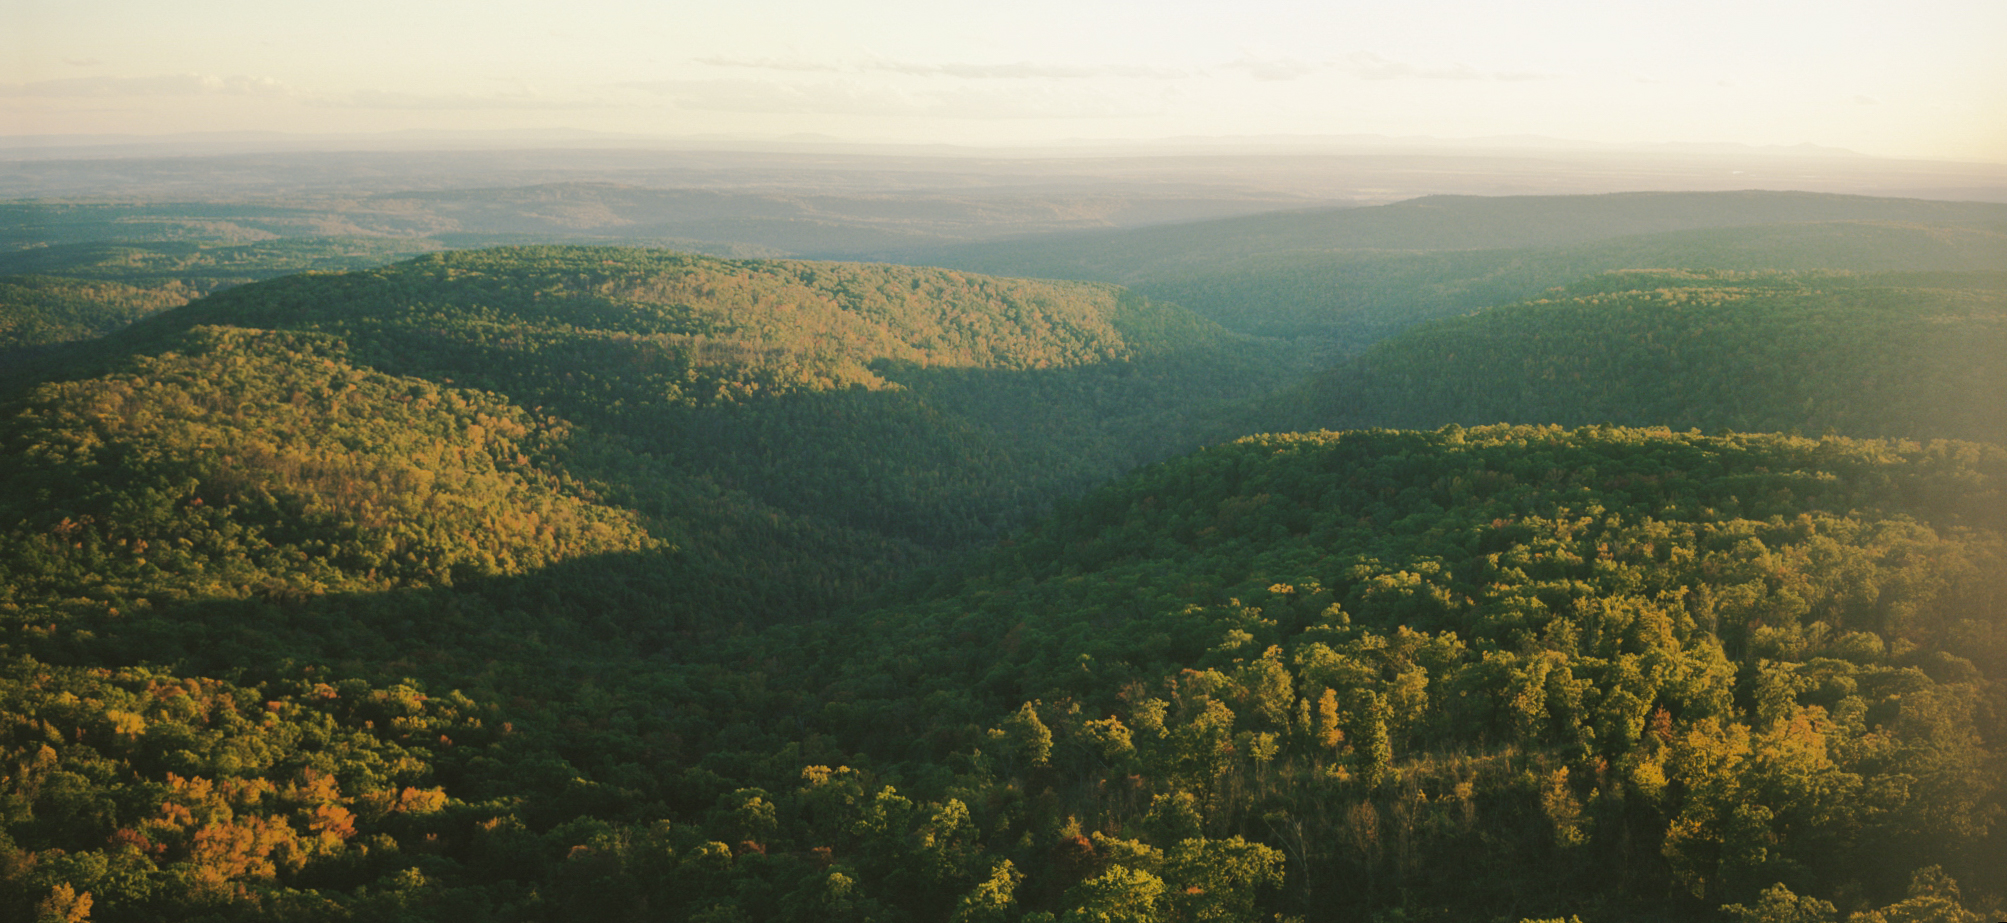
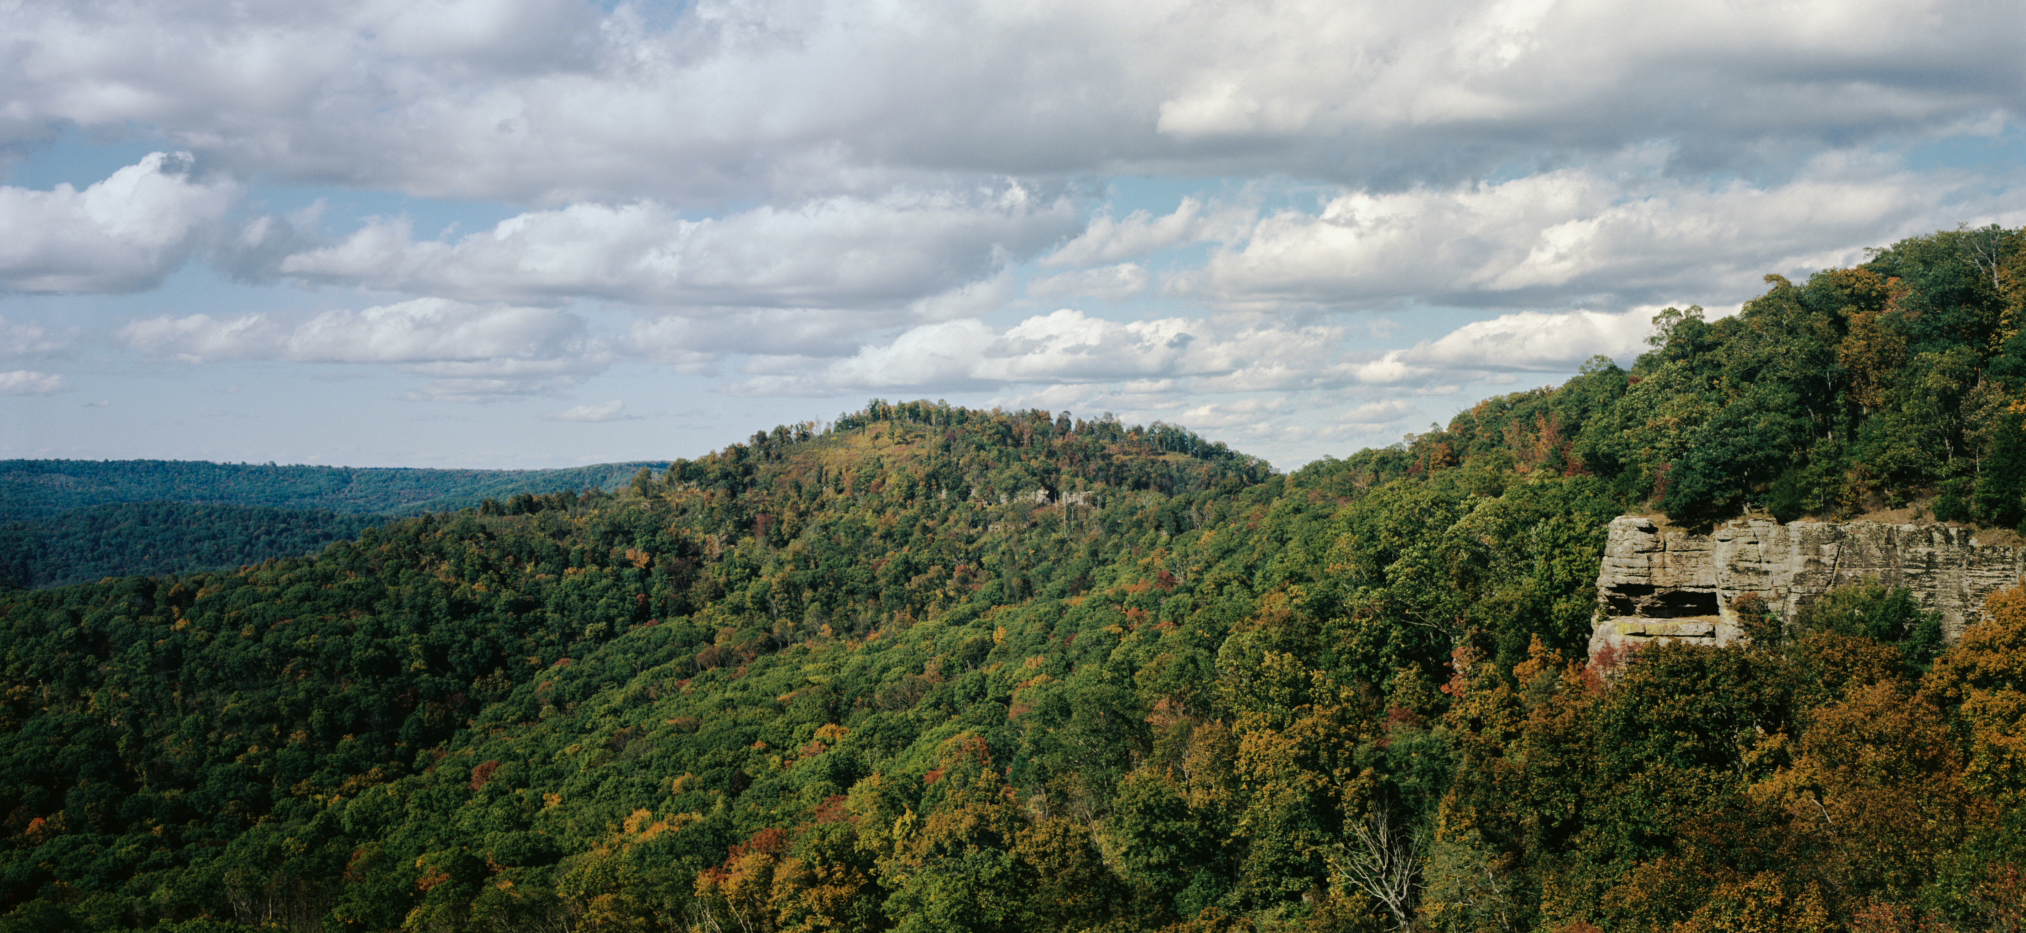
2025-11-01 Update
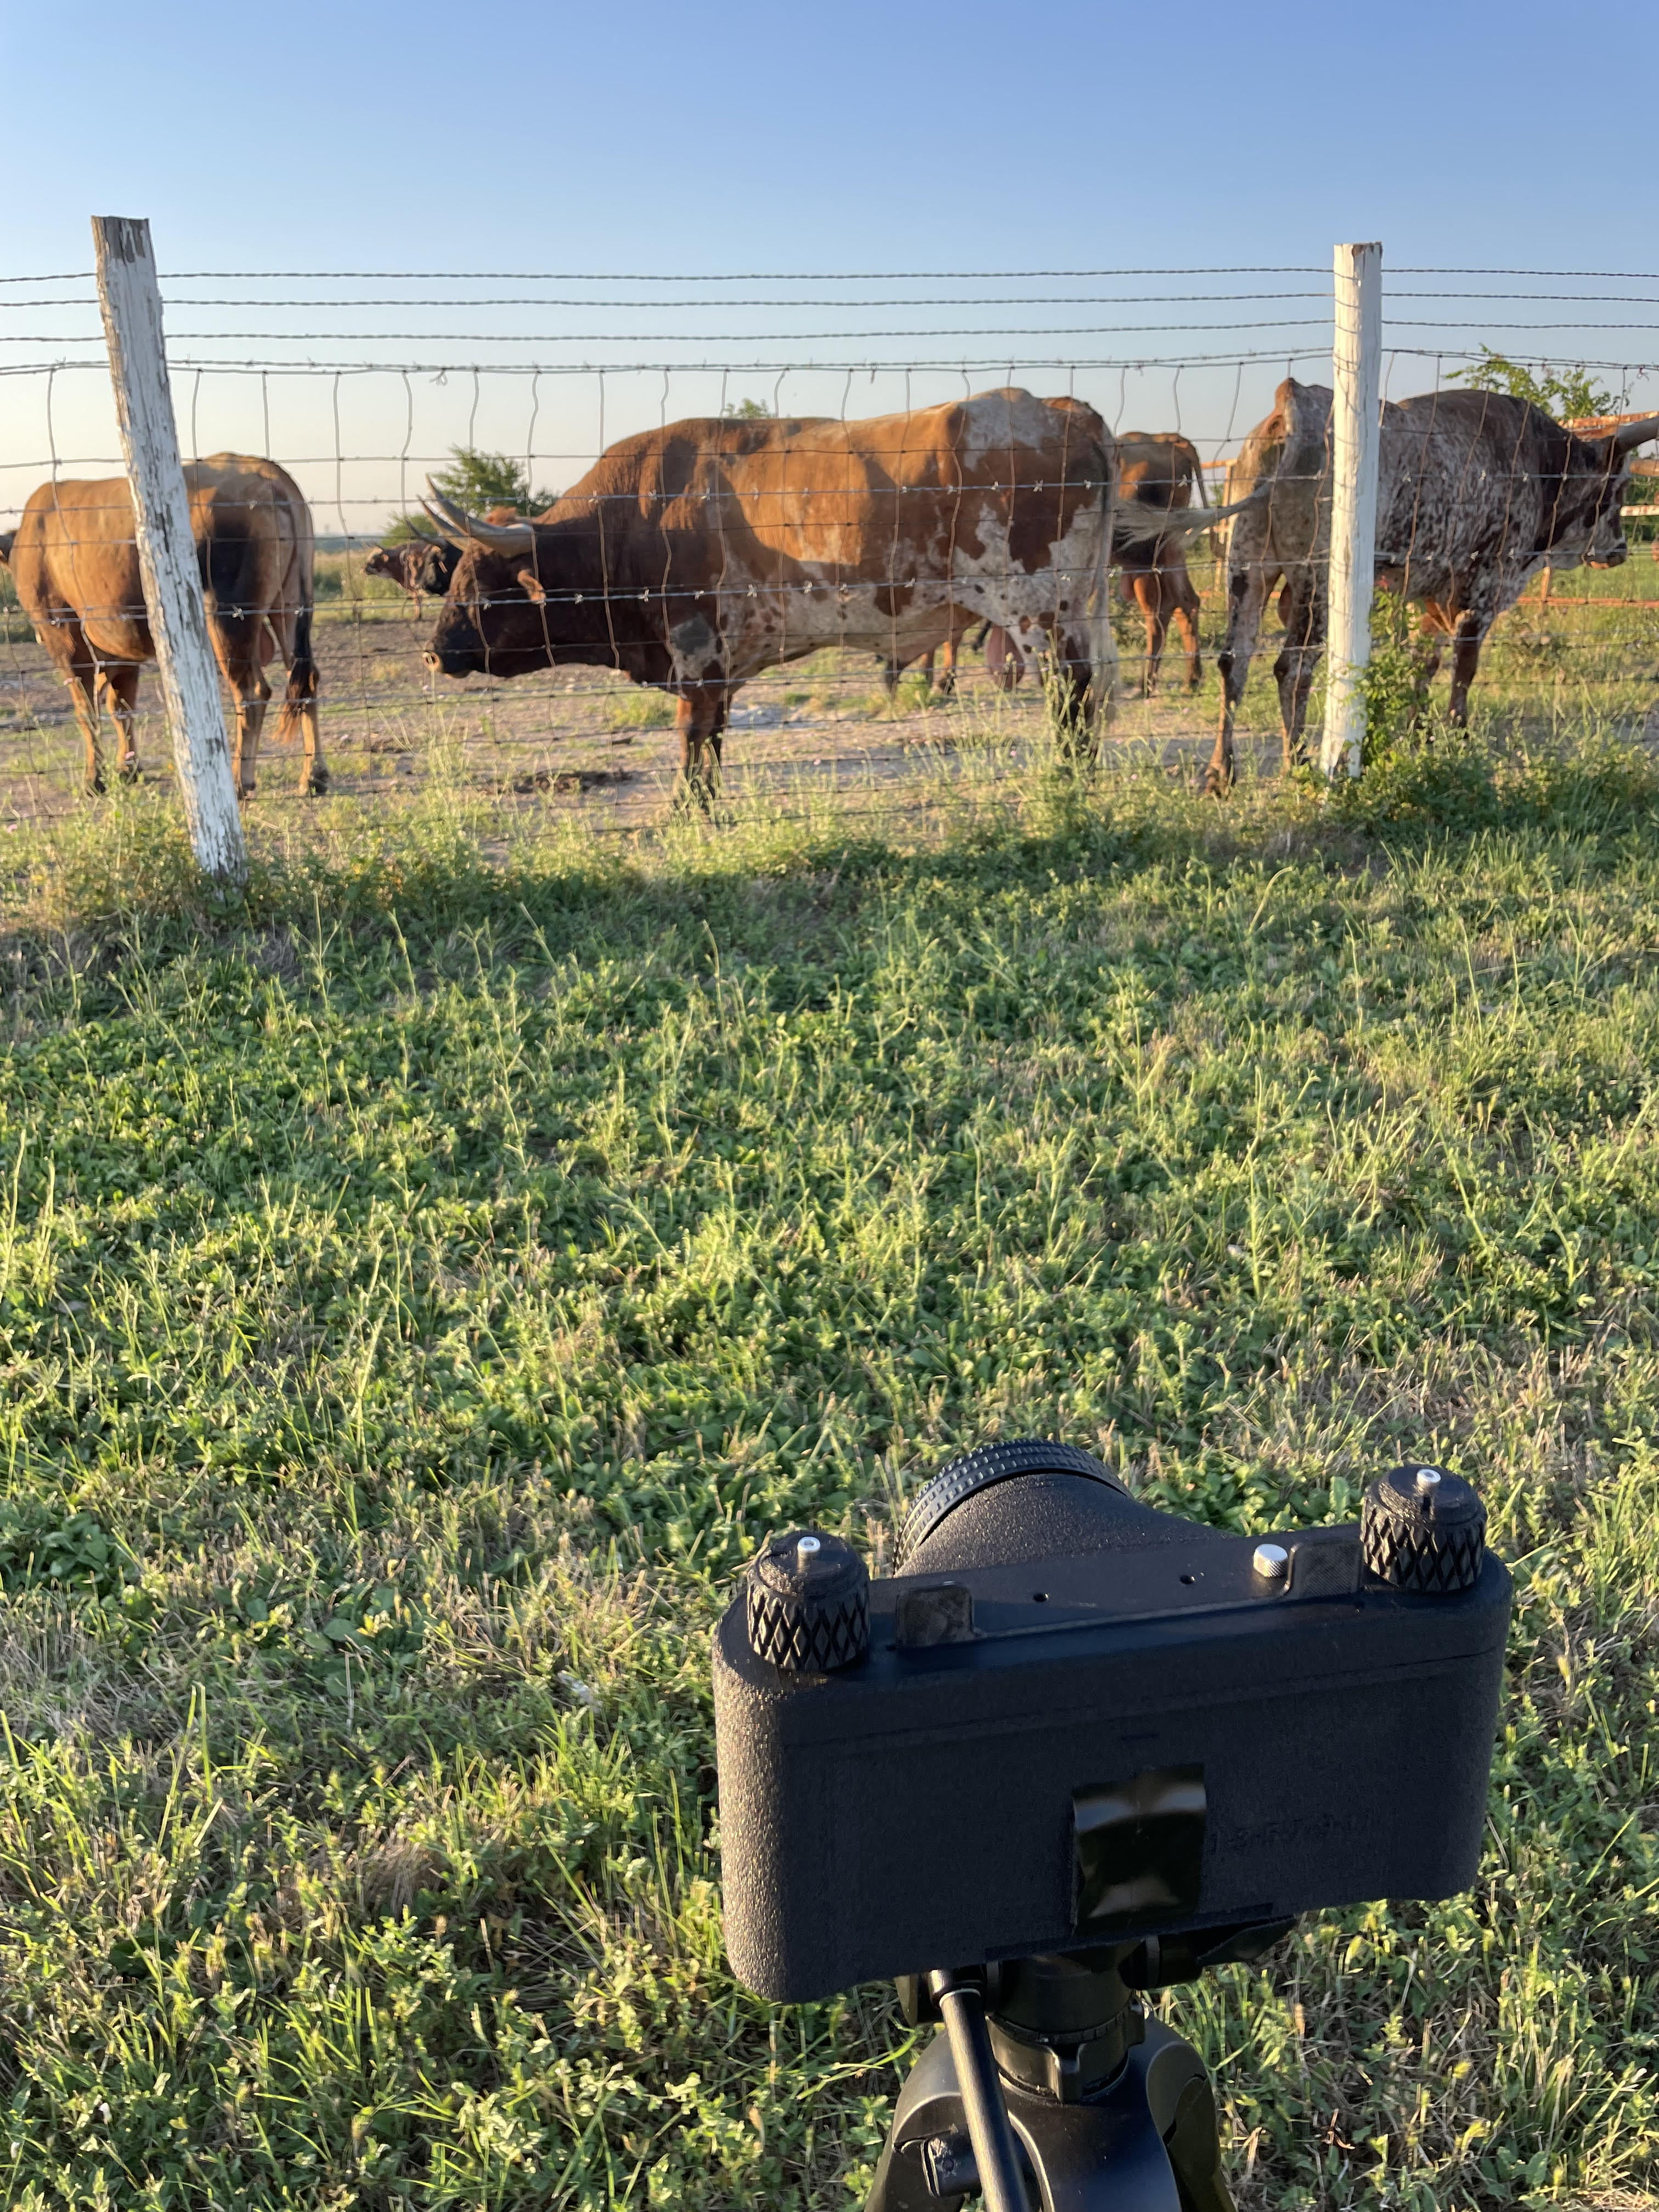
I took the camera up to White Rock Mountain in the Arkansas Ozarks and the images it captured came out amazing.